👋+: Strawberry & Fig Leaf (Lime) Semifreddi
an announcement, an airy alternative to ice cream + pro tips for better home cooking
Allô! 👋
Hello, and thank you for being here! Welcome (back) to the seasonal sundays section of the good food at home newsletter, where every week we take a closer peek at produce at its peak — with a short introduction, a recipe, and a (sometimes related) cooking Q&A. If you’re a new subscriber and would like to read the previous issues, you can click here to find them!
Happy Sunday (June’s last)! I hope this month has treated you well.
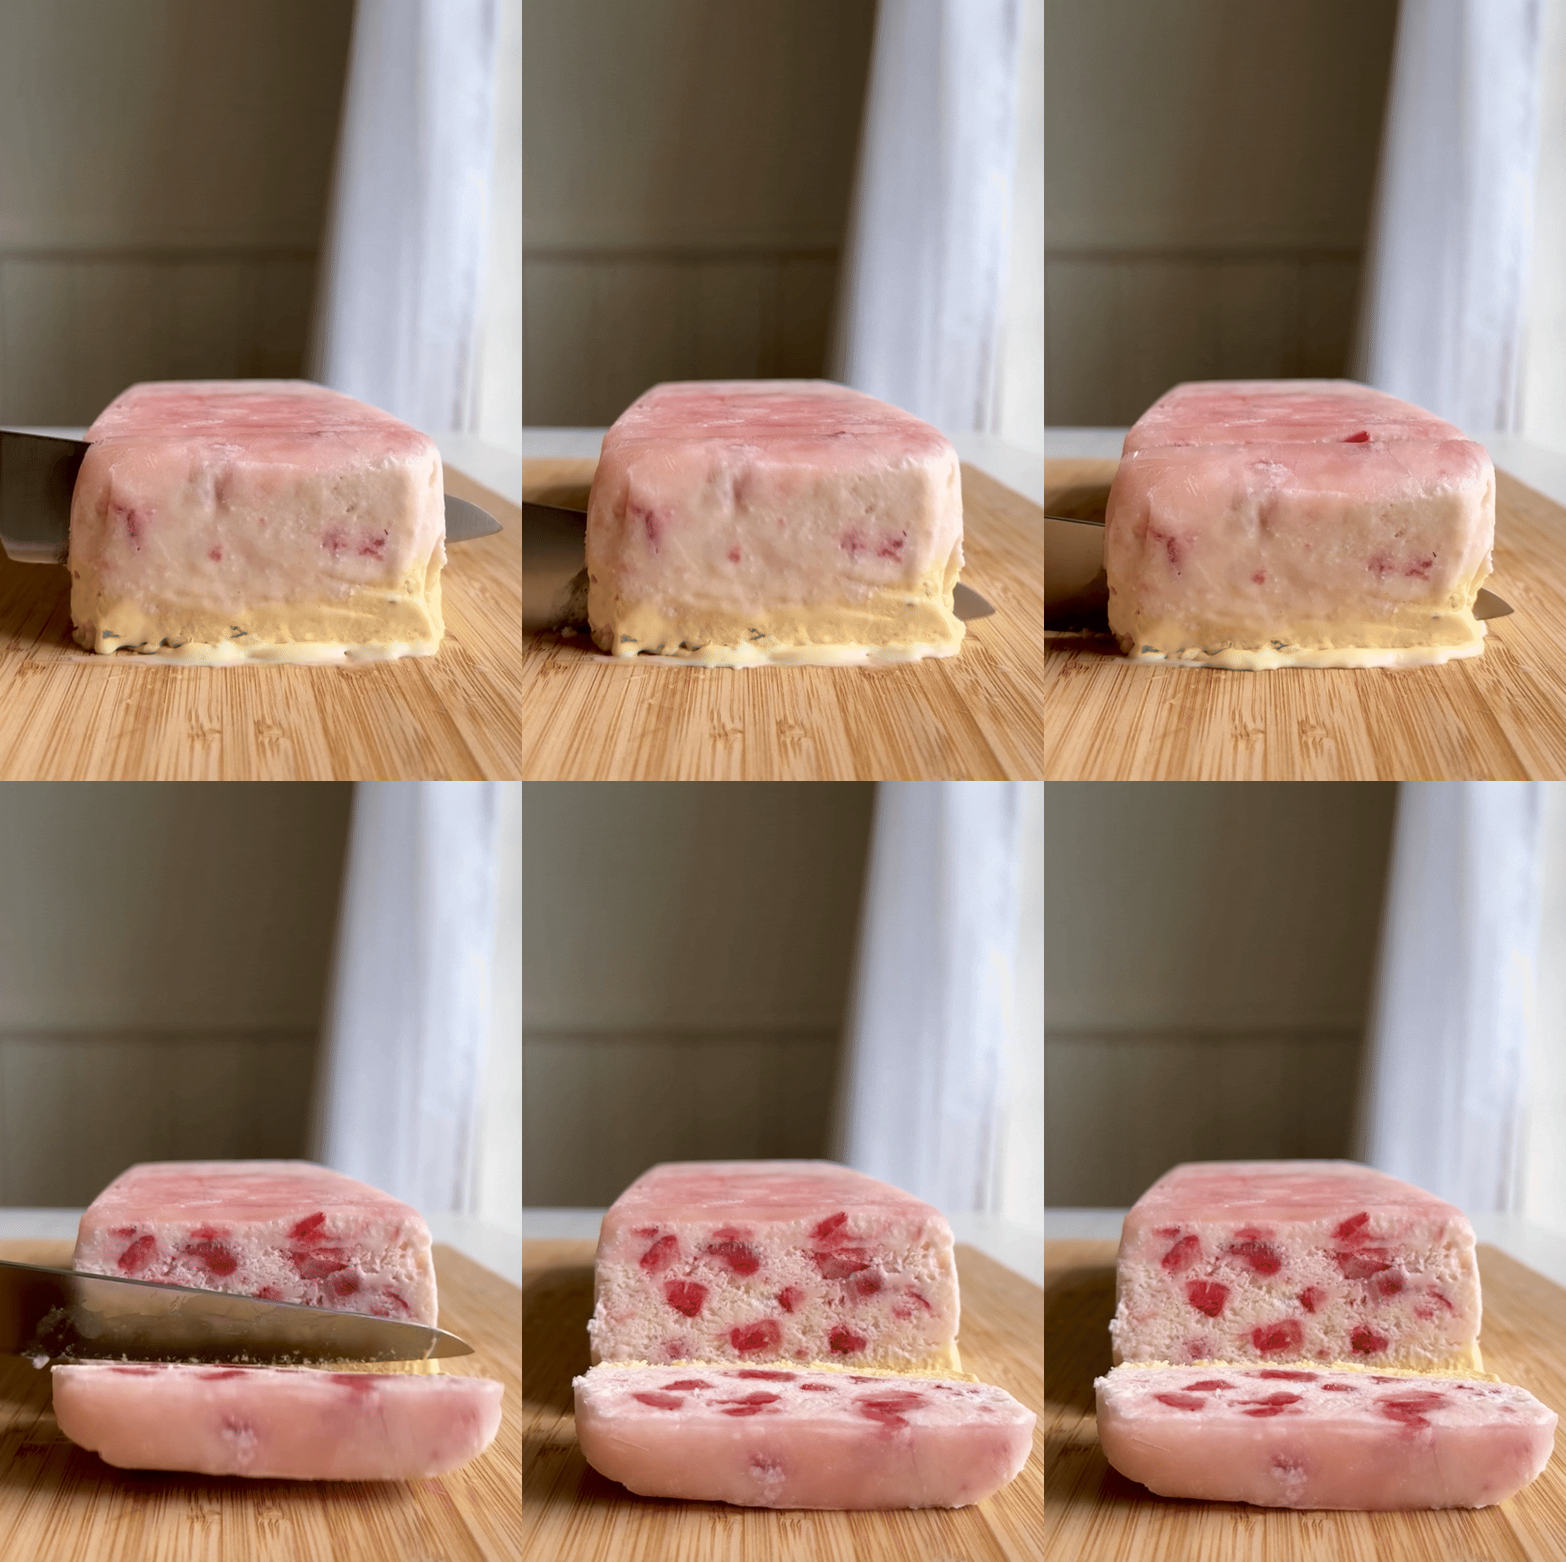
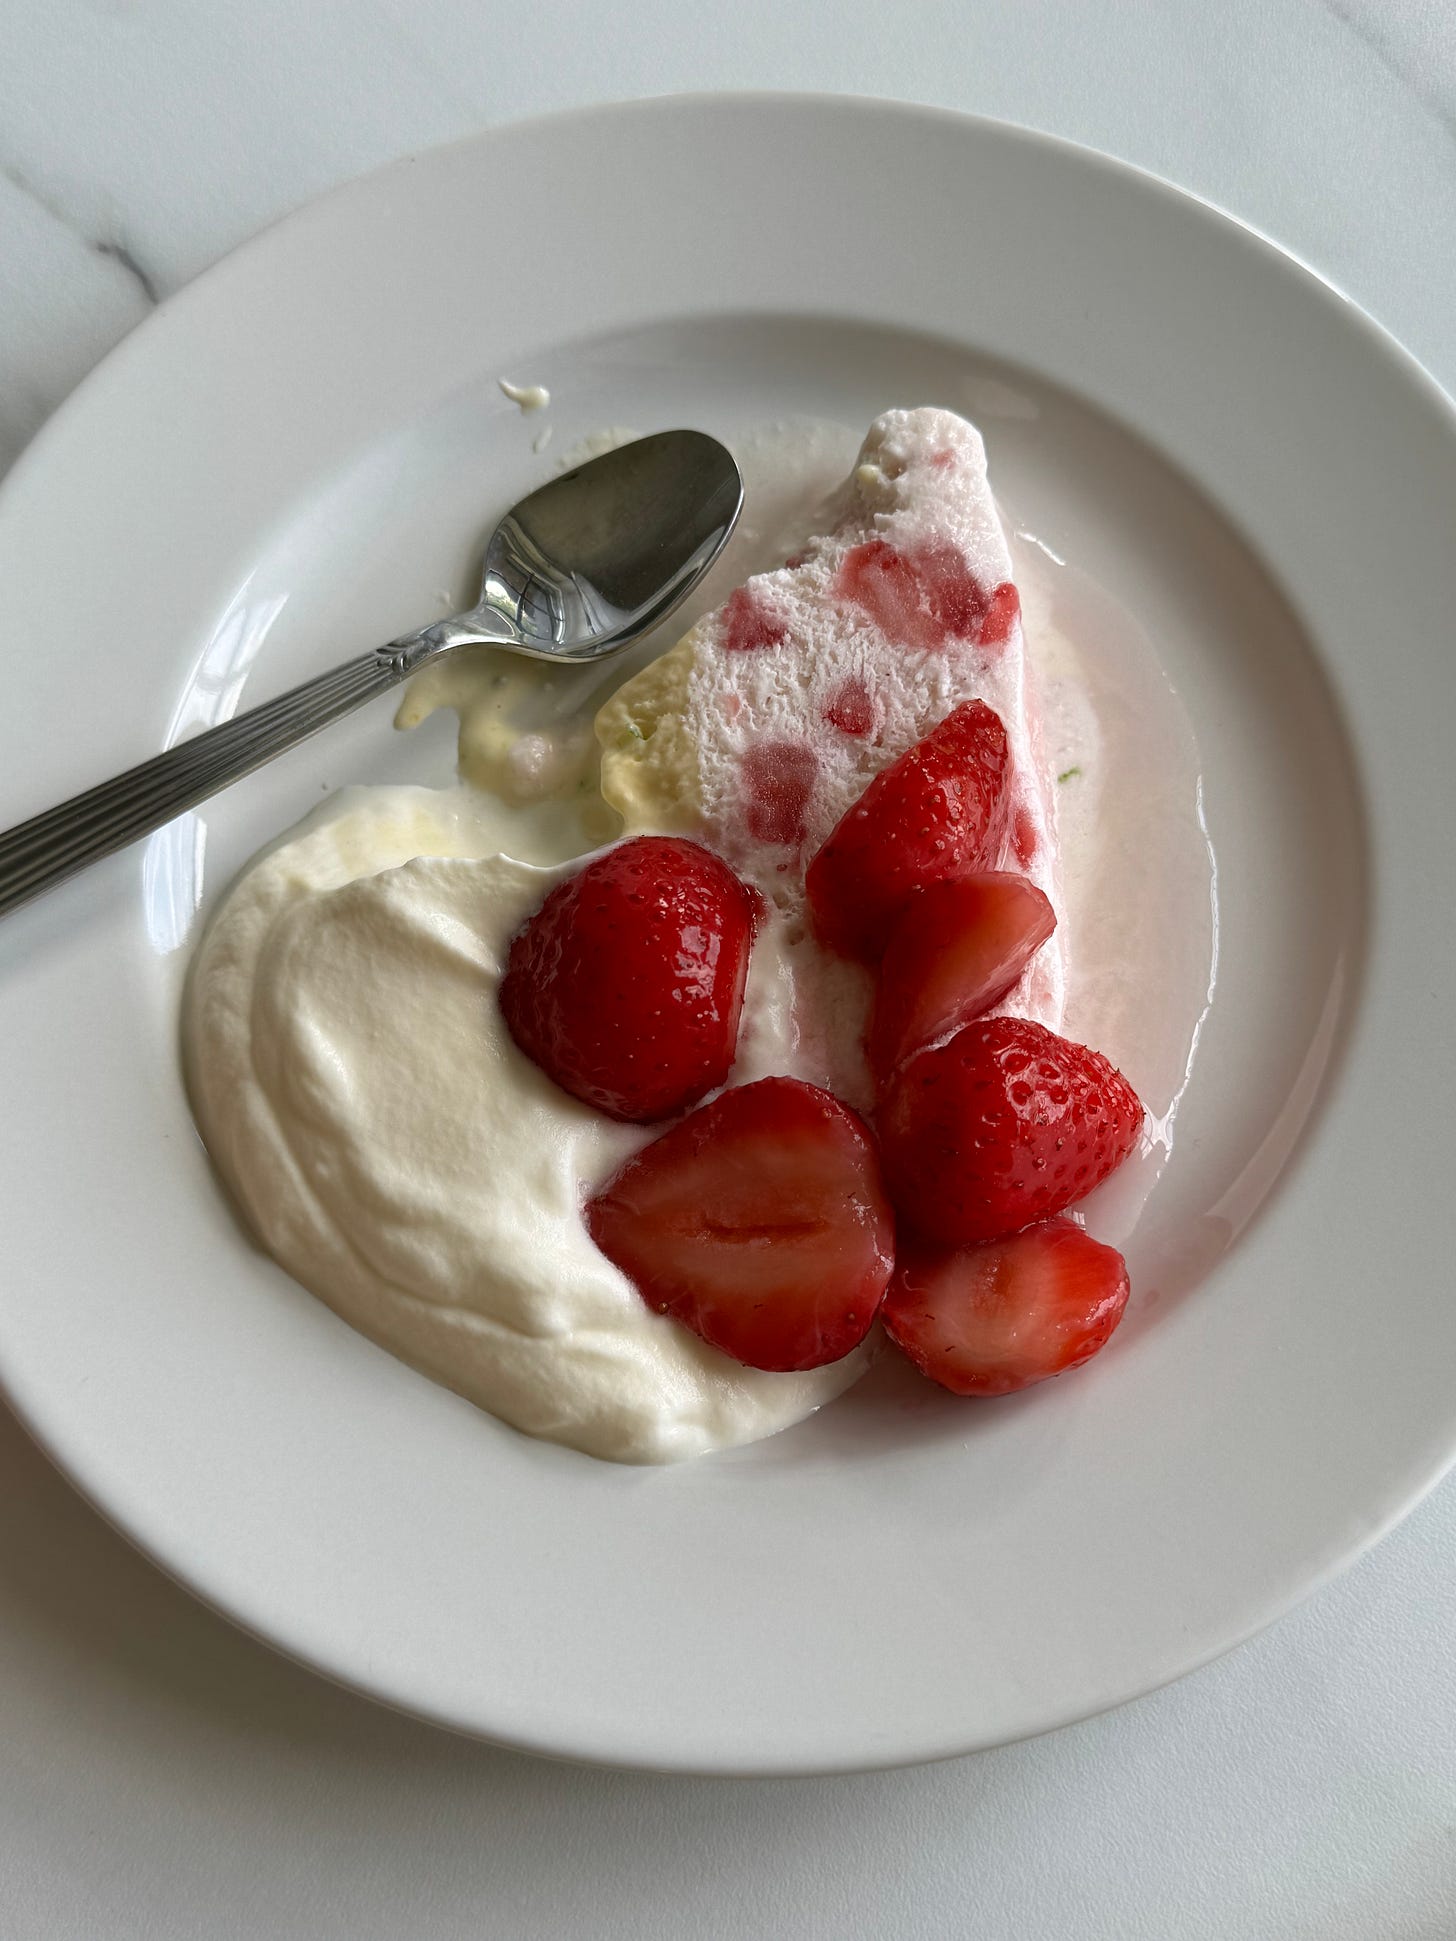
On today’s menu, we have an introduction to fig leaves and strawberries, a simple recipe for the strawberry and/or fig leaf semifreddo pictured above (it has the irresistible mousse-like airiness of a semi-frozen tiramisù), and an easy breezy little Q&A where I share my top three “tips of the trade”.
Also, an announcement: starting this July, seasonal sundays will become a fortnightly publication! Consider it summer hours and a chance to catch a reading break. Lots of you said in the reader survey that you like the weekly schedule, while lots of you said you’d prefer biweekly instead, so we’re trying it out. The plan is to test the fortnightly waters over the coming weeks, then circle back at the end of season to see which pace most prefer. (Meanwhile, the free good food at home newsletters will continue to be monthly-ish, with a tentative publication date on the last day of every month).
Wishing you all a delicious and relaxing July!
I hope you enjoy the read, the recipe, and the Q&A.
— Simone
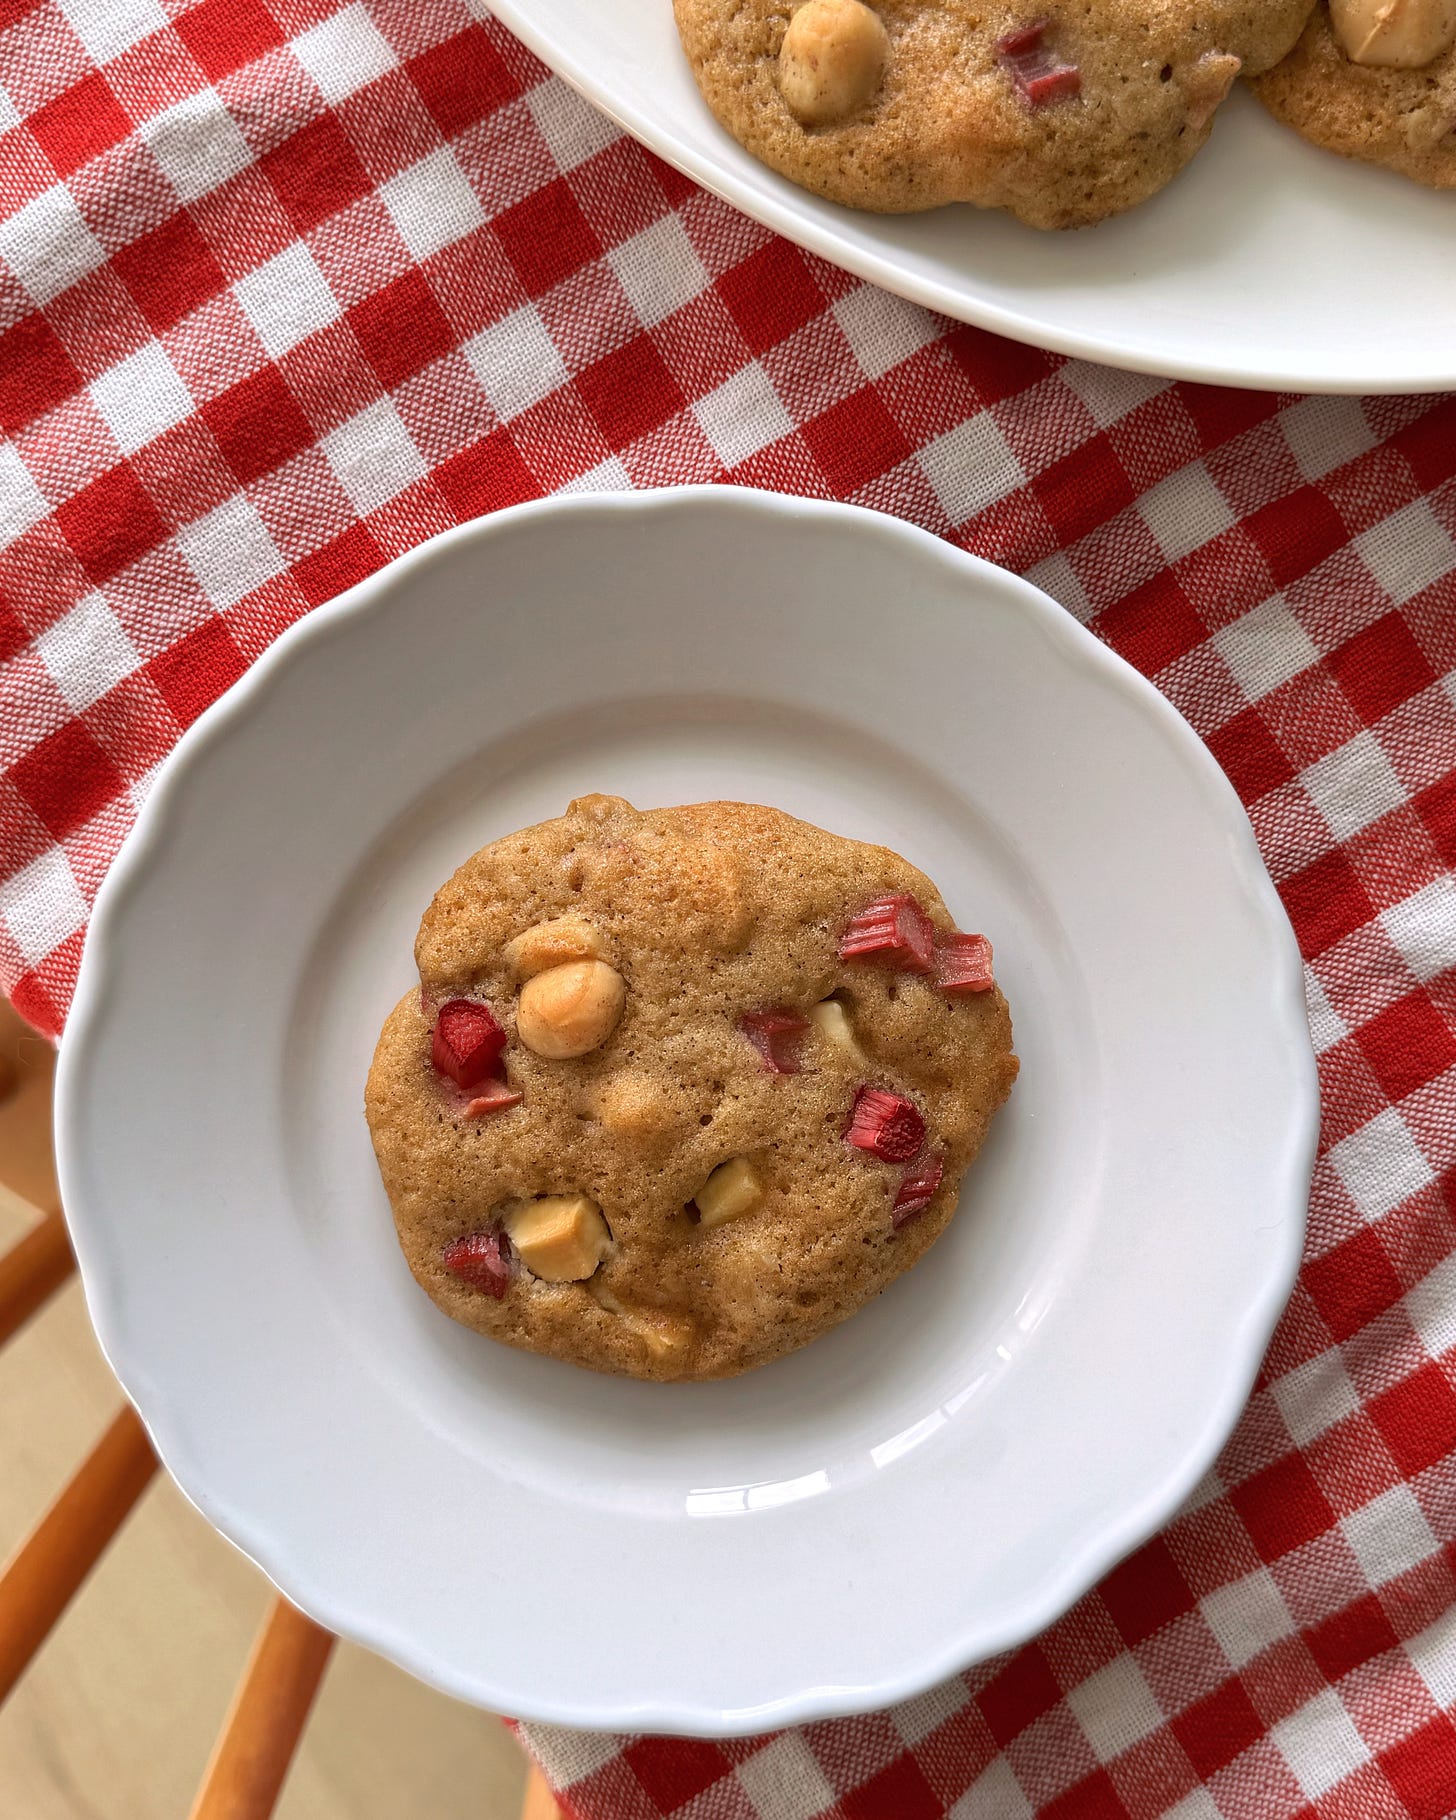
P.S. In case you missed it, there’s a new rhubarb (and strawberry) cookie recipe up on the site! (Paid subscribers can get a more detailed version of it right over here.)
You surely don’t need me to tell you that in-season strawberries are delicious — but have you ever inhaled the enthralling perfume of a roasting fig leaf? This intriguing combination is what this week’s issue is all about. Allow me to tell you more…
STRAWBERRIES & FIG LEAVES — ORIGIN & SEASONALITY
Until the late 18th century, if you were eating a strawberry, it was a wild one similar to the teeny tiny flavour bombs pictured above*. Enjoyed as early as Roman times, the whole strawberry plant was believed to be a valuable tool against depression (judging by the immense joy it continues to bring, I’d argue that was a pretty fair assessment) and, by the mid-16th century, thanks to the court of Henry VIII, its fruit was already touted as a most excellent accompaniment to cream, whipped or otherwise.
Today, the modern varieties of garden strawberry we’ve most commonly come to know and love (and consume in dizzying amounts) are descendent of both North and South American wild strawberries first interbred in France in the 1700s, as their increased size and prolific fruiting capacity quickly made them popular all around the world. Speaking of which: these days, most of the world’s cultivated strawberries are grown in China.
As for fig leaves, in addition to being used as modest modes of censorship throughout art history, they have also been around for a very, very long time. Thought to be one of the first plants cultivated by humans, fig trees of the species Ficus carica originated in what is today the Middle East and have since been naturalised all over the world, with uses that range from wrapping cheeses to cooking fish in leafy papillotes (Ancient Greeks were apparently even using the sap that oozes from broken fig stems as an early animal-free rennet).
In terms of seasonality, depending on where you live (it always depends on where you live), fresh strawberries have either been available for months already or are only just coming into their own. Same goes for fig leaves, though when it comes to their fruits, some fig varieties are already ripening while others won’t be plump or juicy until much later in the summer.
*fun fact: if you’ve ever thought that some artificial strawberry aromas do a poor job of imitating the natural taste of a cultivated strawberry, that’s because many were modelled on the long-cherished flavour of wild strawberries, not on modern garden varieties
FLAVOUR NOTES & PAIRINGS
You may be surprised to know that fig leaves give off a wonderfully coconutty aroma once toasted. While too fibrous to eat, they are well-suited for infusing into oils, syrups, and cream as a way of imparting a herbaceous and vanilla-scented tropical taste, all without having to use actual coconut.
As for the fragrant Fragaria (i.e. strawberries’ Latin genus), while their ubiquity almost makes it a challenge to describe, I would say that the flavour and texture of a good, ripe strawberry is both sweet and a little sour, juicy and fleshy, reminiscent of pineapple and wild rose jelly (strawberries are, after all, related to roses).
Common pairings for strawberries include cream, fresh cheeses, lime, mint, pistachios, coconut, oats, elderflower, champagne, matcha, white chocolate, basil, balsamic vinegar, and vanilla, as well as fresh co-seasonal produce such as rhubarb, pineapple weed, and roses.
Meanwhile, fig leave infusions are known to go well with milk and cream, custards, rice, and vanilla — as well as anything that goes with coconut, such as lychee, cucumber, mint, lime, mango, strawberry, and lemongrass, among others.
SHOPPING TIPS
Ripe, in-season strawberries should be deep red in colour — not too firm, and not too soft either. The greener and less dried-out the tops, the more recently they’ve been picked. If plucking your own strawberries from a garden or wild strawberries from a field, make sure you don’t get too eager so as to pick any that have a hidden pale spot. Unless you are specifically looking for unripe strawberries (they make a great pickle), these pale ones just won’t be as juicy or taste all that sweet yet.
Fig leaves can be purchased dried, often in powdered form, in some specialty groceries and spice shops, but your best bet would be to find a friend who owns a tree. Look for leaves that are dark green — front and back — with few signs of insect or drought damage. Some say that younger, more tender leaves are more fragrant, but larger, older leaves harvested in the fall seem to be just as coconutty as the early summer ones, so I wouldn’t worry too much about how long they’ve been on the tree.
TROUBLESHOOTING & STORAGE
If your strawberries aren’t quite ripe, maceration is the way to go. Cut them up or keep them whole, weigh them, then stir them through 14g of white sugar for every 500 grams you’ve got. Leave to sit (for at least an hour, and up to a day in the fridge) until irresistibly juicy.
If your strawberries are too ripe to be pleasantly popped raw into your mouth, cook them down into a compote or jam, and jar or freeze any leftovers to spoon over and through yogurt, rice porridge or pudding, onto waffles, pancakes, or scones, or in between layers of cream and cake.
When harvesting fig leaves yourself (with approval from the tree’s proprietor, please), take care to remove any sap that may get onto your skin — it’s an irritant, and subsequent exposure to sunlight before a thorough wash could result in a nasty case of phytophotodermatitis. Note that to release the flavour and aroma of fig leaves, they must be heated (by the sun, toasted in a dry pan or grilled, smoked, baked in an oven, or simply warmed into an infusing liquid).
If not used or consumed within a few hours, both strawberries† and fig leaves are best stored in an airtight container in the refrigerator, loosely cradled by a small cloth or piece of kitchen paper, and can last this way for up to a week on average.
†you’ll want to keep your strawberries in one layer to avoid squishage, and can either them unwashed and dry, or refrigerate them after washing in a 1:3 vinegar-water solution and drying them really, really well (fig leaves are less fiddly)
While I normally don’t do much to strawberries at all (they are either devoured straight from the plant or punnet, or — on rare occasions — macerated then simply served with vanilla whipped cream), the inspiration for the recipe below comes from a desire to preserve the freshness of some lovely ripe strawberries (of the varieties Favori and Korona) I’d just bought and picked, all while challenging myself to do something interesting with them, and do something fun with fig leaves in the process.
The weather got unbearably hot, the leaves on my miniature balcony fig trees caught my eye, and suddenly (just in time for Wimbledon, Canada Day, and the 4th of July‡) I knew exactly what sort of recipe I wanted to develop.
‡Americans, you know the drill: just add blue berries (I recommend haskap at this time of year)
a strawberry & fig leaf semifreddo 🍧
Semifreddo, literally “half-cold” but most appropriately translated from Italian as “half-frozen”, is a no-churn alternative to ice cream that doesn’t require you to make a custard or buy a machine. You whip as much air as you possibly can into your ingredients before you freeze them, and that’s not only the reason it’s so fluffy even when straight from the freezer, it’s also why semifreddi will melt slower than ice cream or popsicles because all that air acts as a better buffer to heat than frozen water. How about that?
Most semifreddo recipes call for egg whites, egg yolks, or both. I think using both together often makes the most sense, but you can of course be playful and consider which textures and flavours you are most looking to enhance and showcase when making your decision. For the strawberry semifreddo, I wanted to keep the flavour super fresh and texture super light — hence why using egg whites only made the most sense to me.
For the fig leaf (and lime) semifreddo, I really wanted to emphasise the creaminess of my strawberry layer’s counterpart so went all-yolk. Doing it this way also means no leftover egg to deal with afterwards, which for me is an added win.
Strawberries and cream go well together, and so do strawberries and coconut. As a fil rouge to interweave these two flavours even more, I decided to add a subtle note of lime, which I think helped to further marry the two layers perfectly.
Note: While the eggs in this recipe are whisked over a double-boiler, you may want to skip this one if you have any hesitations about eating and/or serving egg that has not been rigorously pasteurised.
INGREDIENTS
for 8-10 portions
THINGS YOU’LL NEED
• a kitchen scale
• one metal loaf tin, bundt pan, popsicle moulds, or other container(s) large enough to hold around 1.8L (approx. 7,6 US cups) in volume
• one large metal bowl + one medium-large heat-proof bowl
• a whisk or hand mixer
• a sieve / medium-to-fine-mesh strainer
• a silicone spatula
• room to fit a large metal bowl in your fridge
• room to fit a loaf tin / popsicle moulds / lidded containers in your freezer
FOR THE STRAWBERRY SEMIFREDDO
• fresh strawberries leaves removed, 250g
• white sugar, 127g (divided into 7g + 20g + 100g)
• heavy cream (cold), 180g ideally around 39% fat
• fresh lime juice, 2 tsp or 10ml*
• fine sea salt, 1g or 1ml†
• egg whites (room temperature), 125g‡ from three or four eggs
FOR THE FIG LEAF (LIME) SEMIFREDDO
• fresh fig leaves, 12g, around four medium-sized leaves
• heavy cream (cold), 180g ideally around 39% fat
• white sugar, 67g (divided into 20g + 47g)
• egg yolks (room temperature), 50g‡ from three or four eggs
• the zest of a lime around 2 tsp
*you’ll need about half a lime for this amount
†can be difficult to weigh, but a small pinch or a little less than ¼ tsp will be just fine
‡ to get these amounts, the number will depend on the size of the eggs you use — my eggs were medium-sized and contained ∼35g of whites and ∼15g of yolk each so I used four to get as close as I could to the gram measurement
notes:
• If you’d like to make just a strawberry semifreddo or a fig leaf (lime) semifreddo in a container of the same volume, multiply the quantities listed in your the strawberry semifreddo’s ingredients list by 1.3 and omit the fig leaf portion, or multiply the quantities listed in the fig leaf (lime) semifreddo’s ingredients list by 4 and ignore the strawberry section.
• Fig leaves are evidently not the easiest things to find, so if you can’t access them (yet), try leaning into the lime flavour by adding the juice of a lime along with an extra tablespoon of sugar as you whip the cream (otherwise, if in doubt, you can never go wrong with vanilla — scrape the seeds and add the pod from half a bean, or use 1 Tbsp extract (~1 tsp ground vanilla) to infuse your cream).
METHOD
Synopsis: Macerate some strawberries. Whisk up egg whites and sugar, combine with whipped cream and strawberries, then freeze. // Infuse some cream with fig leaves. Whisk up egg yolks and sugar, combine with whipped cream and lime zest, then freeze. // Serve separately or together and enjoy!
STRAWBERRY SEMIFREDDO
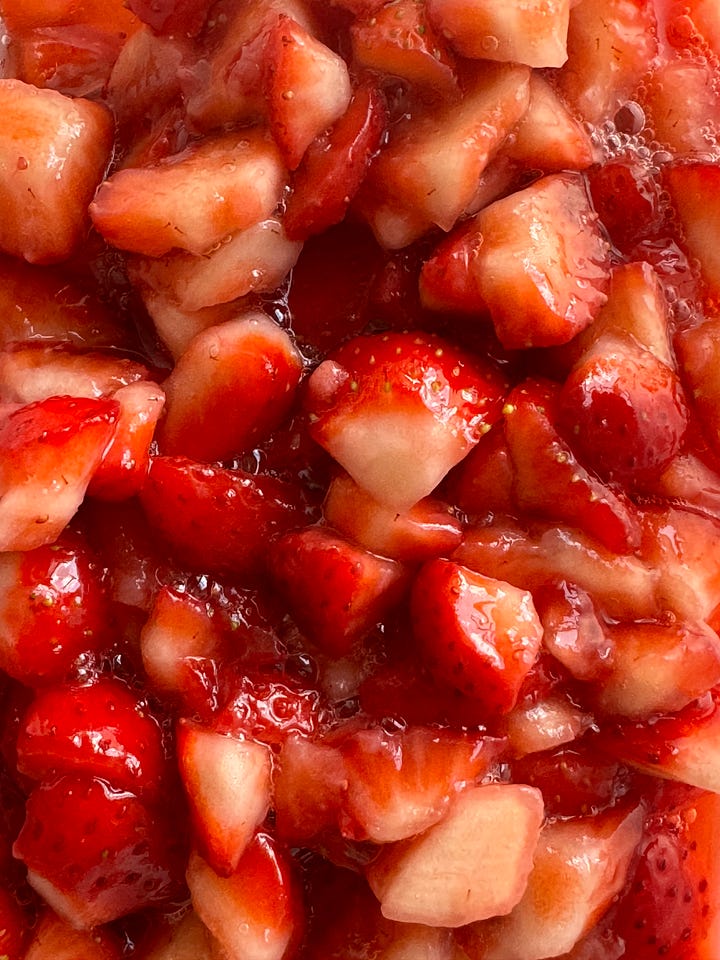
1. Start by building flavour. Slice 250g of topped strawberries into small chunks. Toss with 7 grams of sugar and leave to macerate for an hour and a half at room temperature (even better if you can leave them in a sunny spot). Transfer to the refrigerator to continue macerating for at least 3 hours, or up to 8 hours / overnight.
Meanwhile, warm 180 grams of heavy cream in a small heavy-bottomed pot set to medium-low heat, along with 20 grams of sugar. Stir regularly to avoid scorching the bottom, then remove the cream from the heat as soon as the sugar has dissolved or at the first sight of steam. Let come to room temperature, then transfer to a lidded container and chill in the refrigerator until completely cold, ideally overnight.

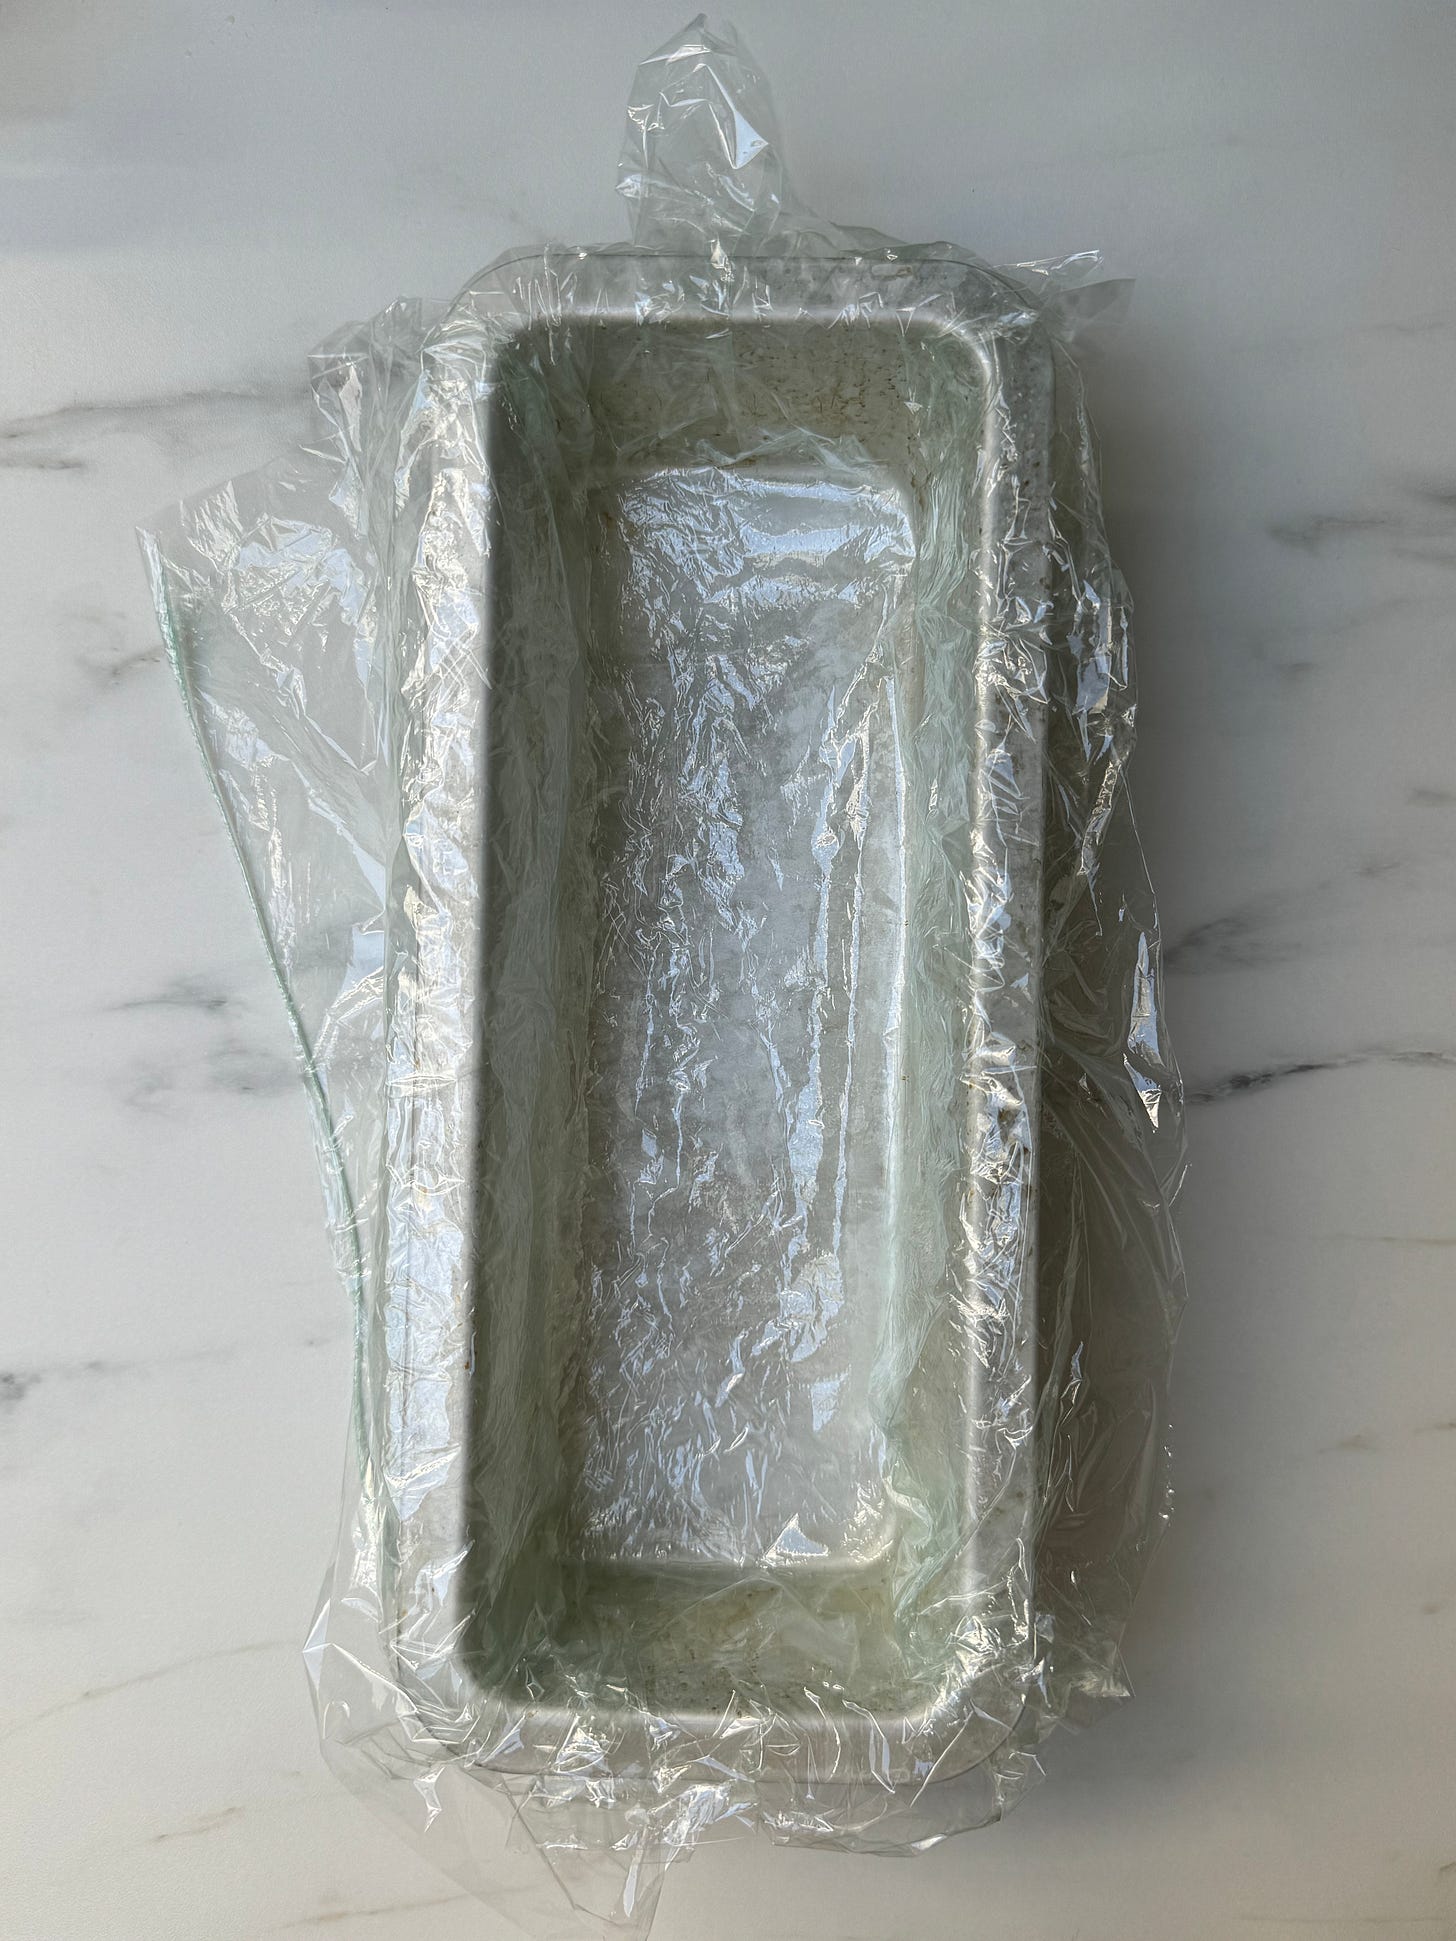
2. Prepare a mould. Line a metal loaf tin or bundt pan with plastic wrap or parchment paper, leaving enough overhang around the long sides of the pan to fold back over the top of the semifreddo once poured in. (You could also not line your pan or mould(s) at all if you are planning to scoop your semifreddo out like ice cream instead of upturning it and cutting it into slices, in classic semifreddo style.)
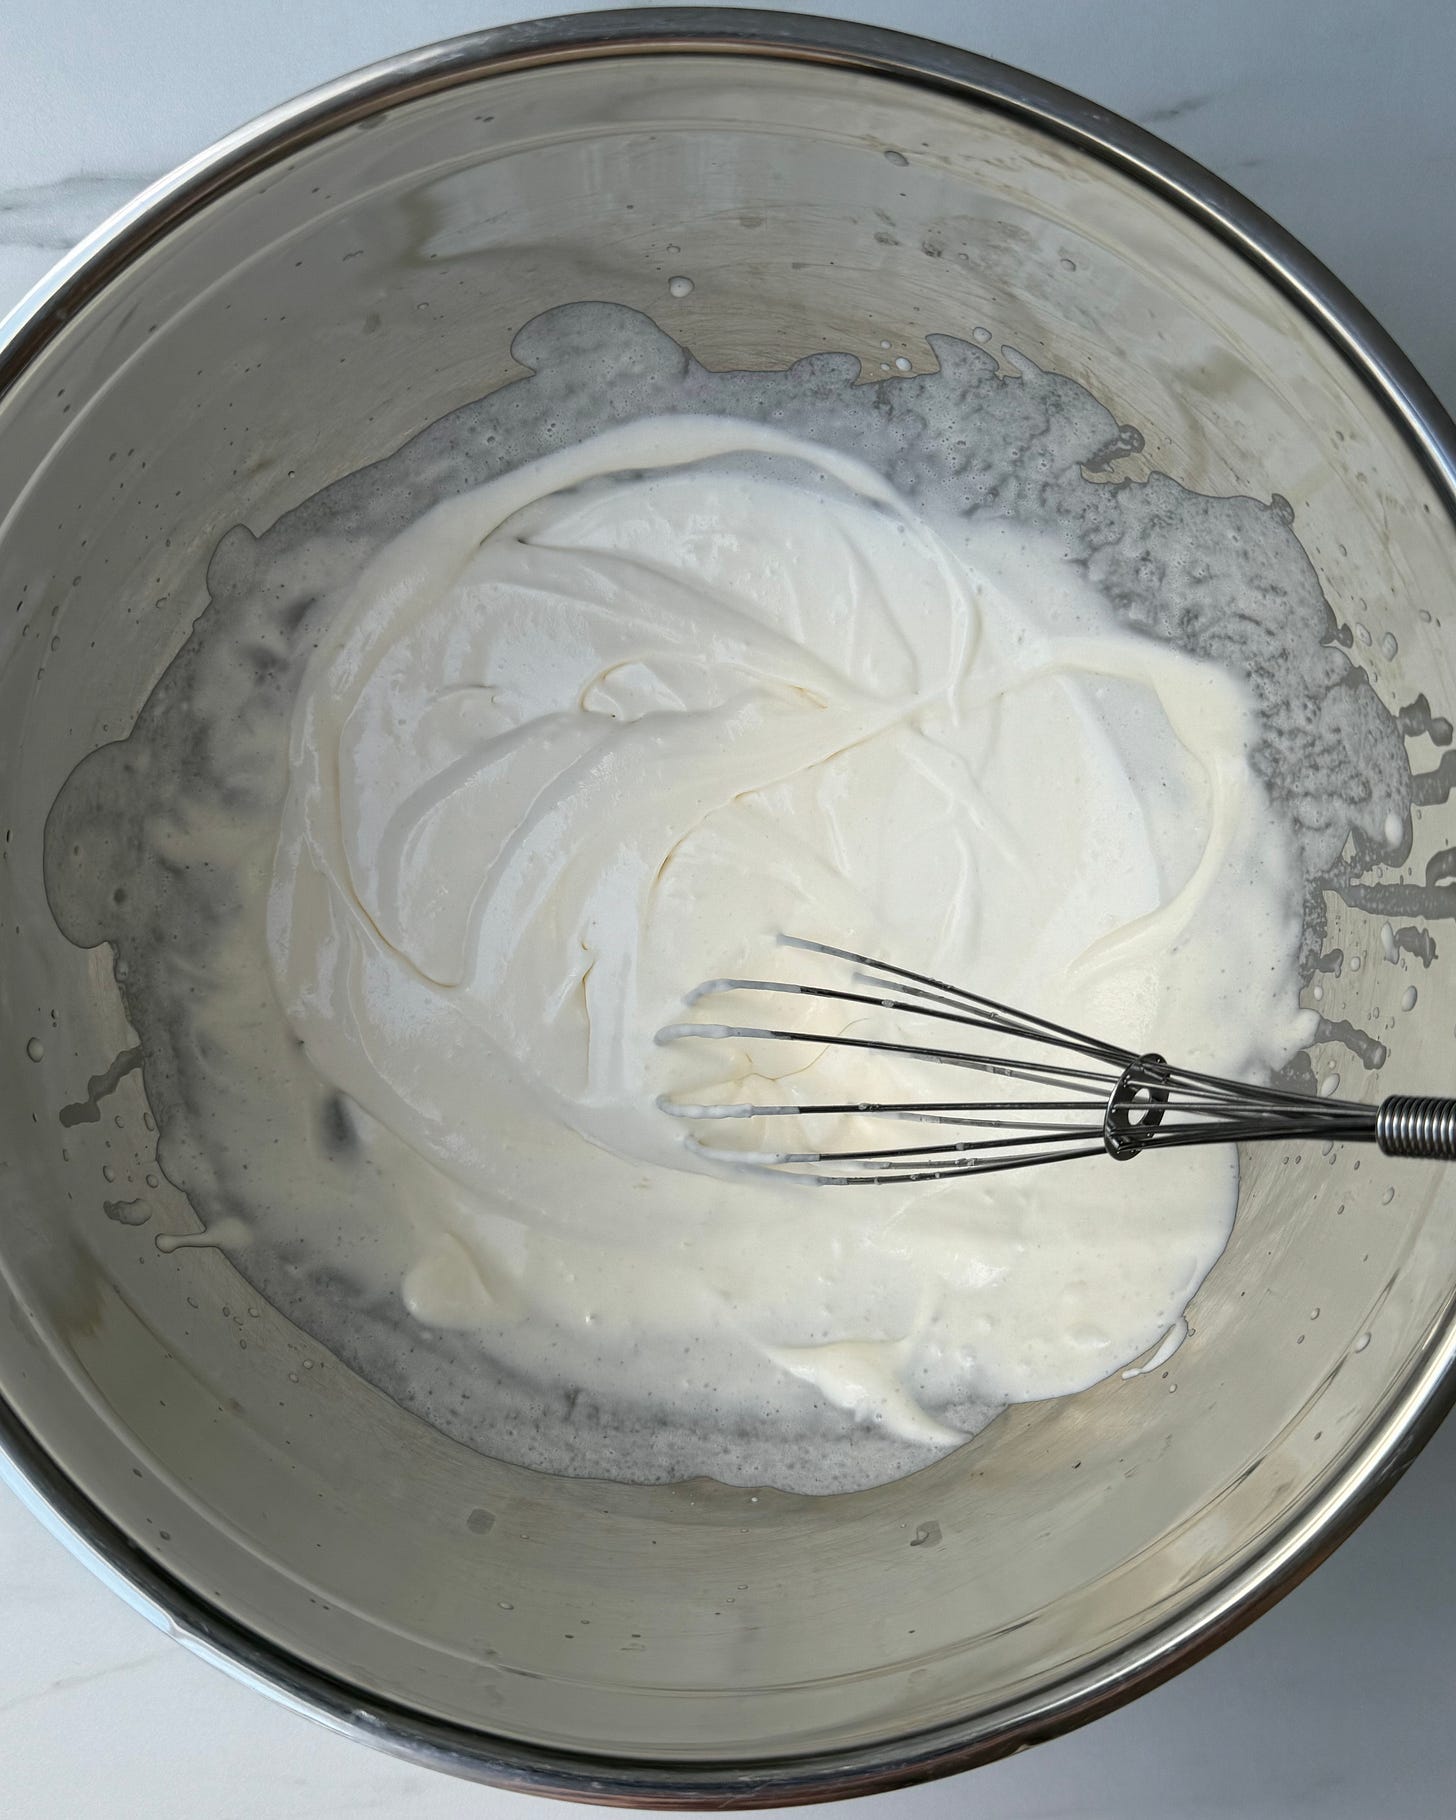
3. Whip the cream. Place large metal bowl and whisk into the fridge at least 30 minutes before you are ready to whip your cream. (If you haven’t yet brought your eggs to room temperature, now would also be a good time to do so). Whip the chilled sweetened cream in the chilled bowl using the chilled whisk. Keep going until you have soft peaks that can hold their shape. Transfer the whipped cream back to the fridge to chill while you work on the next step.
4. Make a Swiss meringue. Add two teaspoons (10ml) of fresh lime juice to the macerated strawberries, stir well to combine, then lightly mash the strawberries with the back of a fork. Push the strawberries through a sieve to collect as much of their juices as you can into a very clean heat-proof bowl, then set the strained macerated strawberries aside in the refrigerator.
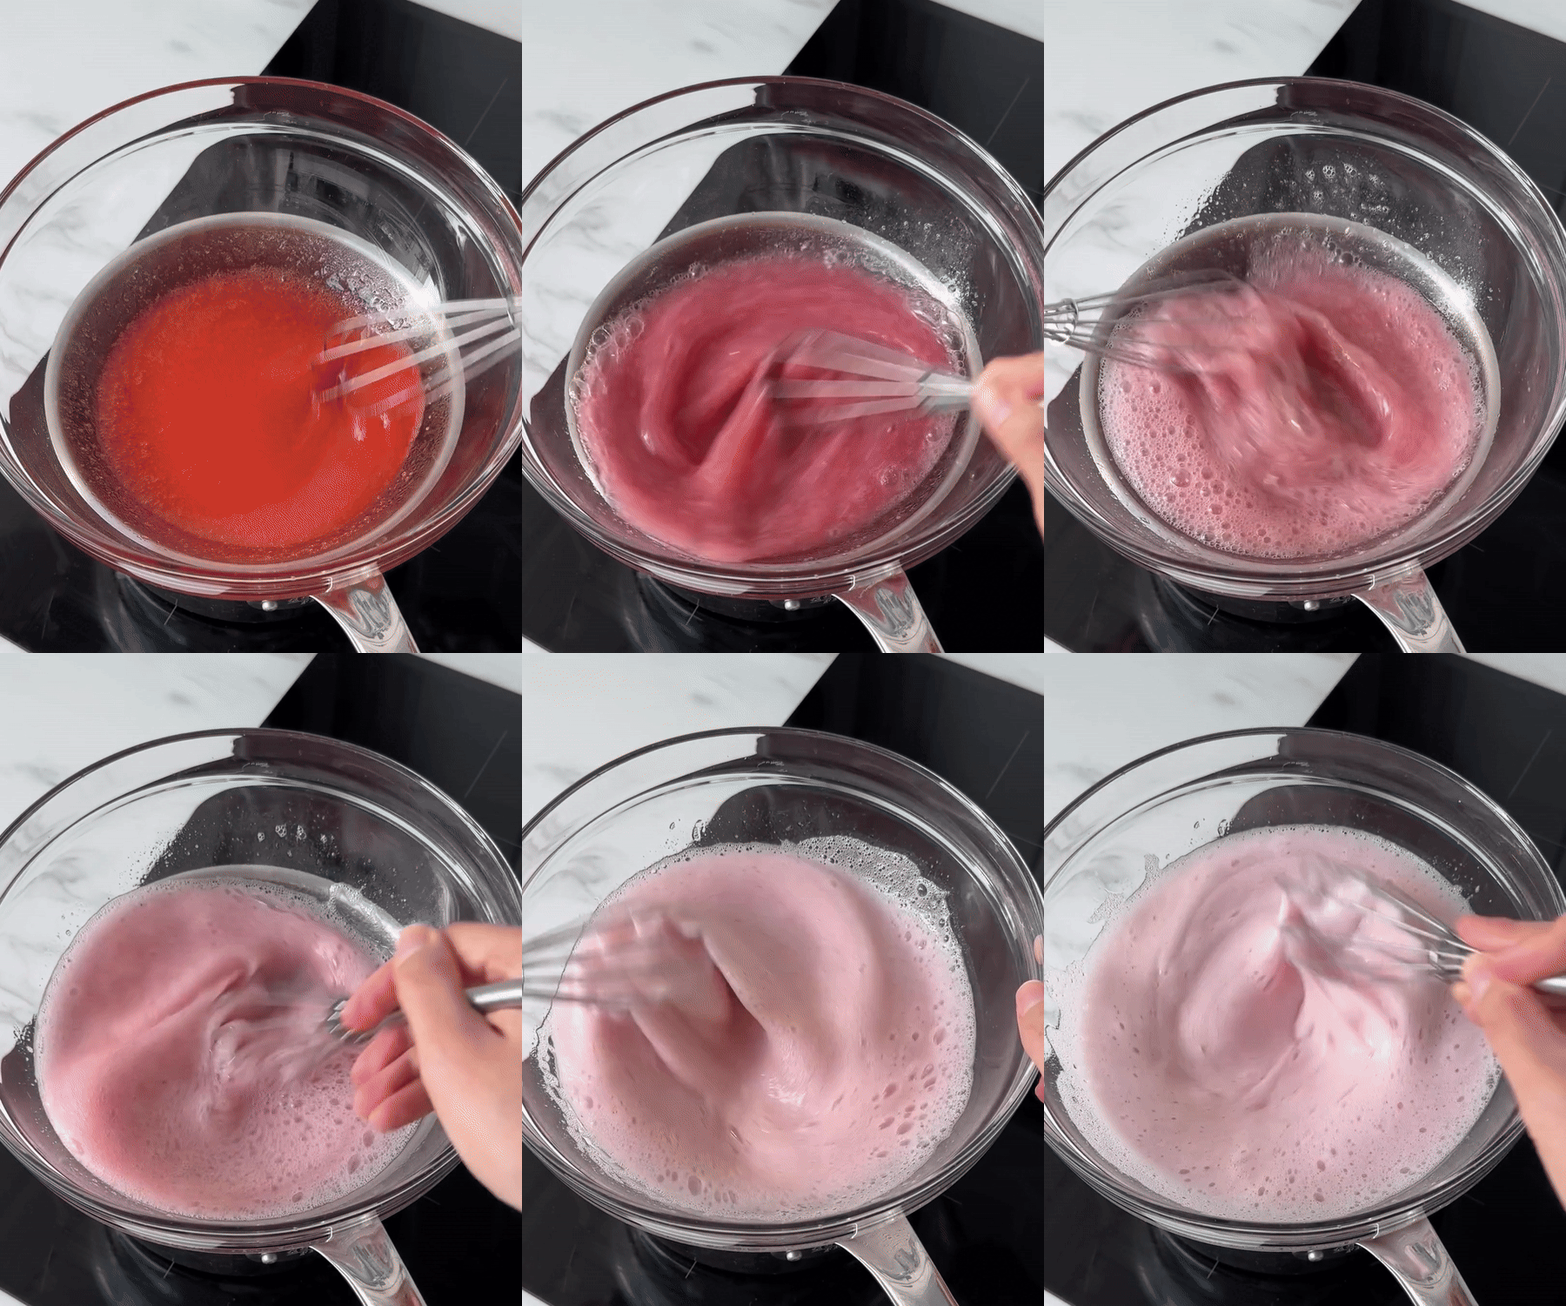
To the bowl with the strawberry juice and lime, add 100 grams of white sugar and one gram (a little less than ¼ tsp) of fine sea salt. Combine using a very clean whisk, then place over a pot containing a phalange’s depth of water that has been brought to a boil, then reduced to a bare simmer. Stir briefly, just until the sugar dissolves into a strawberry syrup, then add 125g of egg whites.
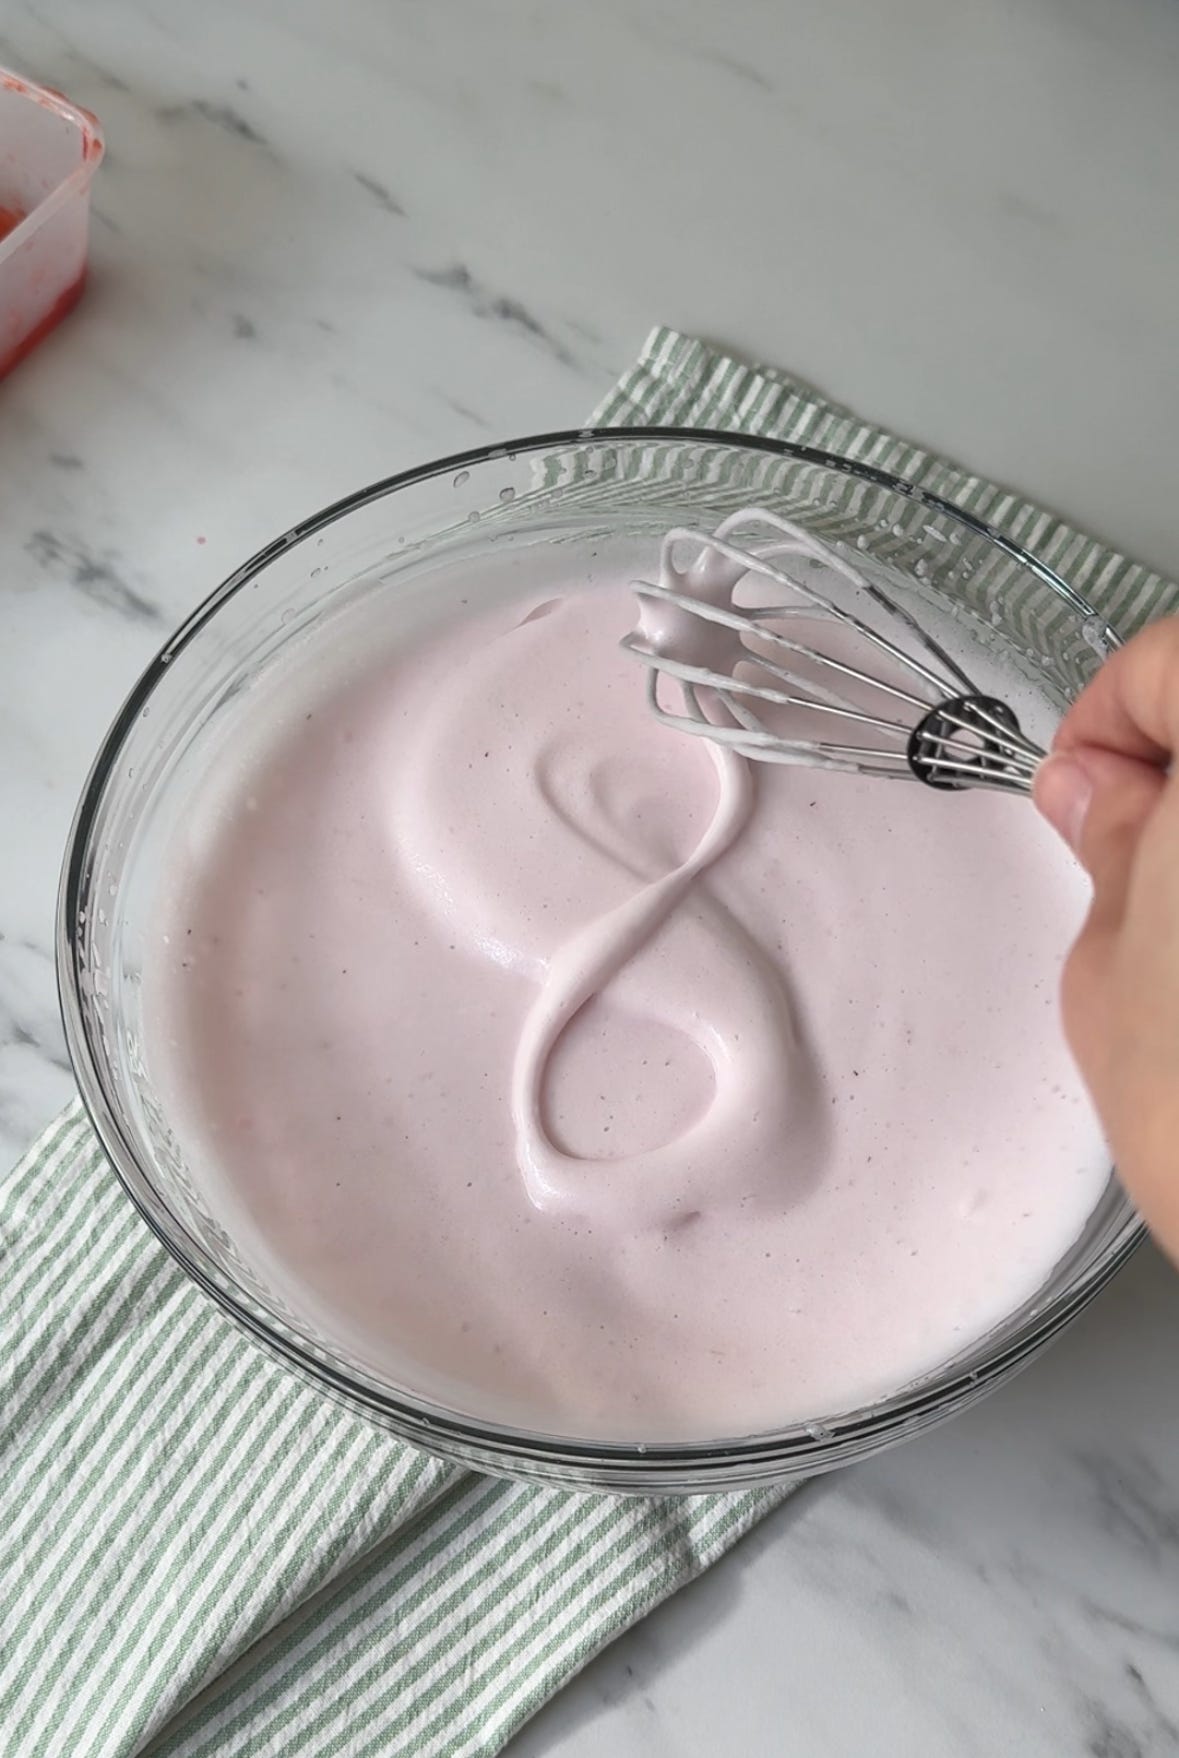
Beat the egg whites non-stop, just until glossy but still with large bubbles, then remove the bowl from the pot of steaming water and continue to whisk until you’ve incorporated enough air to significantly increase the whites’ volume and get visible ripples and peaks, the bubbles now teeny tiny, making sure to stop before the foam gets stiff or brittle.
Good to know: The acidity in the lime juice and the salt both help to give the egg whites extra stability and structure as they are beaten up into a meringue; the whisk and bowl must be very clean to ensure that no tiny amount of residual fat — which prevents the meringue from forming properly — comes into contact with the egg whites while beating (hence why a glass or metal bowl will be better here than a plastic one).
5. Assemble the components. Using a silicone spatula, very gently fold the macerated berries into the whipped cream. Then, continuing to be gentle so as to knock as little air out as possible from the billowy mixture, use the spatula to slowly fold the now-pink beaten egg whites into the whipped cream and berries in three separate additions, until everything has fully incorporated into one homogenous pale pink strawberry-studded blend.
6. Transfer to a mould and freeze. Pour the cloud-like mixture of creamy meringue foam into your prepared mould(s), then cover and freeze on a level surface for at least 8 hours before serving, ideally overnight so the semifreddo can fully set.
If serving without the fig leaf layer of semifreddo — you’re done! For un-moulding instructions and tips, continue reading to Step 7 in the fig leaf portion of the recipe below.

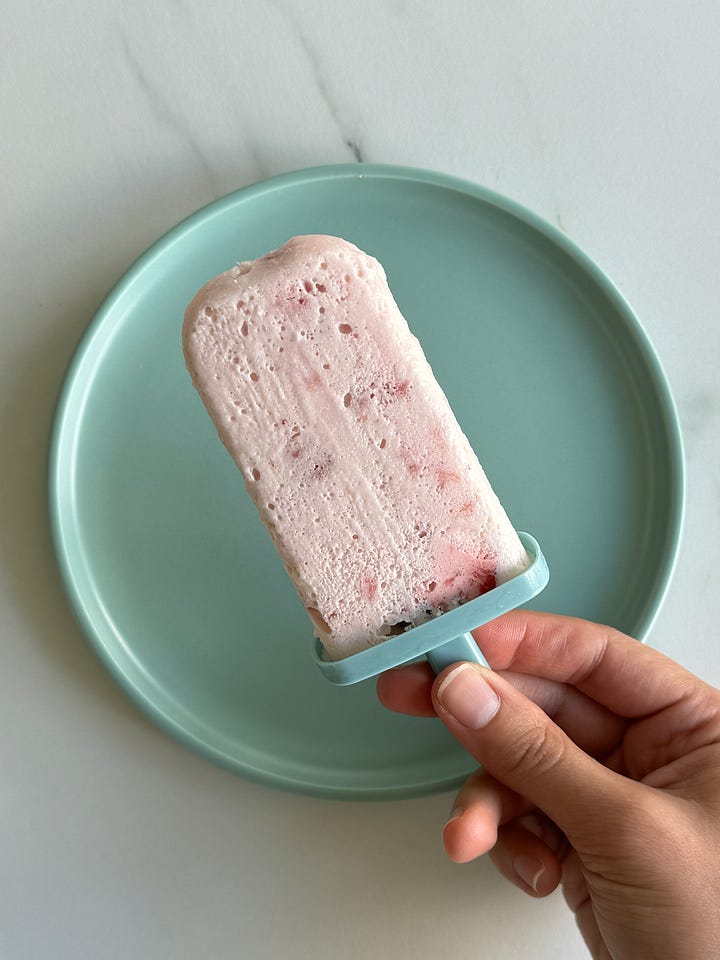
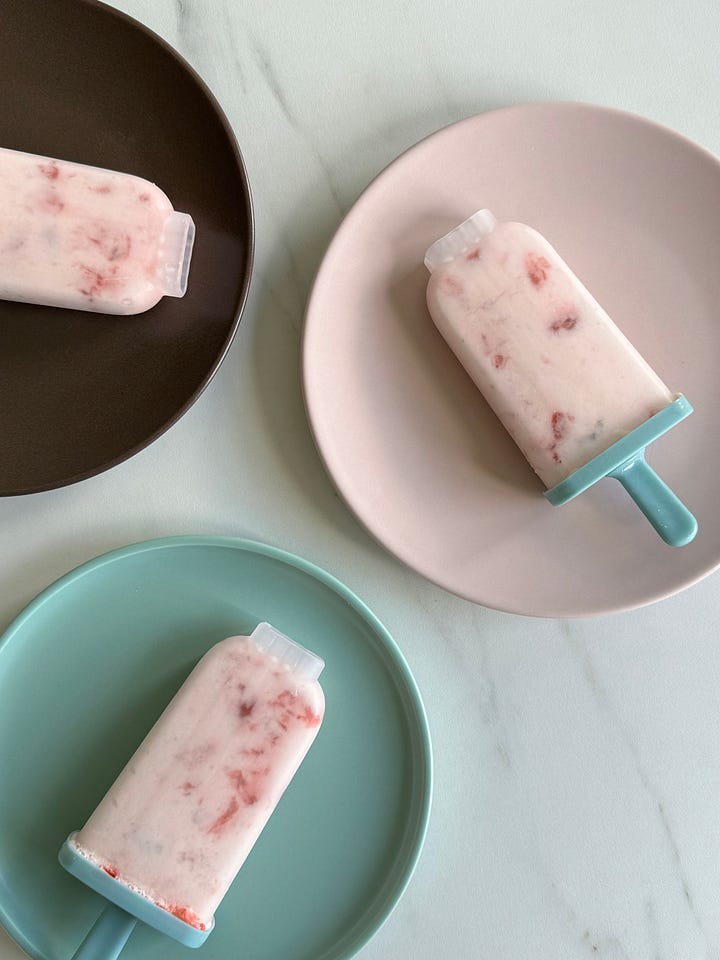

FIG LEAF (LIME) SEMIFREDDO
1. Start by building flavour. Pick, wash, and dry 12 grams’s worth of fresh fig leaves. Place directly on the centre grill of an oven preheated to 150°C/302°F for 5-7 minutes, or until curled up and crisp, formerly green veins now golden in the back.


In a medium-small heavy-bottomed pot, pour in 180 grams of heavy cream, 20 grams of sugar, and the dehydrated fig leaves. Turn the heat up to medium-low and leave the pot on long enough just for the cream to warm.
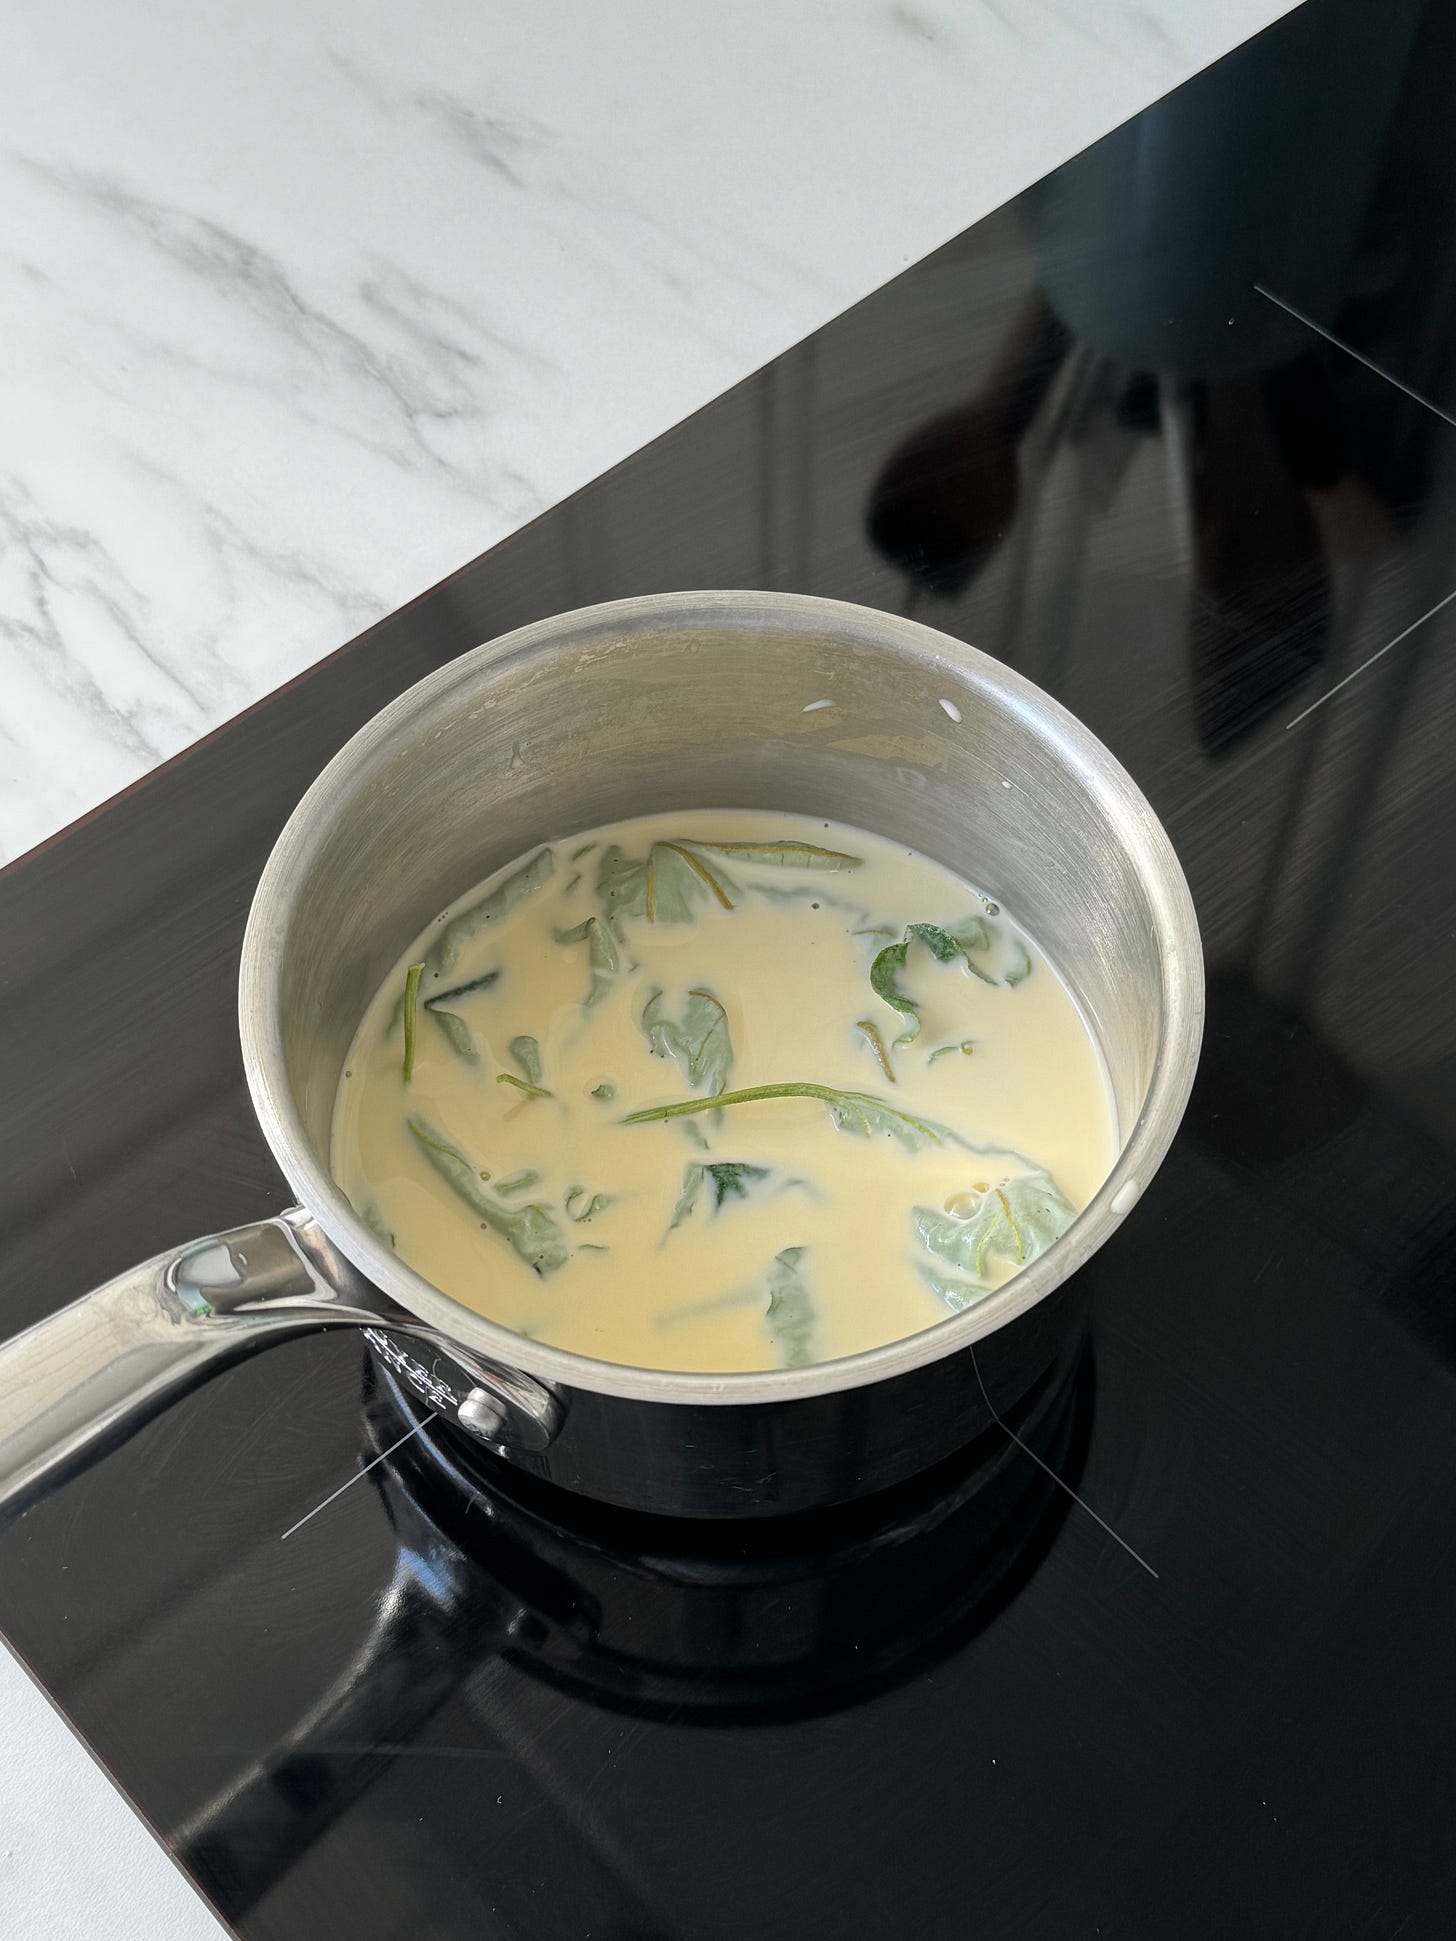
At the first sight of steam, remove the pot from the burner. Let the fig leaves steep for an hour and a half at room temperature, then transfer to a container and place in the fridge to continue infusing for at least 3 hours, or up to 8 hours / overnight.
2. Line a mould (or not). If not planning to layer the fig leaf semifreddo onto the strawberry semifreddo, prepare a mould (a loaf tin or bundt pan lined with cling film, or simply a couple of 500ml containers and/or a bunch of popsicle moulds will do).
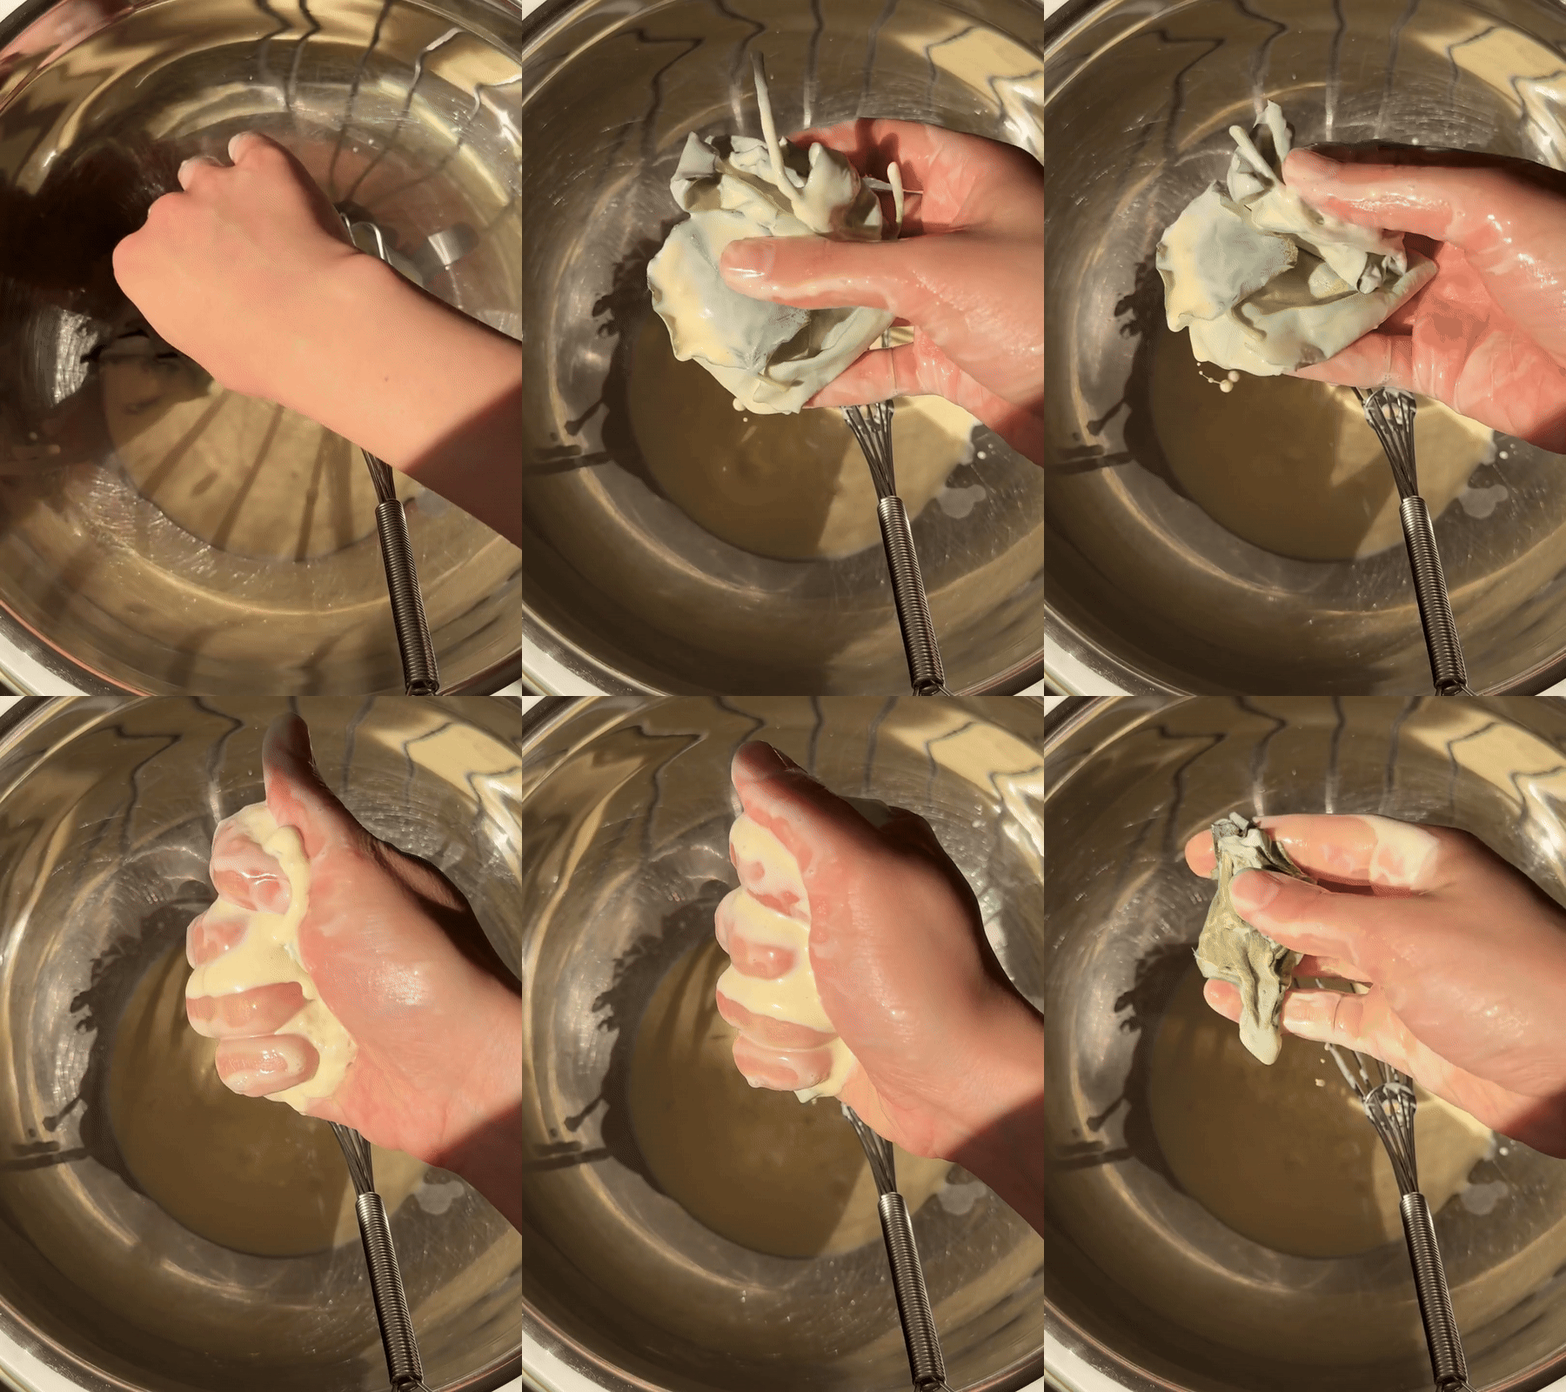
3. Whip the cream. Place large bowl and whisk into the fridge at least 30 minutes before you are ready to whip the fig-infused cream. (If you haven’t yet brought your eggs to room temperature, now would also be a good time to do so). Remove the infused cream from the refrigerator, remove and squeeze the fig leaves over the cream to extract as much flavour from them as you can, then whip the cream up in the chilled bowl using the chilled whisk.
Keep going until you have soft peaks that can hold their shape. Transfer your sweet herbaceous coconut-y whipped cream back to the fridge to chill while you work on the next step.
4. Make a zabaglione. Add 25 grams of egg yolks and 47 grams of sugar to a heat-proof bowl. Whisk together, then place over a pot of barely simmering water. Beat the egg yolks until luscious, pale, thick, and nearly doubled in volume, then remove from the pot of steaming water.


5. Assemble. Use a silicone spatula to slowly fold the sweet beaten egg yolks into the whipped cream in three separate additions, until everything has fully incorporated into one homogenous blend. Add in the fresh zest of one lime, and swirl through again.
6. Mould and freeze. Pour the cloud-like mixture of creamy meringue foam into your prepared tin, then cover it and freeze it on a level surface for at least 8 hours before serving, ideally overnight.
7. Unmould and enjoy. To serve, uncover the mould, place an upturned plate or cutting board over top, and flip out onto the plate or board. Remove the cling film and slice. (If moulded in a container or popsicle mould without plastic wrap, serve as you would ice cream, or briefly dip the moulds in hot water to release.)


The semifreddo is best enjoyed within a week of making, but can be kept frozen for up to a month.
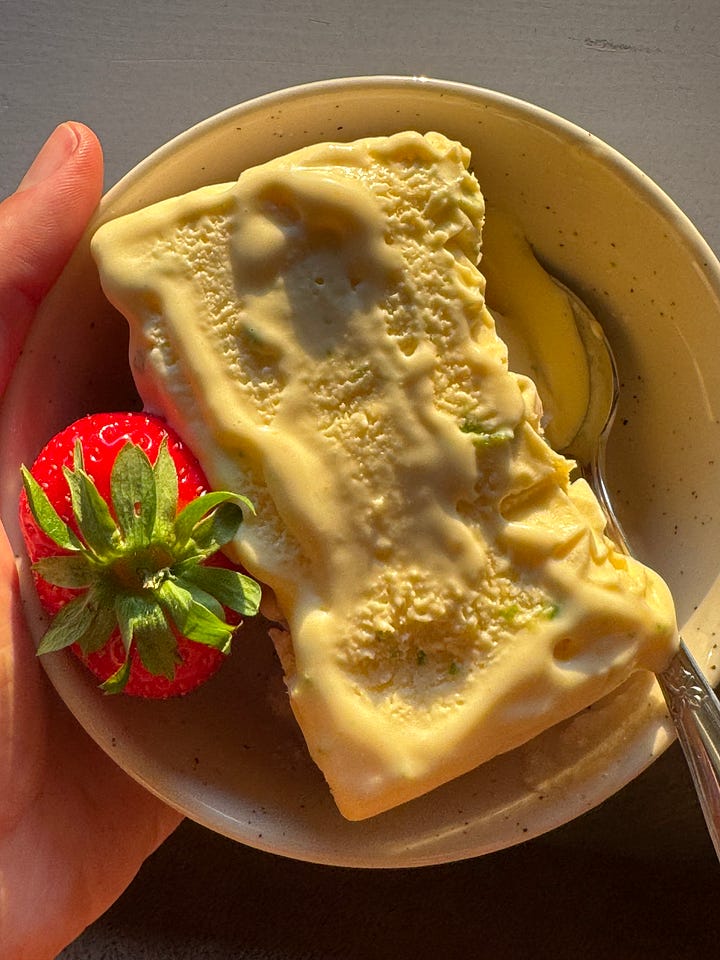
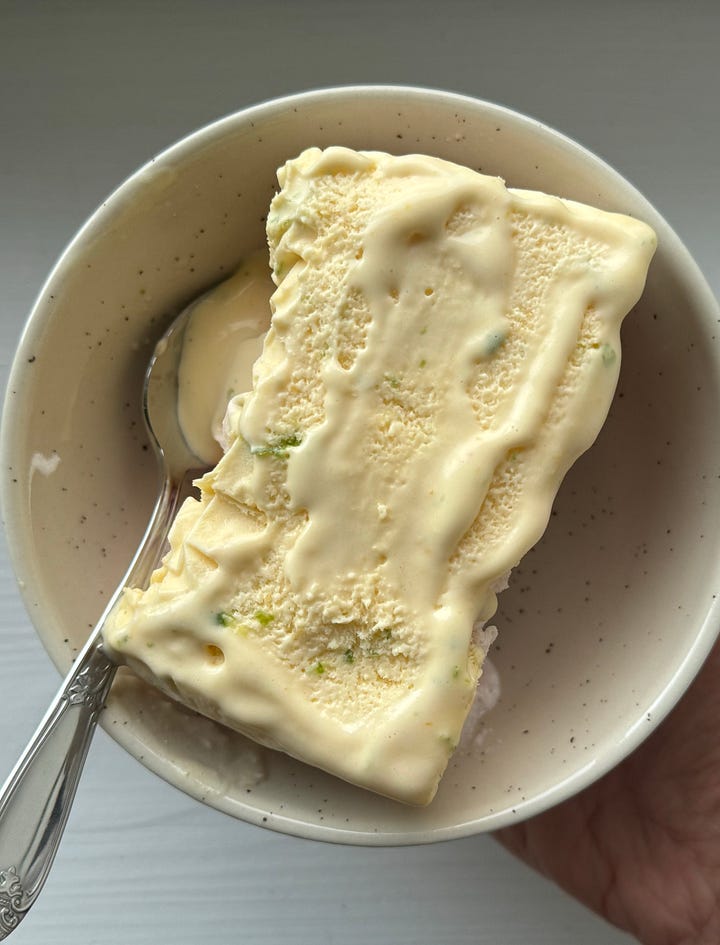
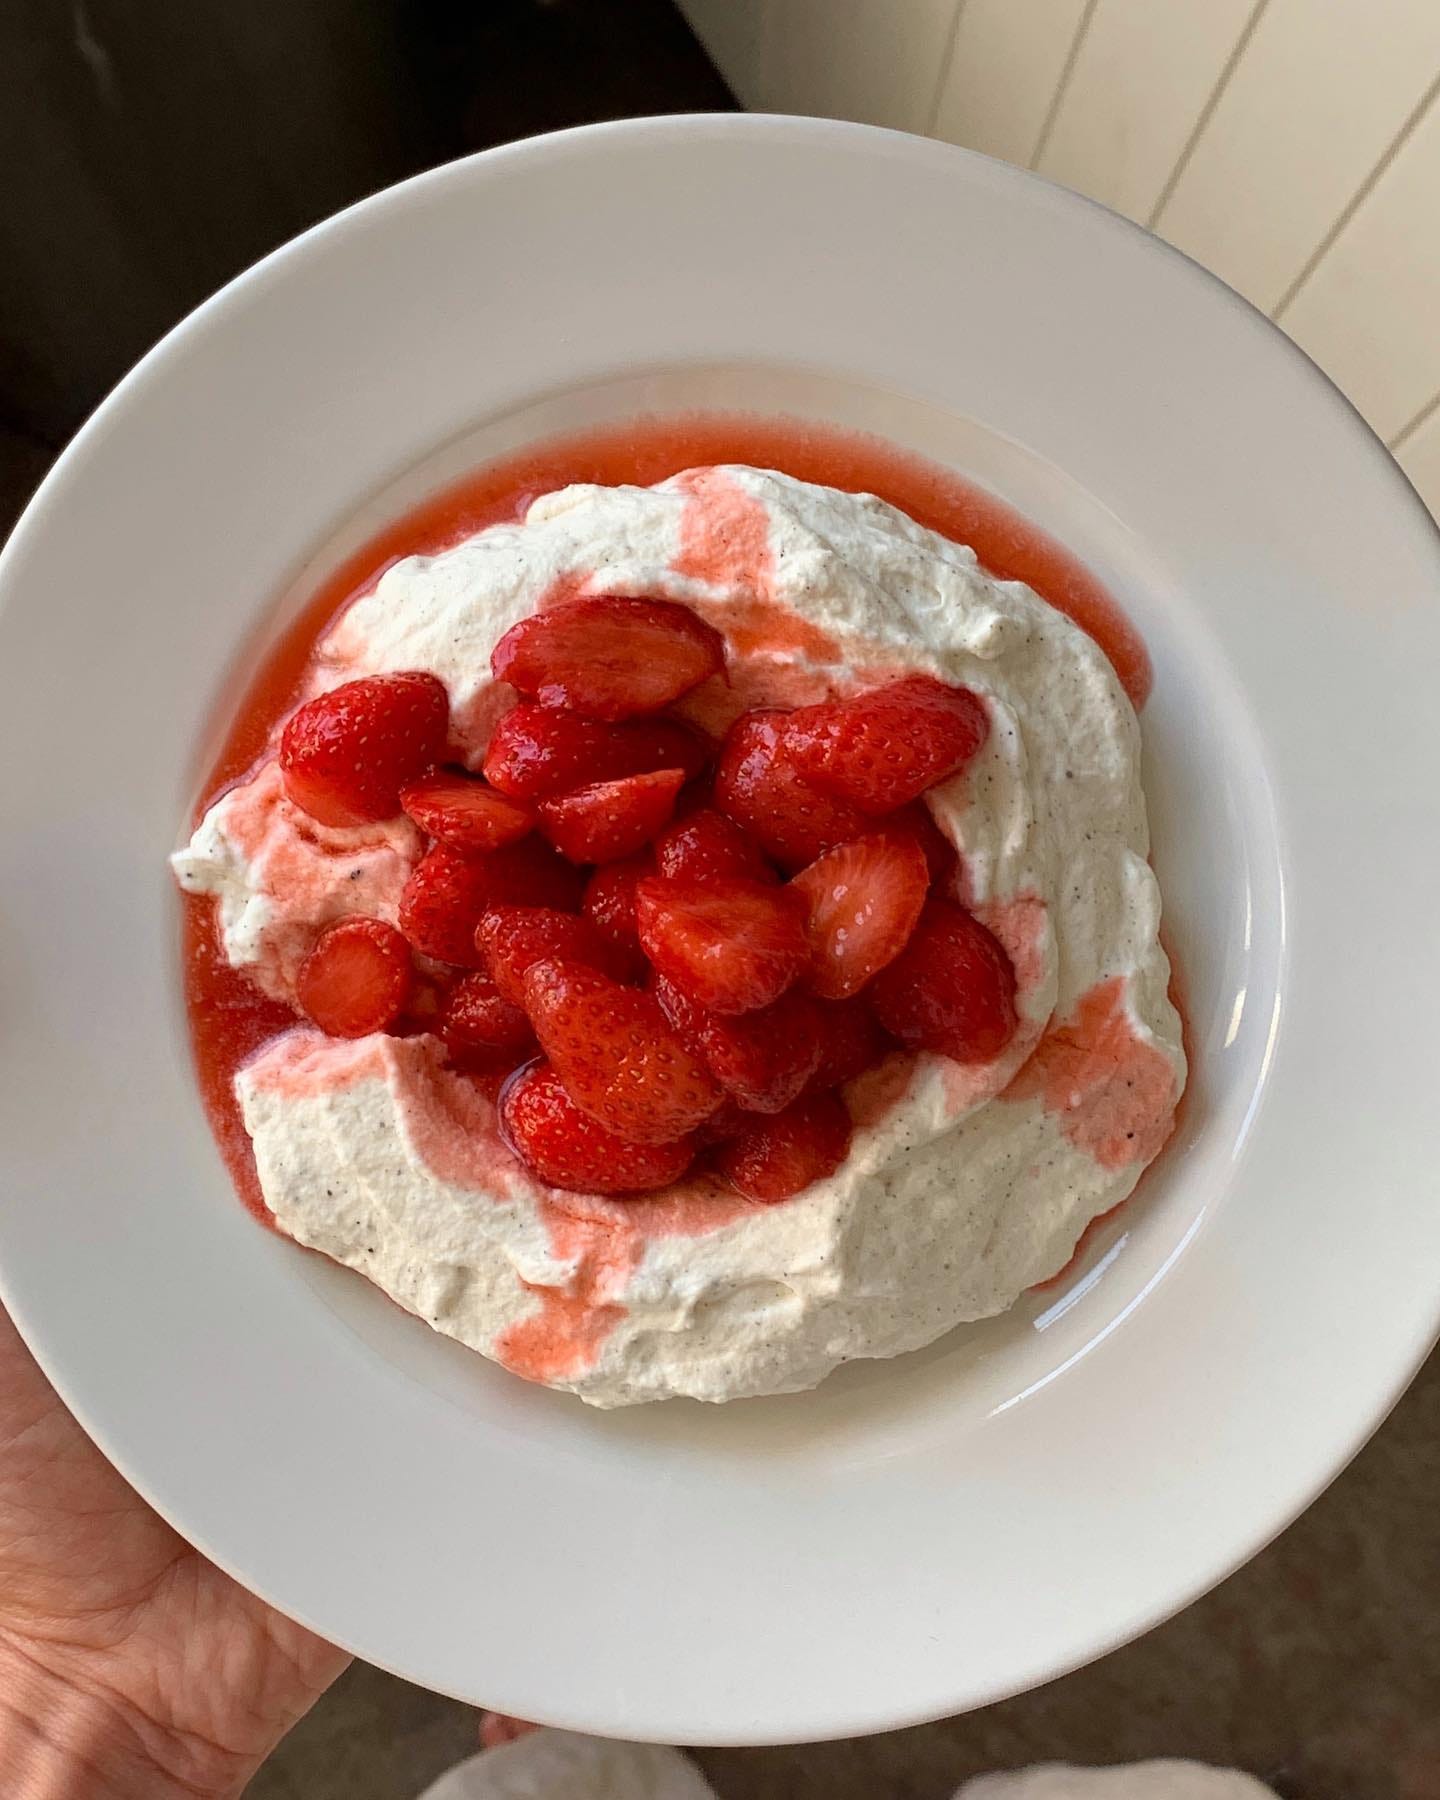
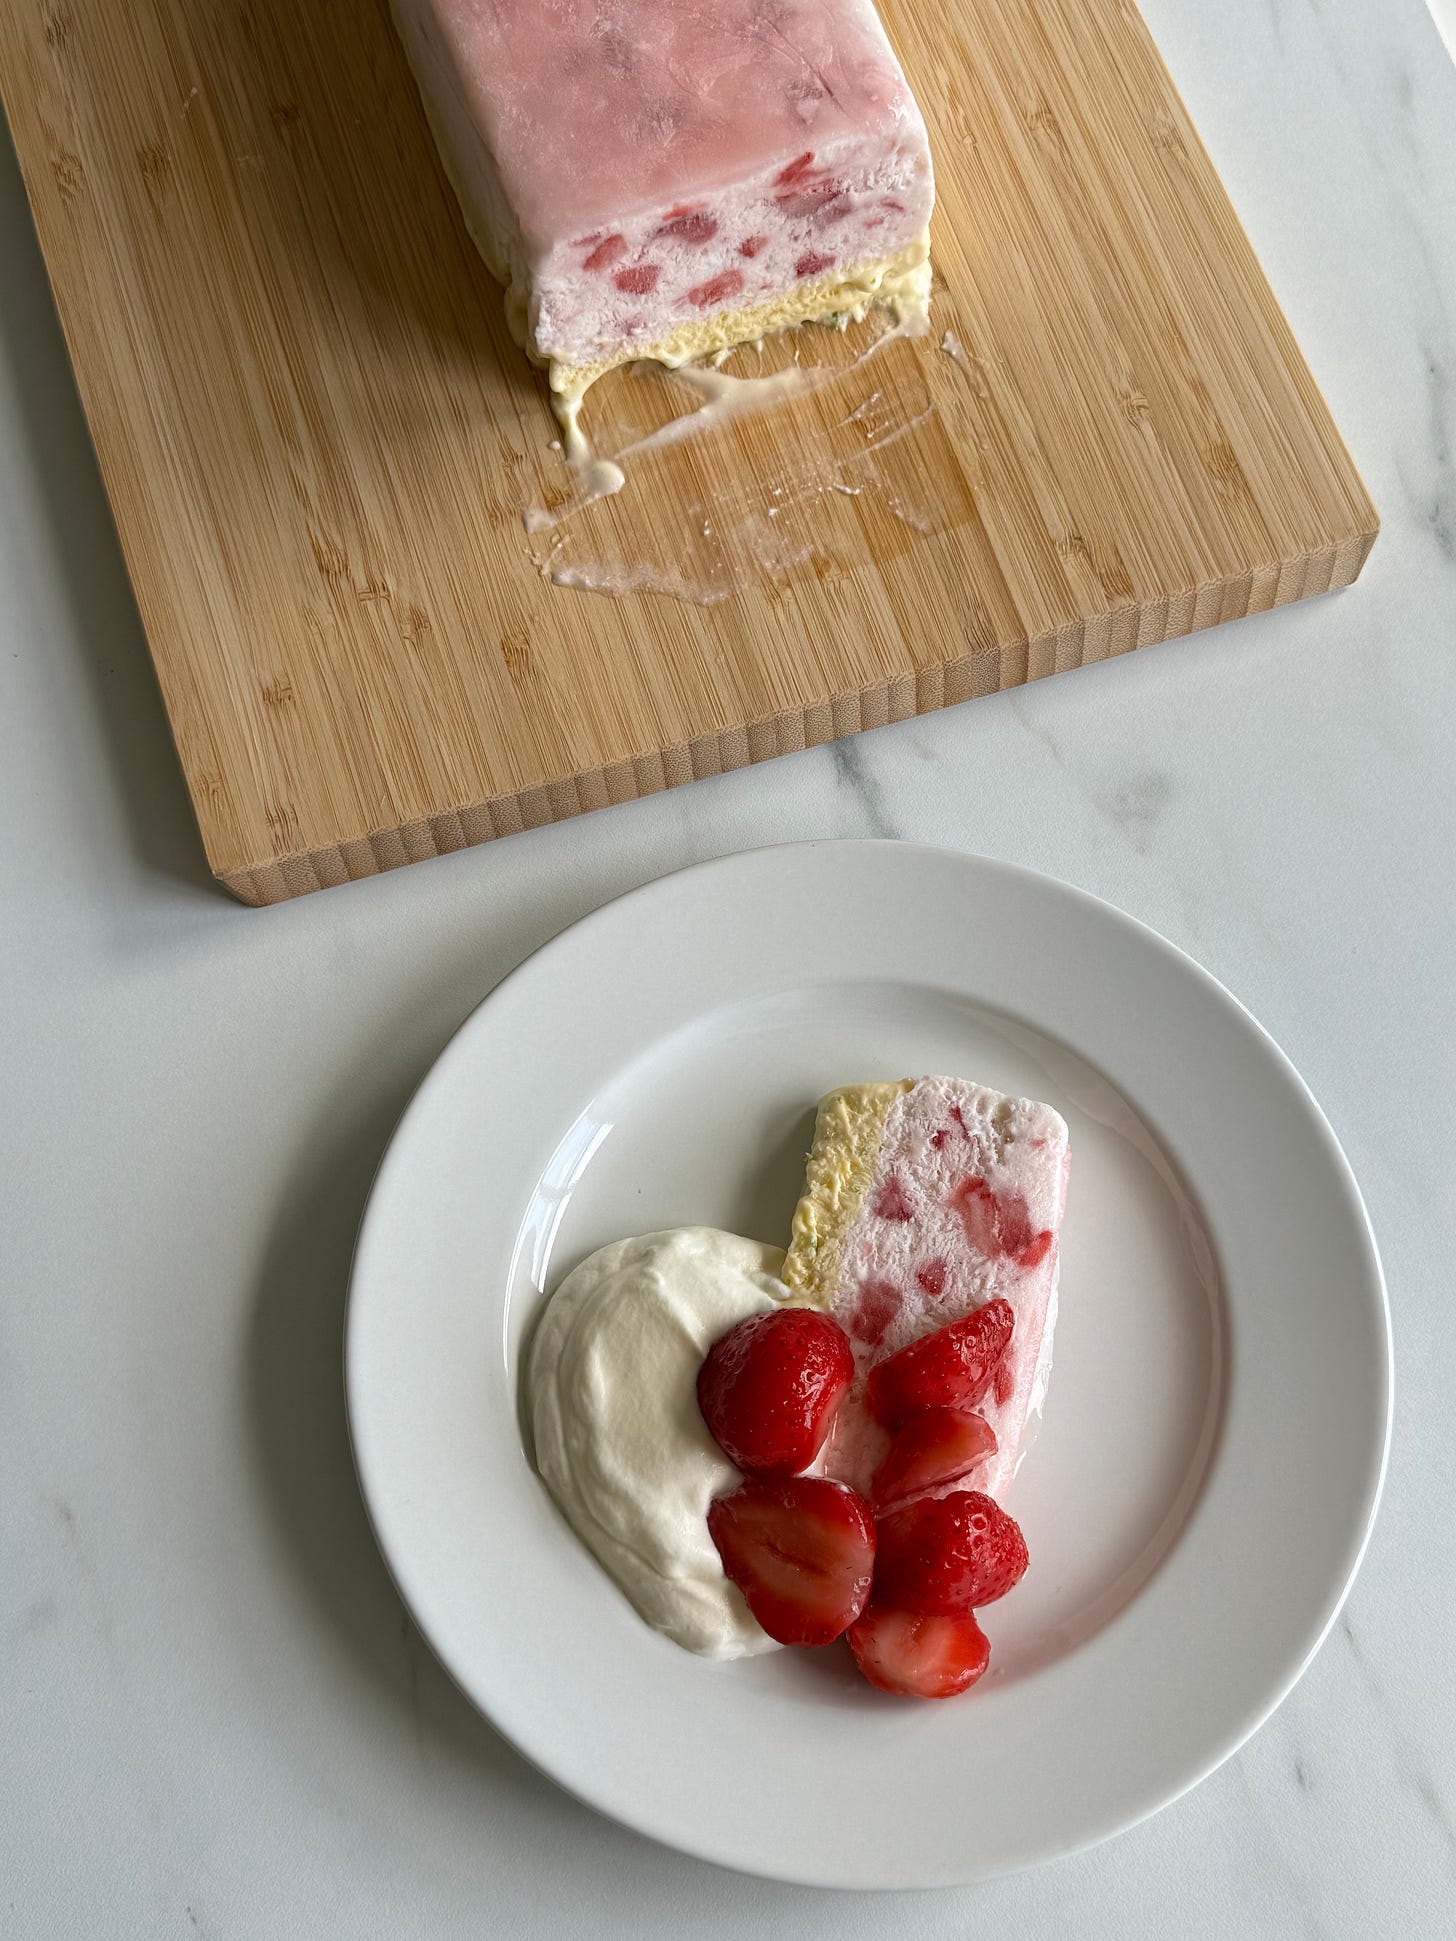
Enjoy after a nice meal, with extra macerated strawberries and whipped cream if you like, preferably outdoors or by an open window and in good company
This week, we’re diving into another question from the Q&A question bank (you can send questions in anonymously any time by using this form right here, or simply by visiting the newsletter’s homepage). For a list of topics already covered, such as “How do you deal with cooking fatigue?”, feel free to head on over to the bottom of the recipe index page right over here!
As always, there’ll be a bulleted summary of my answer below if you just want to skip to the good stuff.
“What are three tips of the trade that you use at home?”
Although I do most of my recipe development, cooking, food styling, food photography, and food writing work from home these days, the time I spent working in restaurants back in Canada and then food stylist assisting in London have taught me a number of things about how pros make their lives easier on the job — and how those tricks of the trade can translate at home for us cooks who just want to make meal times just that little bit easier.
1. Stabilise your cutting boards and sharpen your knives
This one can seem a little obvious or underwhelming, but it wasn’t something I learned until stepping foot into a restaurant kitchen. Place a slightly damp kitchen towel under your cutting board to stop it from sliding around while you cut, and make sure your knives are sharpened regularly, washed and dried by hand after every use, and honed as often as seems useful. Making this a habit will not only make any prep work involving a knife and cutting board vastly more pleasant, it also means you’re less likely to require a surprise dinnertime trip to the hospital.
2. Cotton dish towels are your best friends
Buy a lot. Wash them well and often. (Having a hamper for them in the kitchen is a good idea.) Use and abuse them for drying hands, wiping knives, surfaces, and plates, as well as for handling hot pans. They are way better than oven mitts, 100%. Just make sure any cloth you use to handle something hot is doubled up and completely dry — if there’s any moisture in the fibre, it’ll defeat the insulating purpose and you’ll feel the heat. (On a side note, the dry heat of a blasting oven shouldn’t scare you, but billowing steam, splattering oil, hot pan handles, and liquid caramel should …just a little.)
3. Clean as you go
Keeping your space clean and clear as you cook makes the whole experience just a whole lot nicer. Keep a big container for compost (sometimes called a “garbage bowl”) for all your scraps, and make use of a bench scraper if you’ve got one to clear large surfaces in no time at all. Wipe sticky spots away with a damp cloth (then dry them with a dry one), stack any bowls or pans into or next to the sink as soon as they are no longer needed, and clear all your prep tools and surfaces once your soup or stew is simmering on the hob or casserole is in the oven.
I can never resist going above what was asked of me, so here are two more tips I feel are worth sharing here (what can I say, I’m as generous with my advice as I am with my food!):
4. Preheat your pans (except if they’re non-stick)
Carbon steel is the pan material of choice in many restaurant kitchens, but cast iron and stainless steel benefit from pre-heating too (uncoated aluminium and enamelled steel, not so much). If you’re using Teflon-coated non-stick pans — which were due to be banned in the EU along with other sources of PFAS by 2026… before the industrial lobbyists stepped in — you should never preheat them or heat them at all unless you’ve already put food into them.
5. Y-peelers are the only peelers worth using
Dull, unergonomic, pen-shaped vegetable peelers are simply annoying to use. Personally, I just don’t bother with them. Cheap, Y-shaped peelers from restaurant supply stores instead are your best bet for a good find (and, in fact, for most frequently-used culinary tools, I’d say you’re better off shopping at a restaurant supply store; that’s generally where you not only avoid the trendy colourful stuff that won’t last in fashion or utility, and instead go for better quality and longevity, at lower prices).
As a second bonus, for aspiring food stylists, photographers, and writers, I’ll end by saying: don’t fuss with the food too much, use natural light, top-down photography is hard to mess up, and set deadlines that you can and will stick to. The rest is just practice.
In short, if you’re looking for pro tips to help make your life easier in the home kitchen:
Give your cutting boards a grip and your knives an edge — a lightly damp dish towel will stop your cutting boards from sliding, and regularly sharpened / honed knives will stop you exerting unnecessary force on their blade (which will only increase your risk of accidental finger slicing)
Keep a lot of dish towels around — they wipe, they dry, they keep the heat at bay, all the while make a happy cook’s day (and, with paper kitchen towels, you can do away); look for 100% cotton commercial grade dish towel for a reliable kitchen cloth
Clean as you go — Keep a big bowl nearby for compost scraps, and take two seconds to clear away anything that doesn’t need to be in front of you while you’re on task; it’ll help you have a much easier, breezier time cooking (and cleaning afterwards, too)
Preheat your pans — For a non-stick surface that guarantees a perfect sizzle or sear, every time, make sure your pans are hot before you cook in ‘em (note that this doesn’t mean cranking the heat to the max — just let the pan warm up at your chosen temperature for a few minutes before adding your ingredients); exceptions are for enamelled steel, aluminium, and non-stick coated cookware
Buy your kitchenware at a restaurant supply store — That’s where the pros go for a reason; if you want chef-approved Y-peelers, microplanes, mandolines, knives, pans, restaurant-grade silicone spoonulas and chinois fine-mesh strainers, you might as well go straight to the source
So there you have my answer! Efficient cookery is pleasant cookery, and keepings things orderly and tidy is the cherry on the cake. If you’re planning on cooking loads, prep as much as you can in advance and have a realistic timetable / game plan to guide you on the day. That’s how the pros get it done.
For more Q&A topics with wisdom gleaned from my time spent in the field, do check out the questions below:
• “What are three kitchen tools you can’t go without?”
• “How do you keep herbs fresh?”
• “How do you organise your fridge?”
(More where those came from right over here.)
As always, thanks for being here!
See you in the next newsletter,
👋simone


