Allô! 👋
Hello! Welcome to the good food at home newsletter. If you're a new subscriber and would like to read the previous newsletters, you can click here to find them. If you enjoy the newsletter and would like to support it by helping it grow, feel free to hit the button below!
Happy Tuesday! Tomorrow’s May! One month and a bit into spring, and it’s finally starting to feel like the season is settling into a groove. The days are steadily growing brighter and longer, there is (almost) no more snow left on the shady hilltops, and the birds’ increasingly eager chirps can only mean one thing: spring has finally sprung.
I am pleased to report that, so far, my spring’s been off to a quietly productive start. I’ve done a lot of decluttering, a fair bit of reading, wrapped up some knitting, and I am finally able to go for a sunrise walks or runs all while still starting my workday at a decent morning hour. Hooray!
If you’ve been following me on Instagram, you may have seen that I am currently having a spring sale on paid subscriptions. Right now, to celebrate the release of the first ten issues of seasonal sundays, you can get 20% off an annual subscription, for one whole year.
Not only does this grant you access to weekly peak-produce recipes, cooking Q&As, and the full newsletter archive (all on top of the free monthly “good food at home” issues), it’s also the best way to support the newsletter. Signing up is easy, and sharing the sale with a friend is the next best thing — refer three friends or more and you can also earn free access for up to six months!
I can hardly believe how many of you have upgraded your subscriptions already. My heart swells every time you send in a picture or a note of a dish or meal you made, inspired by something I’ve shared with you. So, from the bottom of my heart, thank you. Thank you for being here, for cooking with me, for reading all the random thoughts and recipes I happen to share along the way, and for supporting this newsletter with your shares and subscriptions. It means more to me than words can convey, and I truly am deeply grateful for each and every one of you. You stoke the fire that keeps me sharing and doing what I love to do, and I’m not sure there are many greater gifts than that in life. So for that, again: a thousand times thank you.
In this mid-spring issue, you'll find a non-exhaustive selection of peak-season produce to look for in the coming weeks, a round-up of popular recipes perfectly suited to this time of year, as well as two new recipes: one for a light and airy whipped cream cheese, and one for bouncy and swirly no-boil “bagels” (more on why the use of quotations marks later).
As always, the newsletter ends with a few links that connect food to public health, and you are of course very much welcome to skip forwards and back to whichever parts of the issue interest you most.
With that said, all I have left to say is thanks again for being here — and happy May!
Sending warmth and good cheer,
👋simone
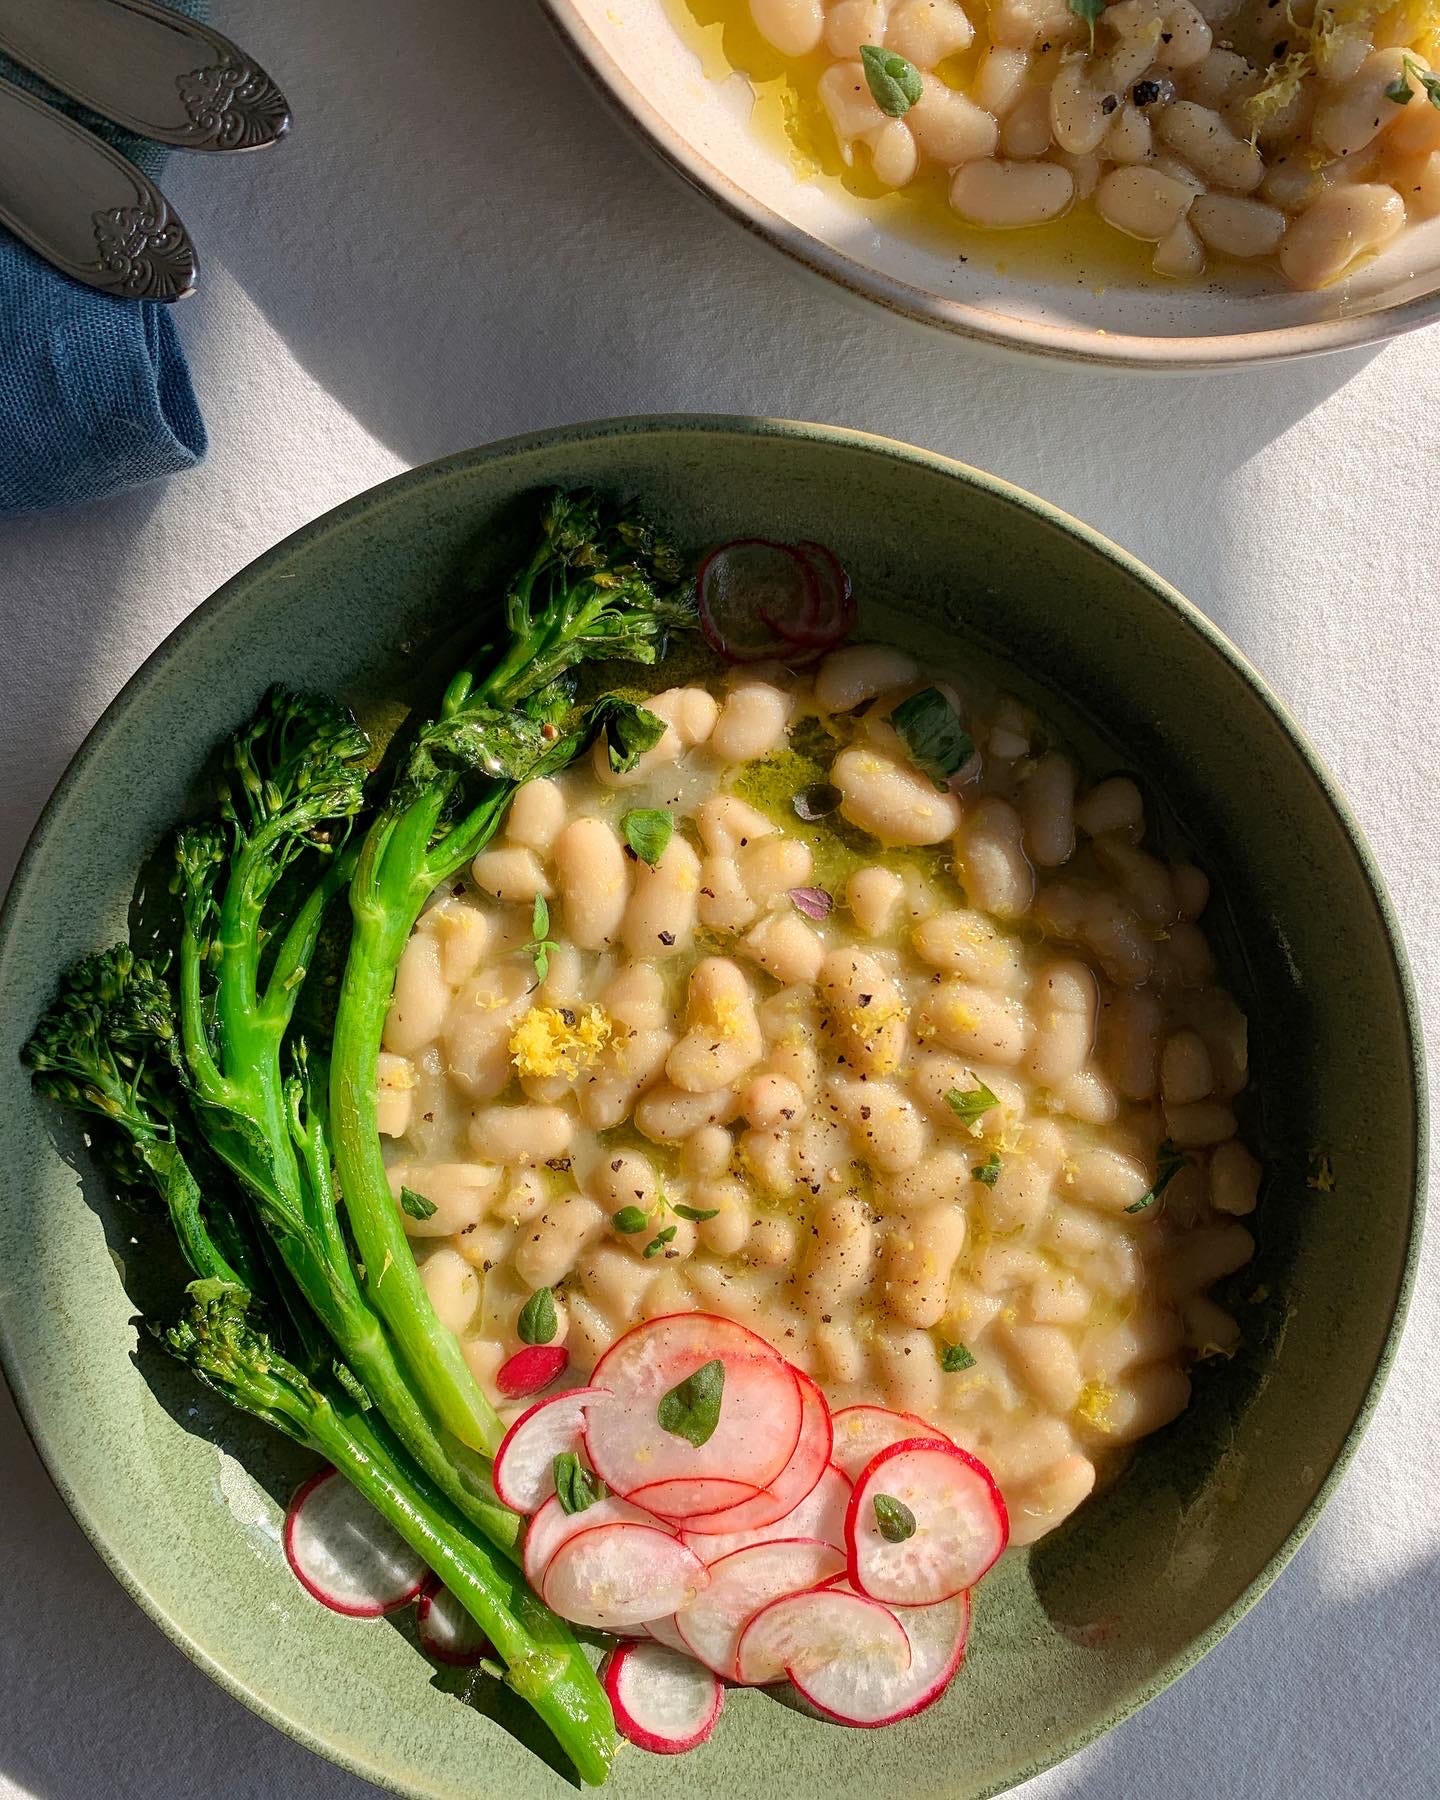
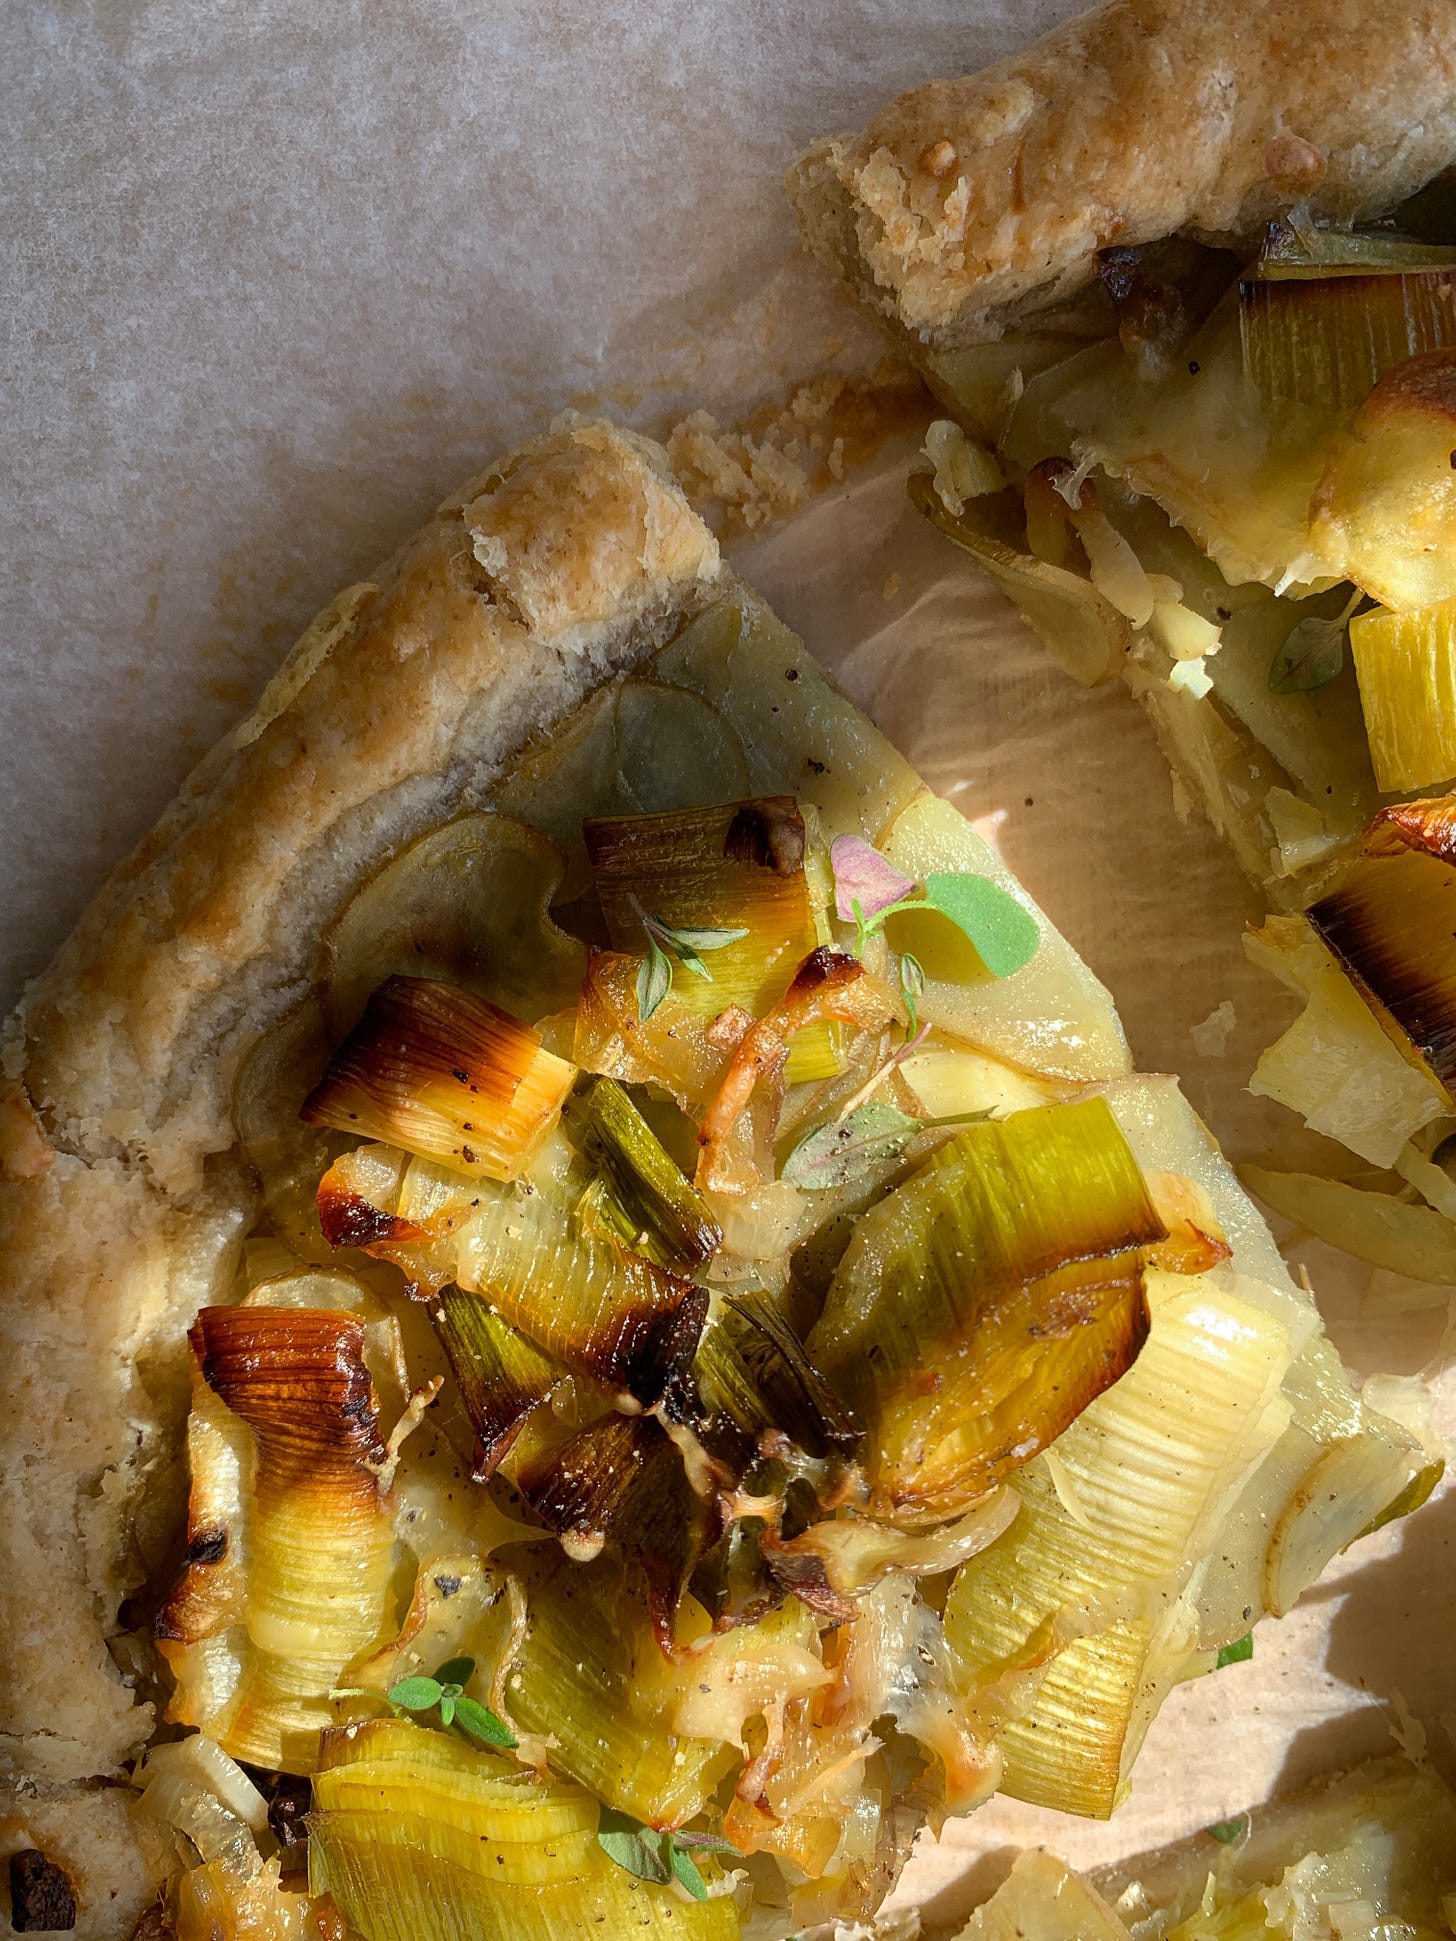
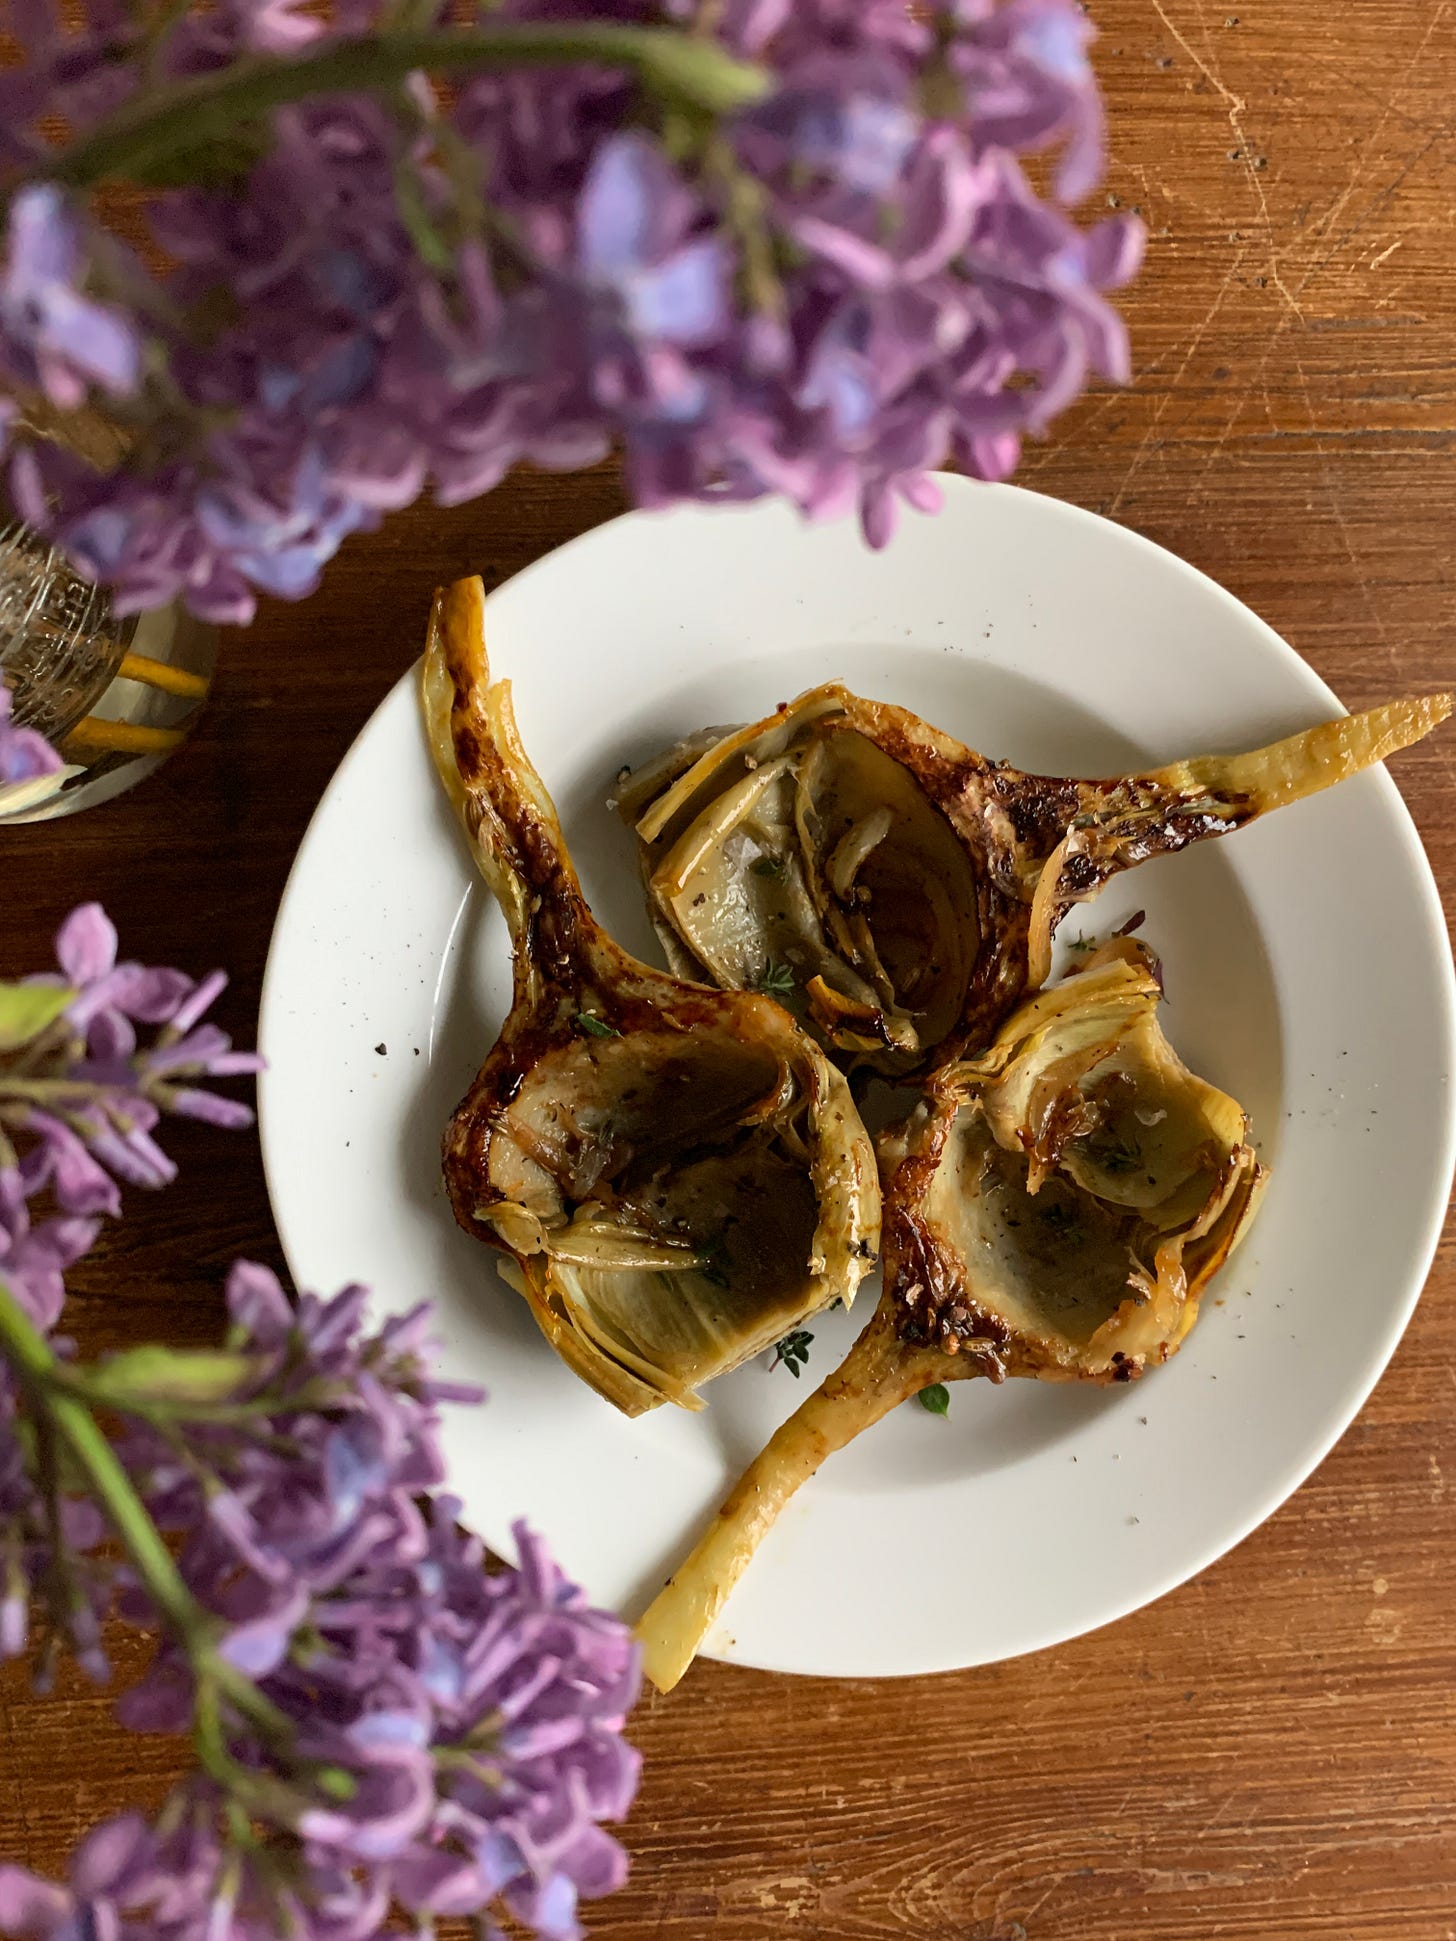
p.s. each photo above is from a previous spring, but I very much look forward to sharing more recipes for meals like those as the season progresses!
what to buy, harvest & forage in mid-spring
Having spent a few springs in different parts of the world, I know first-hand that your spring is unlikely to look like mine, and vice versa — even if we happen to be living in the same country. Growing zones, plant hardiness areas, and frost dates vary widely from area to area and region to region, let alone nation to nation. These depend on local microclimates as well as soil types and day lengths (influenced by latitude, but also altitude — mountains tend to get colder the higher you go, and valleys may get more shade but less wind than wide open plains, and so on and so forth. Growing food is hard! Just ask a local food grower).
All this to say: try not to get too disappointed if you see other people online posting about “spring” meals that look nothing like yours. One day your rhubarb and asparagus will come (it may even have already gone!).
My best tip is to support local growers and grocers, and to buy what is at its best where and when you are. More often than not, shopping this way leads to better taste, less waste, and healthier practices and outcomes at every level of the food system.
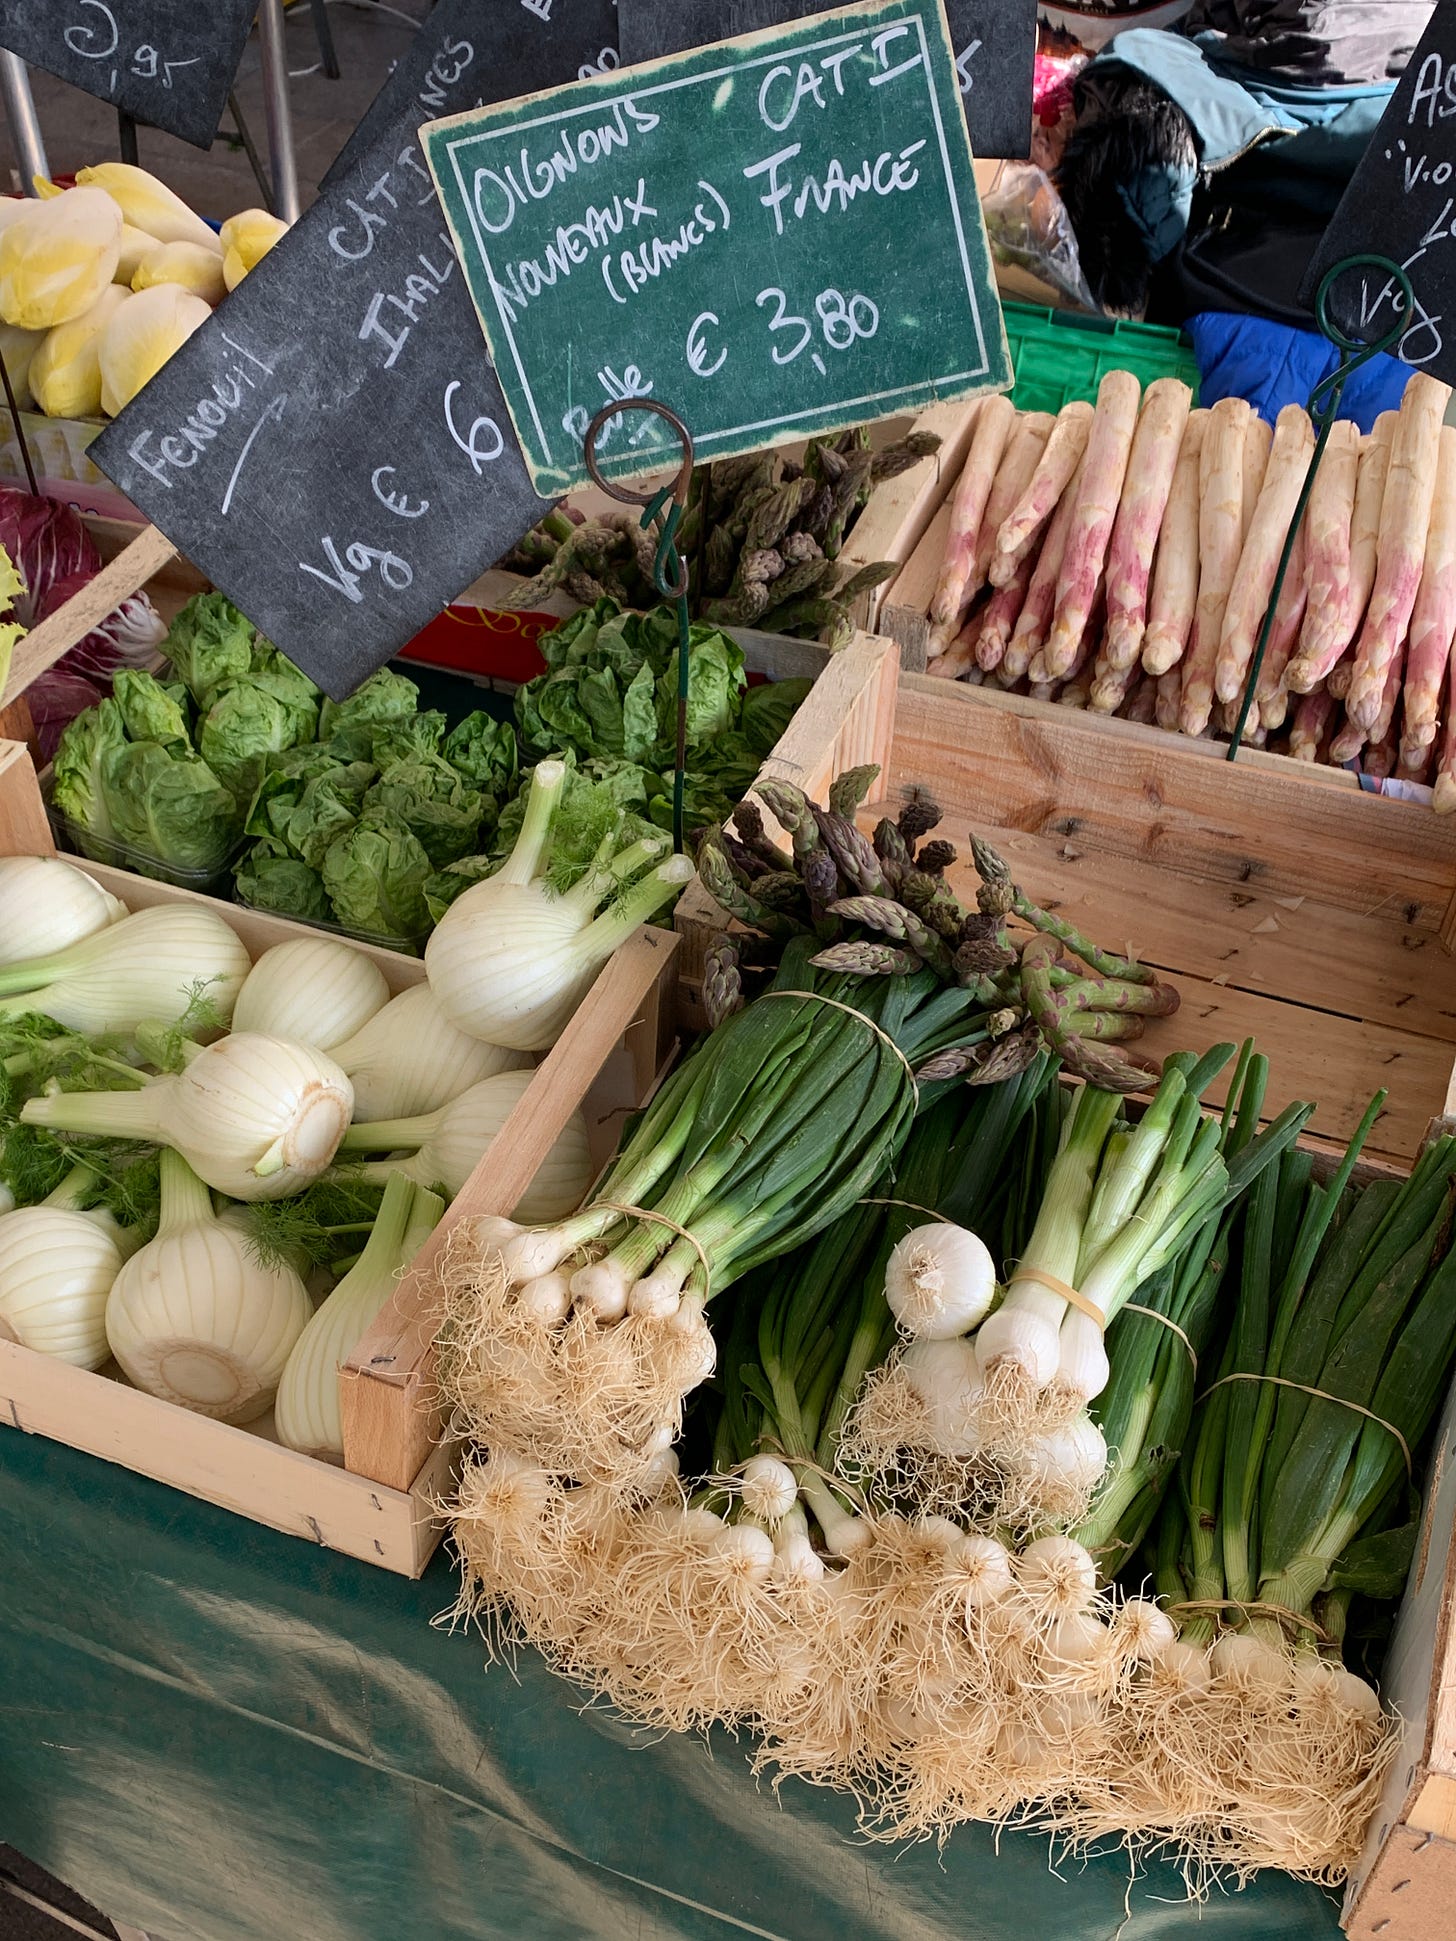
Here’s a bit of an ABC of some things you may be able to look forward to in the coming month (if you haven't already been enjoying them!) — note that, at this time of year, most new-season crops are looking gorgeously green (with a few mostly-pink-hued exceptions):
LOTS OF GREEN THINGS
• artichokes, arugula, and asparagus
• broccoli rabe (AKA rapini or cime di rapa)
• cardoons, chives, coriander, and cress
• fava beans (broad beans) and fiddlehead fearns
• green garlic and green onions (scallions)
• lamb's quarters and Little Gem lettuce
• mint and monk's beard
• nettles
• peas, pea shoots, and purslane
• ramps and ramsons
• sage, spinach, spruce tips, and sprouts of all kinds
• tarragon
• watercress
SOME PINK (& PURPLE) THINGS
• purple artichokes
• beets
• chive blossoms and pink-stemmed chard
• red Little Gem lettuces
• radishes and rhubarb
• purple spring onions
• sorrel and strawberries
• baby turnips
A FEW WHITE(ISH) THINGS
• white asparagus
• white-stemmed chard
• new garlic
• morels
• spring onions
• new potatoes
• white strawberries
•••
If you're unsure as to what is in season near you, don't hesitate to ask! At your local market if you have one (and if it has opened for the season), at your local grocer's, food co-op, CSA pick-up spot, farm shop, or community garden. You might even be able to ask that nice neighbour with the overabundant garden (lucky you) what’s been sprouting up for them lately. If you don't have access to these avenues, all hope is not lost. You can be the first step in making a change. Talk to others around you, they may be longing for better access to local food too! In the meantime, the internet is your friend: search for what's in season in your area and look for nearby food growers to follow on social media — you won't know until you look, and good local food, in season and at its peak, might very well be right around your corner sooner than you’d expect.
recipes for mid-spring 🌿
April’s always a bit of a lean month in these (and other) parts where winters are snowy and summers are brief. Still, a relatively short growing season doesn’t stop us from eating — and it certainly shouldn’t stop us from eating well!
In case you missed them, here are some top spring recipes from the site, plus some of the recipes and Q&A topics that went out over on seasonal sundays this month (even if you don’t subscribe, there is always a free introduction open for everyone and anyone to read and enjoy). For more seasonally-suitable recipes and answers to your food questions, feel free to check the newsletter index at any time.
a very versatile quiche 🥧
with asparagus, or any other filling you’d like
three suggestions for speedy, springy meals 🌱
plus: tips on how to keep herbs fresh
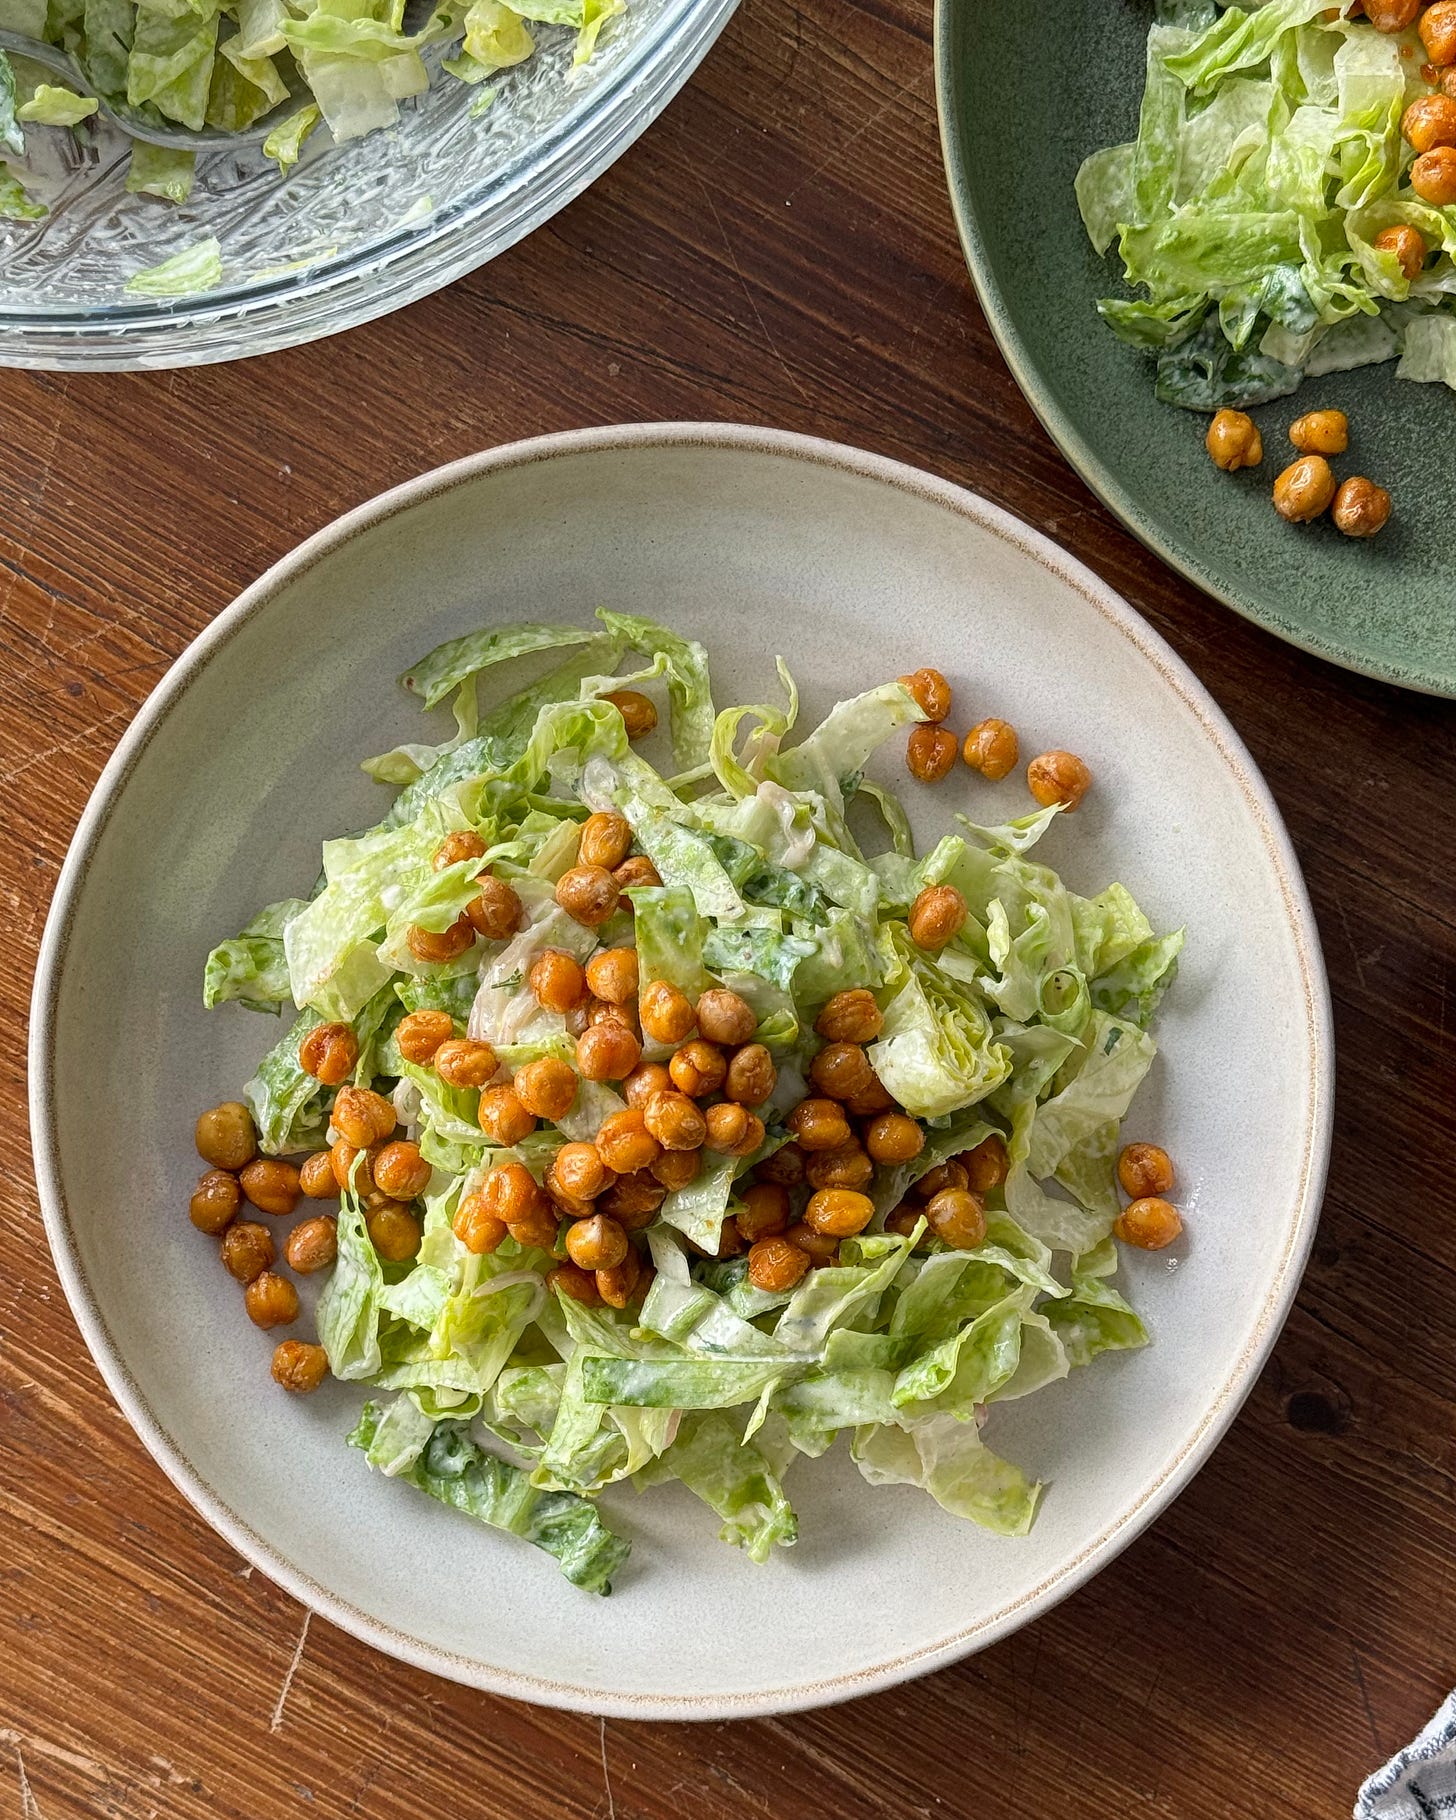
crispy chickpeas
and how to turn them into a caesar-like salad
flaky scallion flatbreads ✨
plus: what’s the best way to cook beans from dry?
crème caramel, two ways 🍮
plus: what to do about (and with) sprouting alliums and potatoes
homemade cream cheese & bagels 💛
I had a hankering for cream cheese the other day and, to my dismay, quickly realised that not a single store near me sells the real thing. Despite the shelves being lined with eye-catching packages all labelled “cream cheese”, a rapid scan of each container’s ingredient list soon revealed that not a single product was free of industrial additives — dubious ingredients which, quite frankly, I have absolutely no interest in spreading onto any bagel of mine.
Then I looked for bagels. Again, the only options available were ultra-processed. And again, this upsetting discovery ended up in a disgruntled no-thank-you from me.
more on real (and fake) foods here:
Now, if you’ve ever bought or eaten cream cheese that wasn’t actually cream cheese, I don’t blame you. I have too. The problem isn’t you.
A defining characteristic of ultra-processed products is that they are often a lot more profitable than the real version of what they imitate — that’s why they’ve become so pervasive: they help make powerfully rich corporations even more powerfully rich.
Luckily, the evidence that these products are terrible for our health and that industry self-regulation doesn’t work is unceasingly mounting. With growing consumer awareness, I do believe it’s only a matter of time before more governments are pushed to act (lest they lose our votes as a consequence of failing to do so).
In the meantime, be aware. Read labels. Learn to distinguish the fake from the true. As best you can, protect yourself from being fooled*. And, if you’ve got time, energy, and resources to spare, do try your hand at making the real stuff yourself.
*a bit unrelated, but it occurs to me now that I would also say the exact same things when it comes to media and information literacy
•••
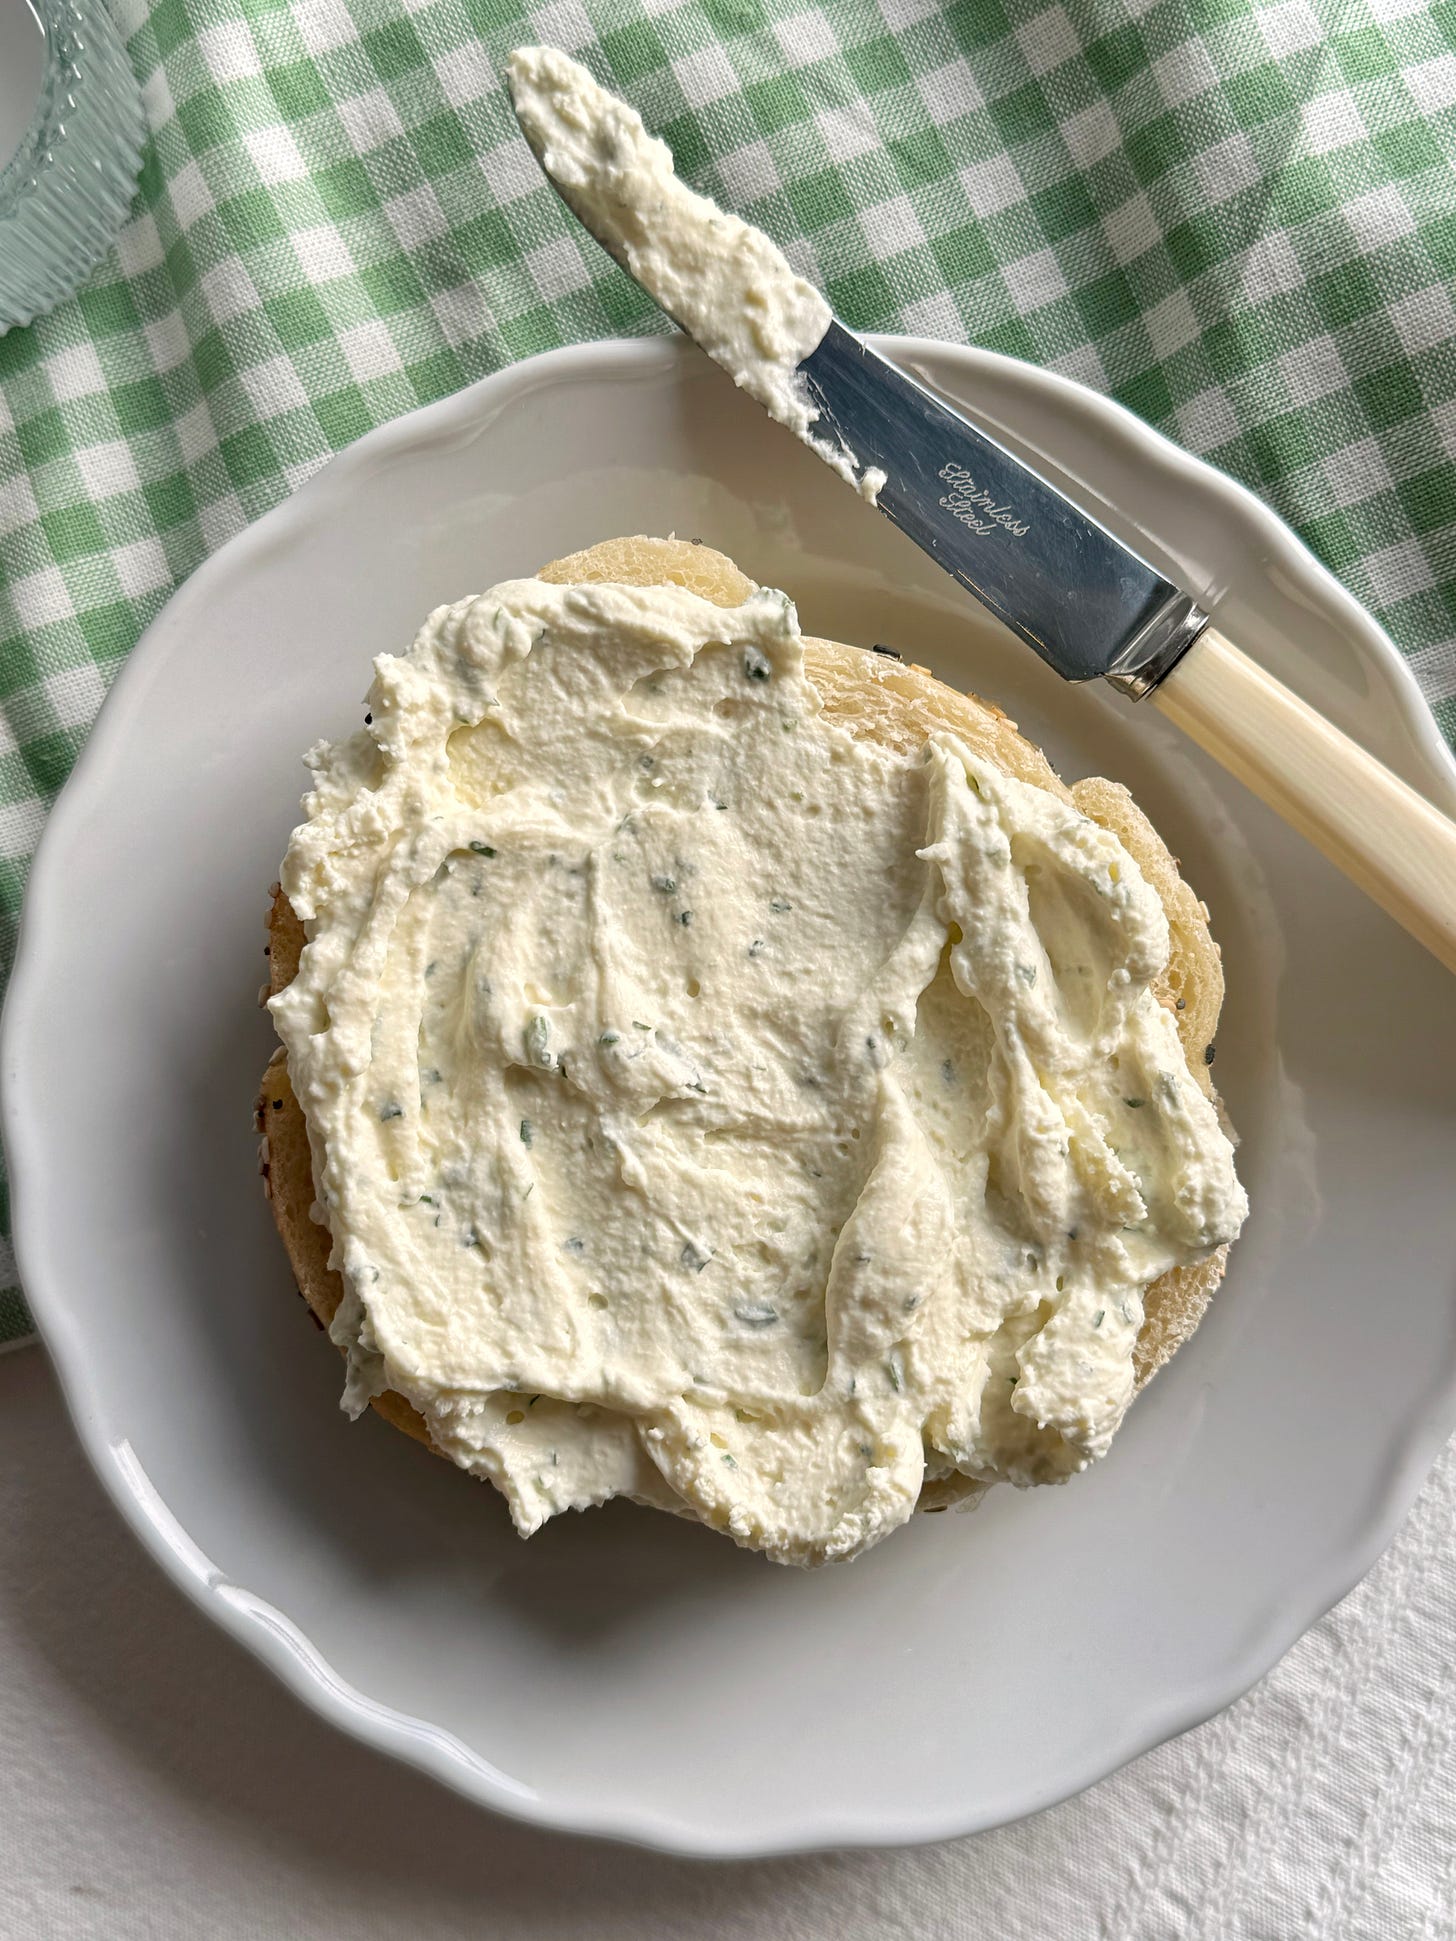
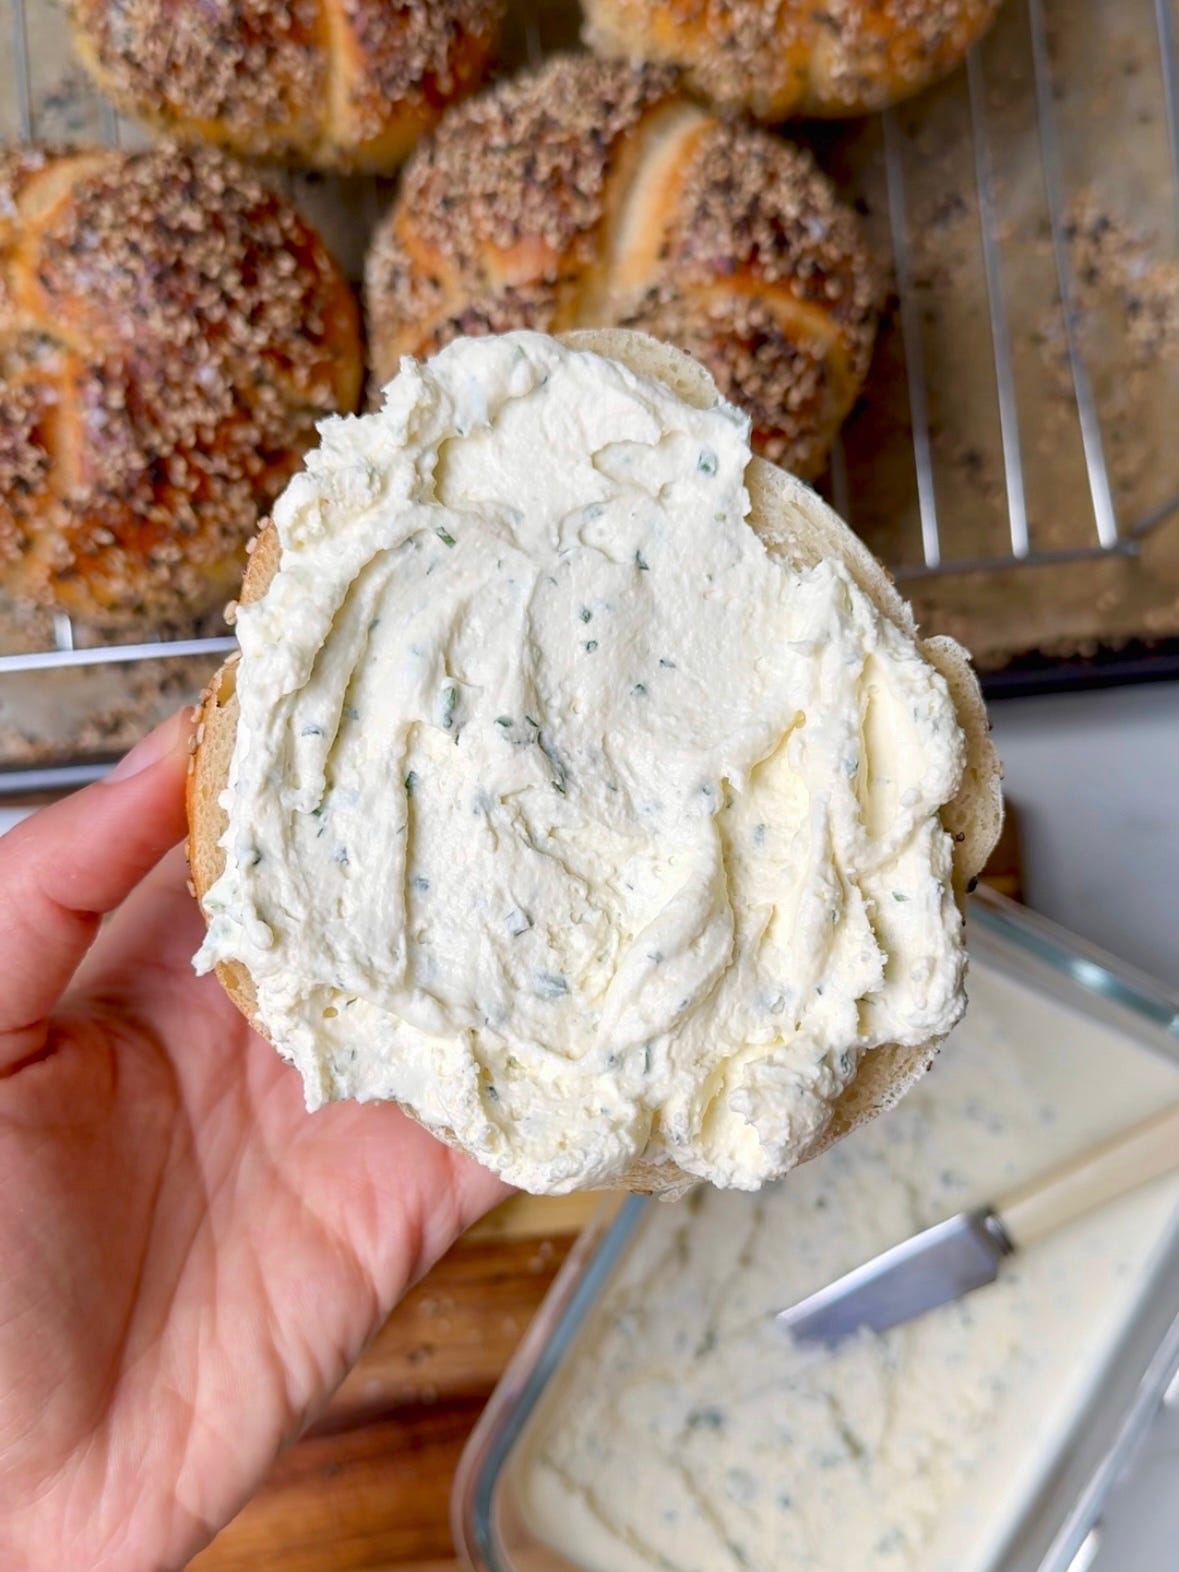
WHIPPED CREAM CHEESE
with garlic and herbs
yields around 300g
INGREDIENTS
Special tools: 1 fine-meshed cheese or butter cloth (or 1 ultra-fine meshed metal strainer) and, ideally, an instant-read thermometer
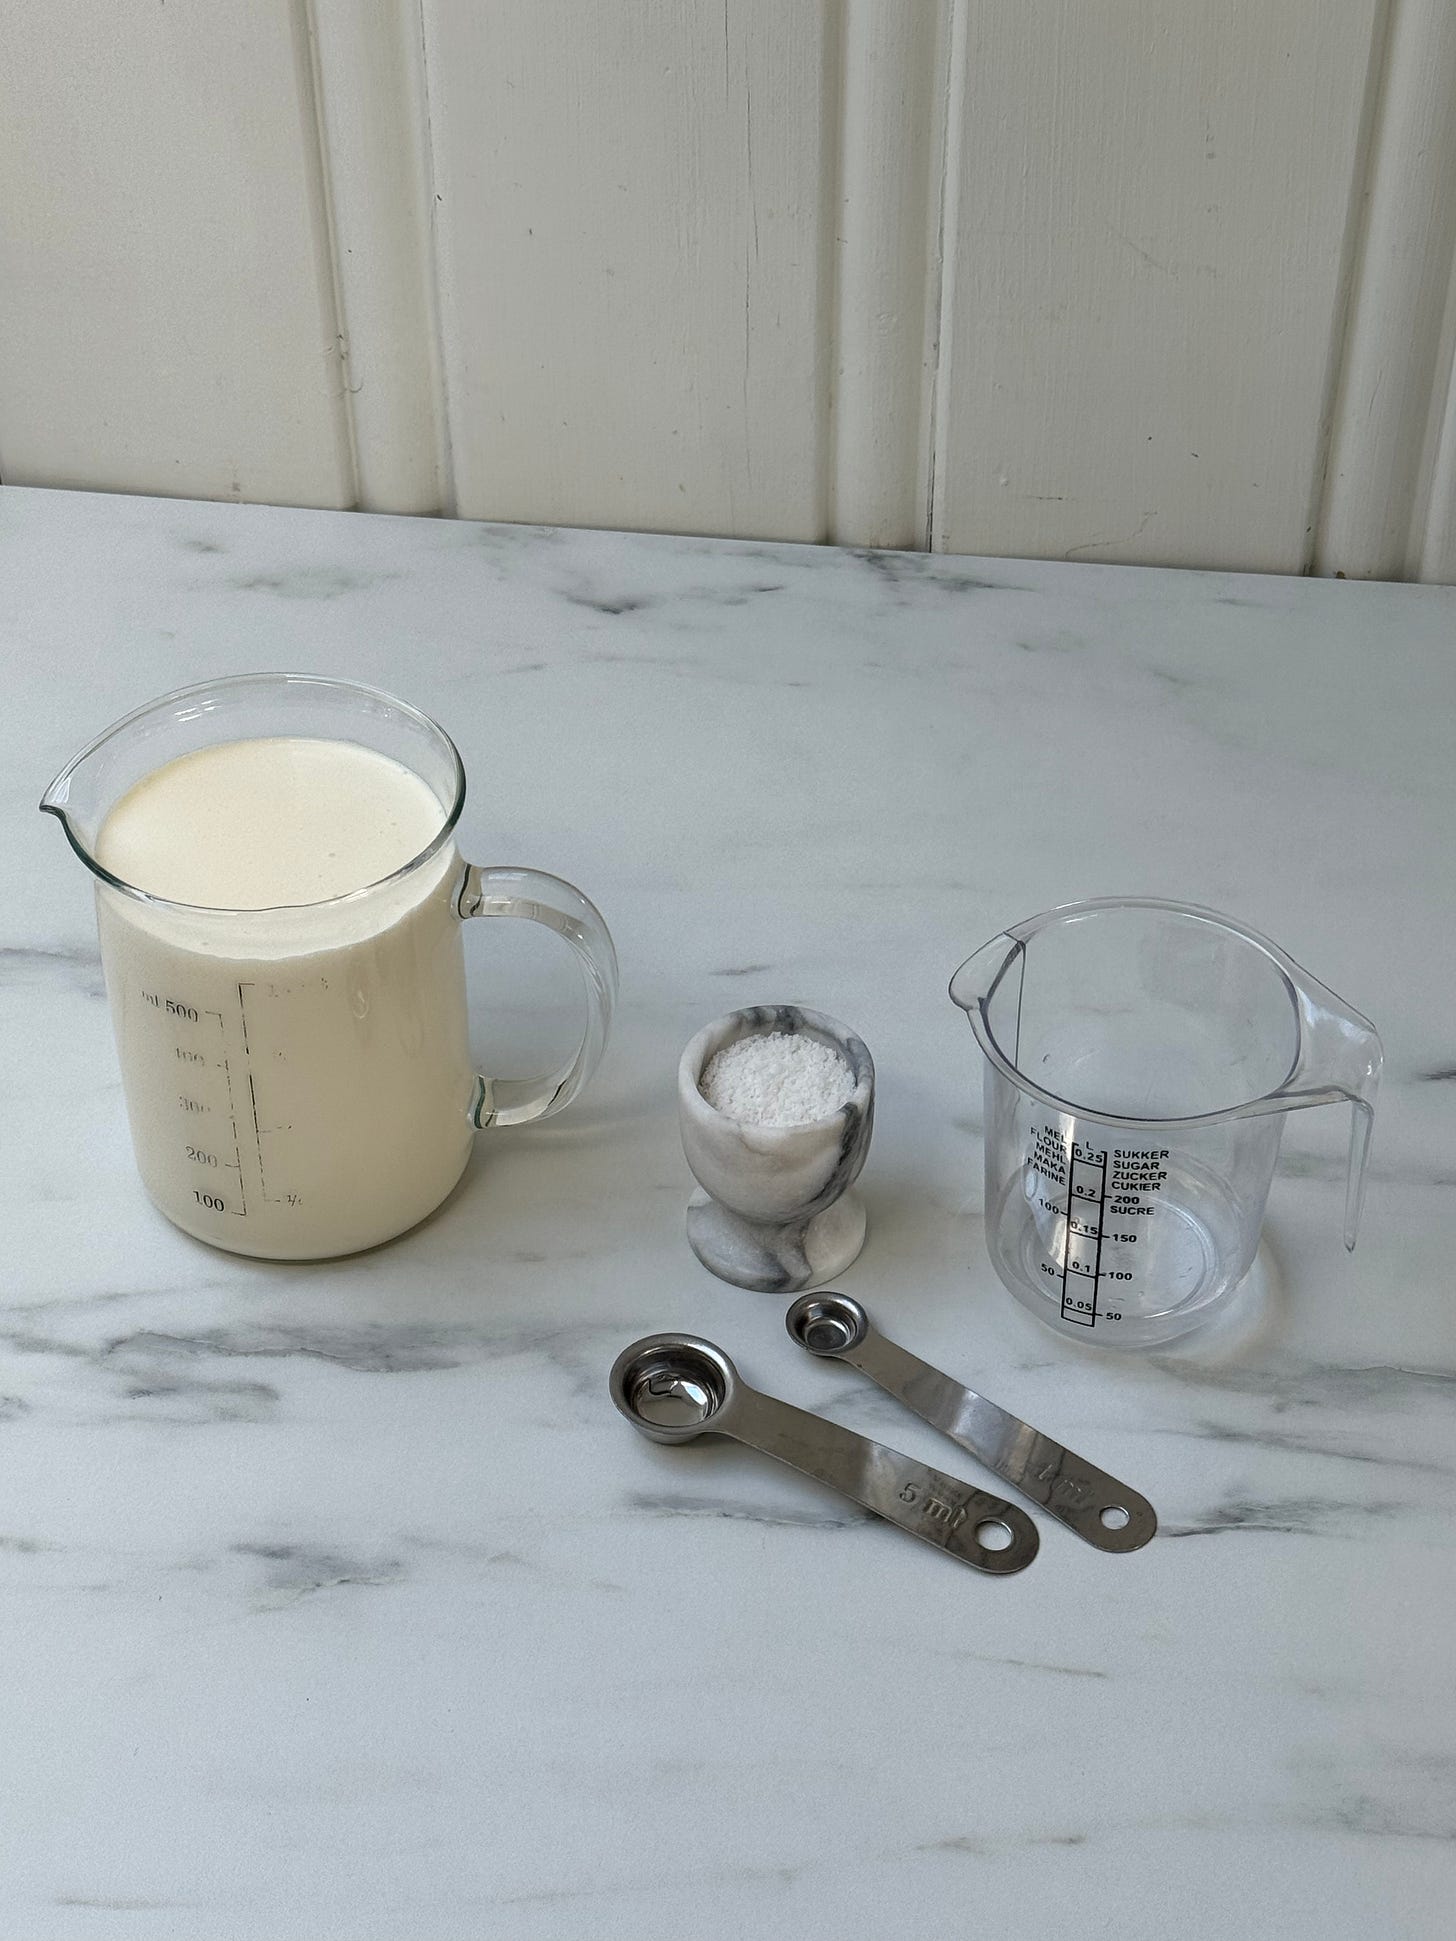
• whole milk*, 300ml
• heavy cream*, 200ml
• lemon juice, 2-3 Tbsp (30-45ml) — freshly squeezed and strained
• distilled white vinegar, 2-3 Tbsp (30-45ml)
• fine sea salt, ½ tsp
Optional ingredients:
• flaky sea salt, 1 tsp
• freshly chopped parsley, 1 Tbsp
• freshly chopped chives, 1 Tbsp
• fresh garlic, 1 small clove or ½ a larger one
• garlic powder, ½ tsp
• cold whipping cream, 50ml
*these should not be ultra-pasteurised
note: this is technically more of a recipe for a milk-based mascarpone than a cream cheese, as mascarpone is made with only cream that is separated into curds and whey with acid, while cream cheese is traditionally a mix of milk and cream that is separated into curds and whey using a bacterial culture — I just prefer this method as it is quicker, easier, and more practical, as well as making an excellent substitute to ultra-processed cream cheese in a pinch!
METHOD
1. Add 300ml of whole milk and 200ml of heavy cream to a heavy-bottomed pot or thick-walled saucepan (that way you’re less likely to scorch the bottom).
2. Turn the heat under the pot to low. Stir regularly with a wooden spoon, until you see some very fine bubbles foaming up around the edges of the pot and notice that the liquid looks like it’s soon about to boil (if you have a thermometer, it should indicate between 80°C and 90°C (or 175-195°F) at this point). This process should take around 20-25 minutes.
3. Turn the heat down to very low (or the lowest it can go), then add two tablespoons of lemon juice to the pot. Stir gently, then after about one minute add two tablespoons of vinegar. Already after the first addition of acid, you should notice the milk and cream beginning to curdle and separating into small curds and yellow-ish whey (most easily noticed by looking at how the milk and cream now coat the back of your spoon).
At this point, if you feel the whey and curds have not sufficiently separated, you may add an additional tablespoon each of lemon juice and/or vinegar to the pot.
4. After around five minutes have passed, turn the heat off. Remove the pot from the burner, cover it with a lid, then leave the mixture to rest for an hour at room temperature.
While you wait, if using a cheese or butter cloth, use this time to sterilise it in a pot of boiling water for 15 minutes, then leave it to cool draped over a large colander.
5. Place your fine-meshed cloth + colander or ultra-fine meshed strainer onto a large bowl, deep enough to accommodate a large gap between the bottom of the strainer and the bottom of the bowl. Pour out the curds and whey into the cloth or strainer (make sure to save the whey). Leave to drain, undisturbed, for 15 minutes.
6. If using an ultra-fine meshed strainer, continue to let it drain until no more drops of whey escape from the bottom. If using a cheese or butter cloth, gather the corners so as to form a bundle, then tie the corners onto a cabinet handle, faucet, or wooden spoon placed across the top of the whey bowl (anything in your kitchen that you can use as a hook should work, really) so as to let gravity help with the straining process. It should take around an hour at room temperature sufficiently drain, but you can also transfer it to the fridge to drain overnight.
7. Transfer the strained room temperature curds to a clean bowl. Season with half a teaspoon of fine sea salt.
Optional: at this point, if you would like to season your cream cheese with herbs and sea salt, add one teaspoon of flaky sea salt, one tablespoon of freshly chopped parsley, one tablespoon of freshly chopped chives, one small clove (or half a larger one) of fresh garlic, microplaned or minced to a paste, and half a teaspoon of garlic powder to the cheese.
8. Using a hand mixer or whisk, whip your cheese until smooth, light and airy.
Optional: at this point, if you prefer your cream cheese to be very light and spreadable, whip 50ml of cold heavy cream until if forms firm peaks, then combine that into the whipped cream cheese.
9. Transfer the cream cheese to an airtight container, then leave to set and firm up in the fridge for at least 30 minutes, but ideally overnight before enjoying.
Keep in the refrigerator for 5-7 days for best taste, though note that the cream cheese will likely continue to be good for up to 2 weeks if well-stored in the fridge (depending on your milk and cream’s best before dates)!
•••
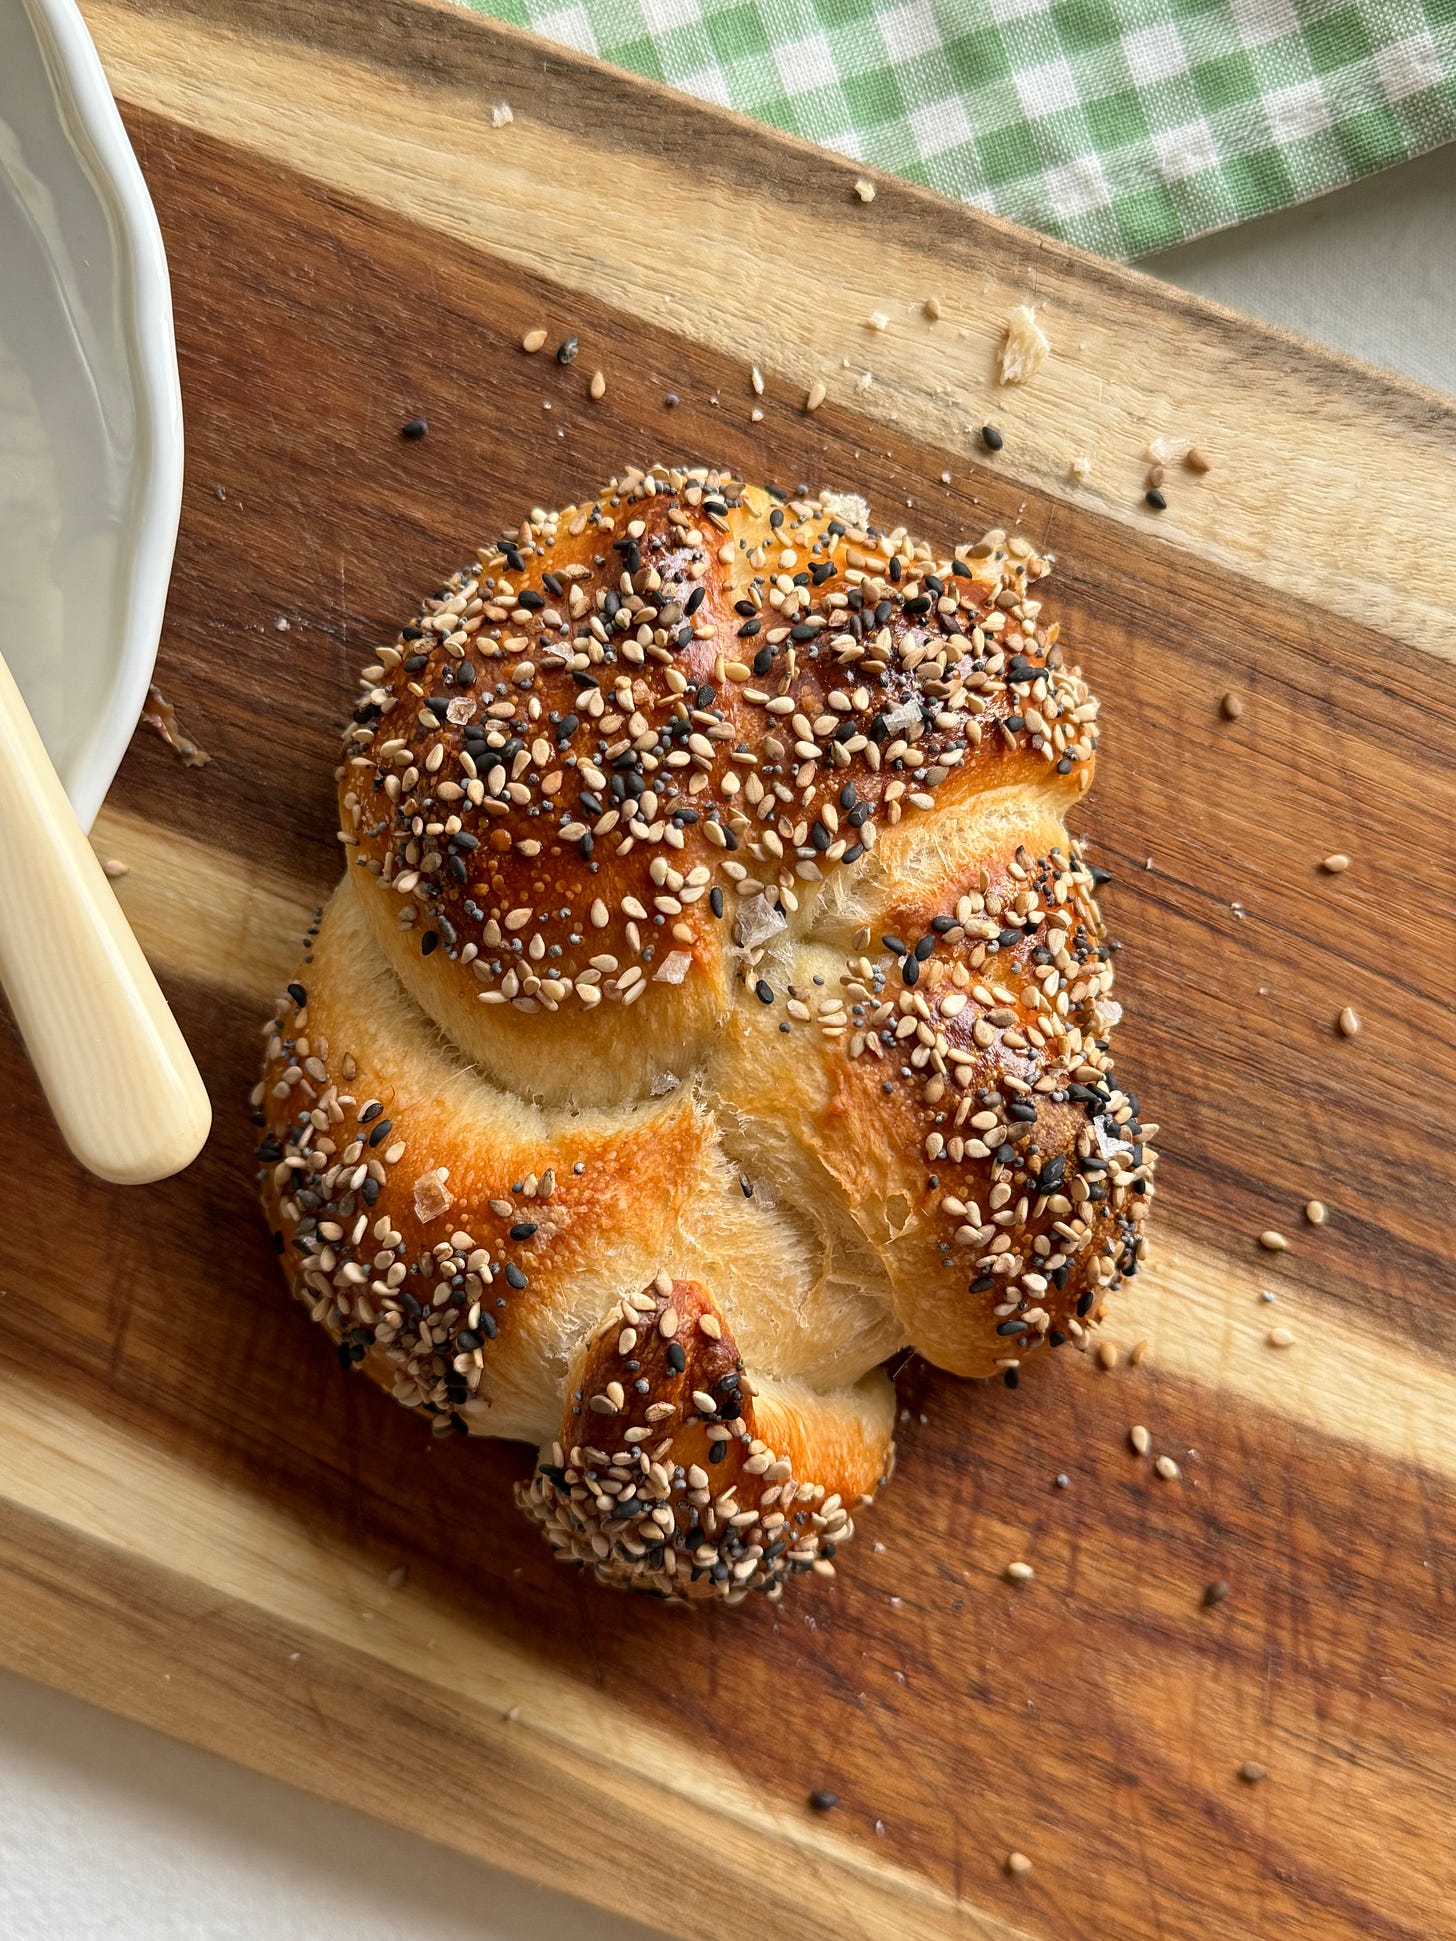
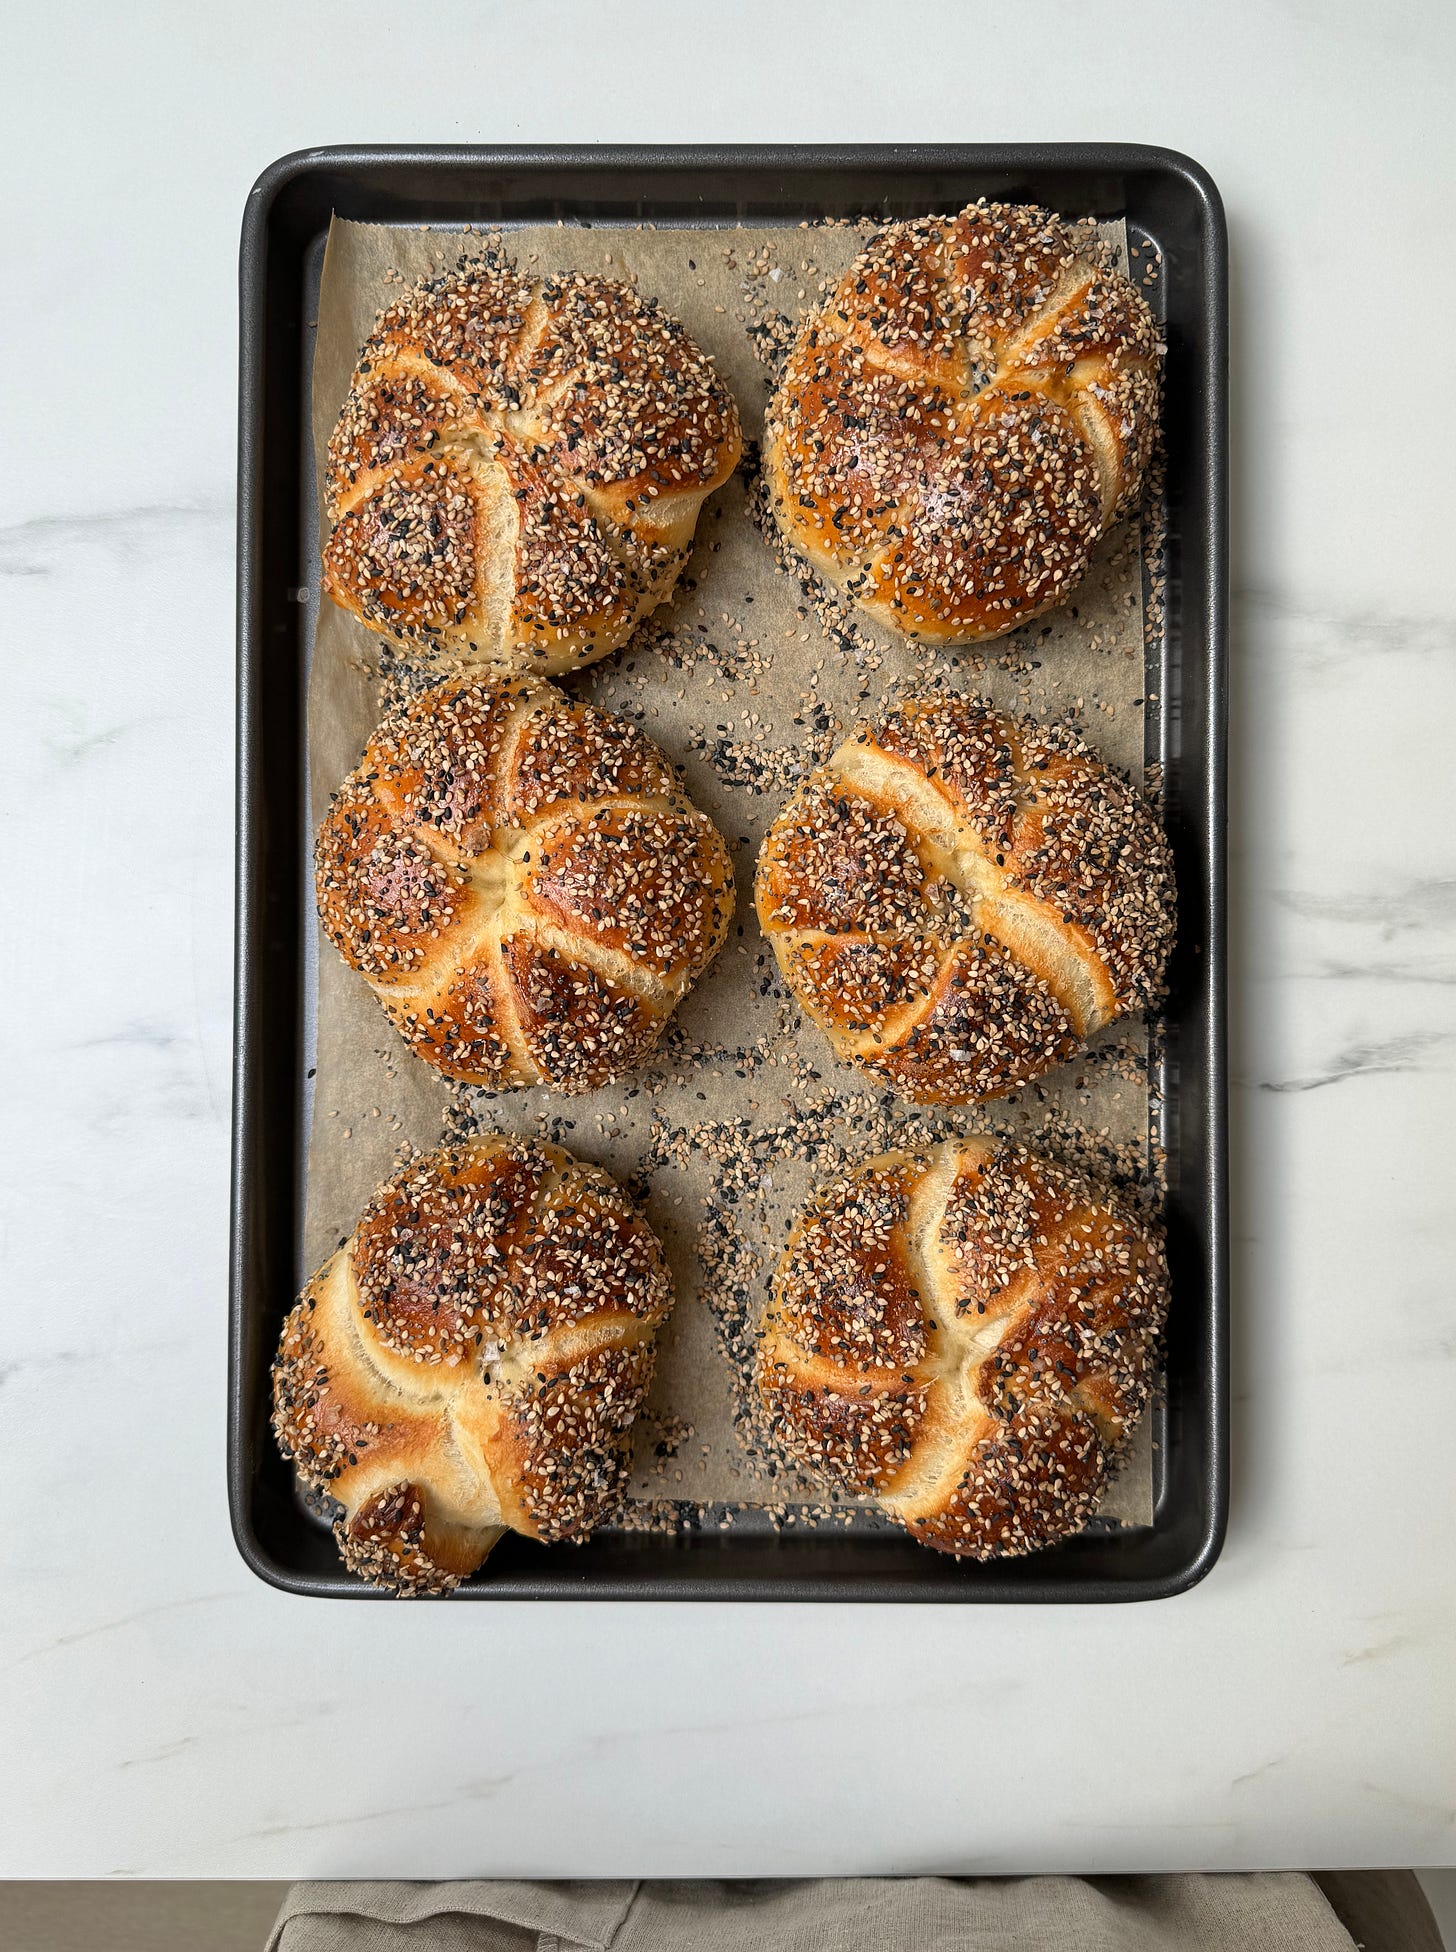
NO-BOIL “BAGELS”
with poppy, sesame & sea salt
yields 6 large “bagels”
These aren’t really bagels, but bagels are what I was craving when I developed them so that’s what I’m calling them. They don’t have holes because I hate losing sandwich real estate down a torical abyss, and they don’t require boiling because, even though I’m game for making my own sourdough bakes at home, there is a limit to how laborious I’m willing to make a process.
INGREDIENTS
• whey and/or water, 250g — warm or at least room temperature
• ripe levain, 150g — feed 51g starter with 51g water and 51g flour and let it at least double in volume
• honey, 25g
• 1 egg, approx. 55g
• bread flour, 550g
• fine sea salt, 20g
• 1 egg
• 3 Tbsp white sesame seeds
• 1 Tbsp black sesame seeds
• 1 Tbsp poppy seeds
• 2 tsp flaky sea salt
note: I used the whey from my cream cheese-making in this recipe, as it produces a softer dough than plain water — you could use whey from yogurt or other dairy products as a substitute, or, instead, use only water and swap 20g of it out for olive oil
METHOD
Day 1
1. Combine the whey and/or water + oil, levain, egg and honey in a large bowl.
2. Mix the flour into the liquid ingredients until a uniform dough comes together. Cover and leave to rest for 30 minutes.
3. Add the salt to the dough, then knead it in. Continue to knead until the dough is soft and bouncy, ideally passing the window pane test, for at least 10 minutes.
4. Cover the dough and leave it to rise for one hour. Perform a coil fold, then repeat one hour later. Lightly oil the dough and a clean bowl, then leave to bulk ferment in the oiled bowl for two to three more hours, until smooth, pillowy, and no longer sticky.
5. Transfer to the fridge to cold-proof overnight.
Day 2
1. Gently dump the dough out onto a clean work surface. Leave to rest 15 minutes, then divide into 6 pieces of equal weight.
2. Pat each piece down into a rectangle, then tightly roll it up into a log, pinching the seam shut at the end and leaving it seam-side down to rest. Leave to relax 15 minutes, then repeat so as to achieve an even thinner log, around 45cm / 17" long. Rest 5-10 minutes.
3. Take each strand and loop it into a sort of six-humped pinwheel, pinching and tucking the ends as you finish to seal the shape. If you’d like a hole in the middle, push your thumb all the way down and through the middle.
Feel free to watch, pause, and repeat as needed to get the shaping right! You’re basically making a ring and then wrapping the dough around itself to form a sort of braided bagel (with or without a hole in the middle — up to you).
Transfer to a lined baking tray, loosely cover so as to avoid the dough drying out, then leave somewhere warm to rise, get jiggly and puffed up, 2-4 hours.
4. Preheat the oven to 200°C / 392°F and mix the seeds and sea salt together in a small bowl. Beat an egg to make an egg wash, then brush over each “bagel”. Wait 5 minutes, then egg wash again (I find the double egg-wash gives a more chewy-crispy crust, characteristic of a good bagel, without having to boil the dough pre-bake). Sprinkle the seed mix over the tops and sides of the “bagels”.
5. Bake for 20 minutes or until the tops look nicely golden brown, then transfer to a wire rack to cool for at least 15 minutes before serving.


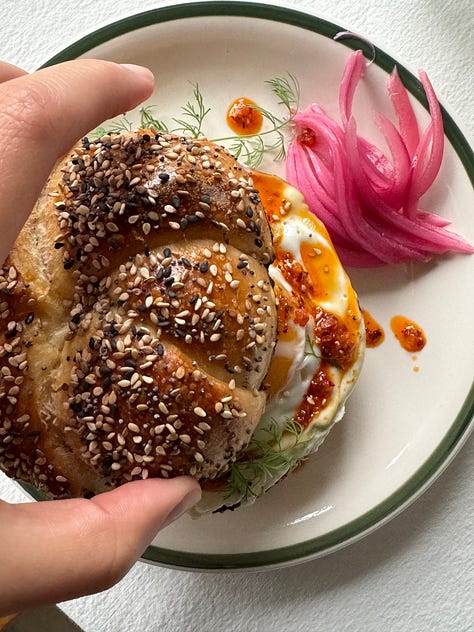


Can store for up to three days at room temperature in a loosely wrapped bag or slightly ventilated container, or up to three months in the freezer in an airtight container.
last, but not least:
the public health corner 🔗
In case you didn’t know, public health is my jam (more on that here and here) — it informs everything I do! And, as always, I like to leave you with a few parting links relating to the topic, as food for thought:
📺 ONE VIDEO
Food, Inc. 2 (disclaimer: I have not watched the movie yet, only the trailer, but it is at the top of my list!)
🗒️ ONE ARTICLE
How Nestlé gets children hooked on sugar in lower-income countries (Public Eye)
🎧 ONE PODCAST EPISODE
Push for global treaty on plastic pollution (CBC, The Current)
📘 ONE BOOK
Barons: Money, Power, and the Corruption of America's Food Industry, Austin Frerick (Island Press)
p.s. I usually have a hard time just picking one of each so, in case you're interested, there's plenty more where that came from!
That's all from me this time! Thank you for being here, and see you again very soon 💛











Thanks for reading my posts too! Popped in here to say I also love public health and once considered a MPH dual degree program but decided against it. I read the chilren's sugar article before, and if youre in the mood to be pissed off more, you should read about the dairy industry AHH!