👋+: Simple Sauerkraut & A Soothing Spätzle Soup
cabbage and all the fall vegetables, part II + using nudges for good (food)
Allô! 👋
Welcome (back) to seasonal sundays, the weekly-ish supplement to good food at home, where we take a closer peek at produce at its peak — with a short introduction, at least one recipe, and a (sometimes related) cooking Q&A. If you’re a new subscriber and would like to read the previous issues, you can click here to find them!
Happy Sunday!
Welcome to mid-autumn.
The first frosts arrived this week in my little corner of southeast Norway, covering farms and gardens alike with a crisp blanket of crystals, sparkling in the morning light. For us, this marks the end for any uncovered late-summer produce that’s yet to be harvested and preserved (I’m looking at you, tomatoes and peppers), but is good news otherwise: for many fall and winter crops, a little bit of frost means a lot more flavour.
This week, I’m focusing not only on the ongoing multitude of crops currently freshly available — potatoes, carrots, onions, rutabaga, celeriac, fennel, celery, and more — but also on one particular crop that loves a bit of a frosty nip in the air: cabbage.
In today’s newsletter, we’ve got an intro to cabbage varieties and how to enjoy them, followed by two recipes to soothingly embrace the season, and lastly, a Q&A on gently guiding others towards healthy change (a topic after my own heart!).
As always, I hope you’ll enjoy the read and the recipes.
Wishing you all a gentle, cosy transition into mid-autumn,
— Simone
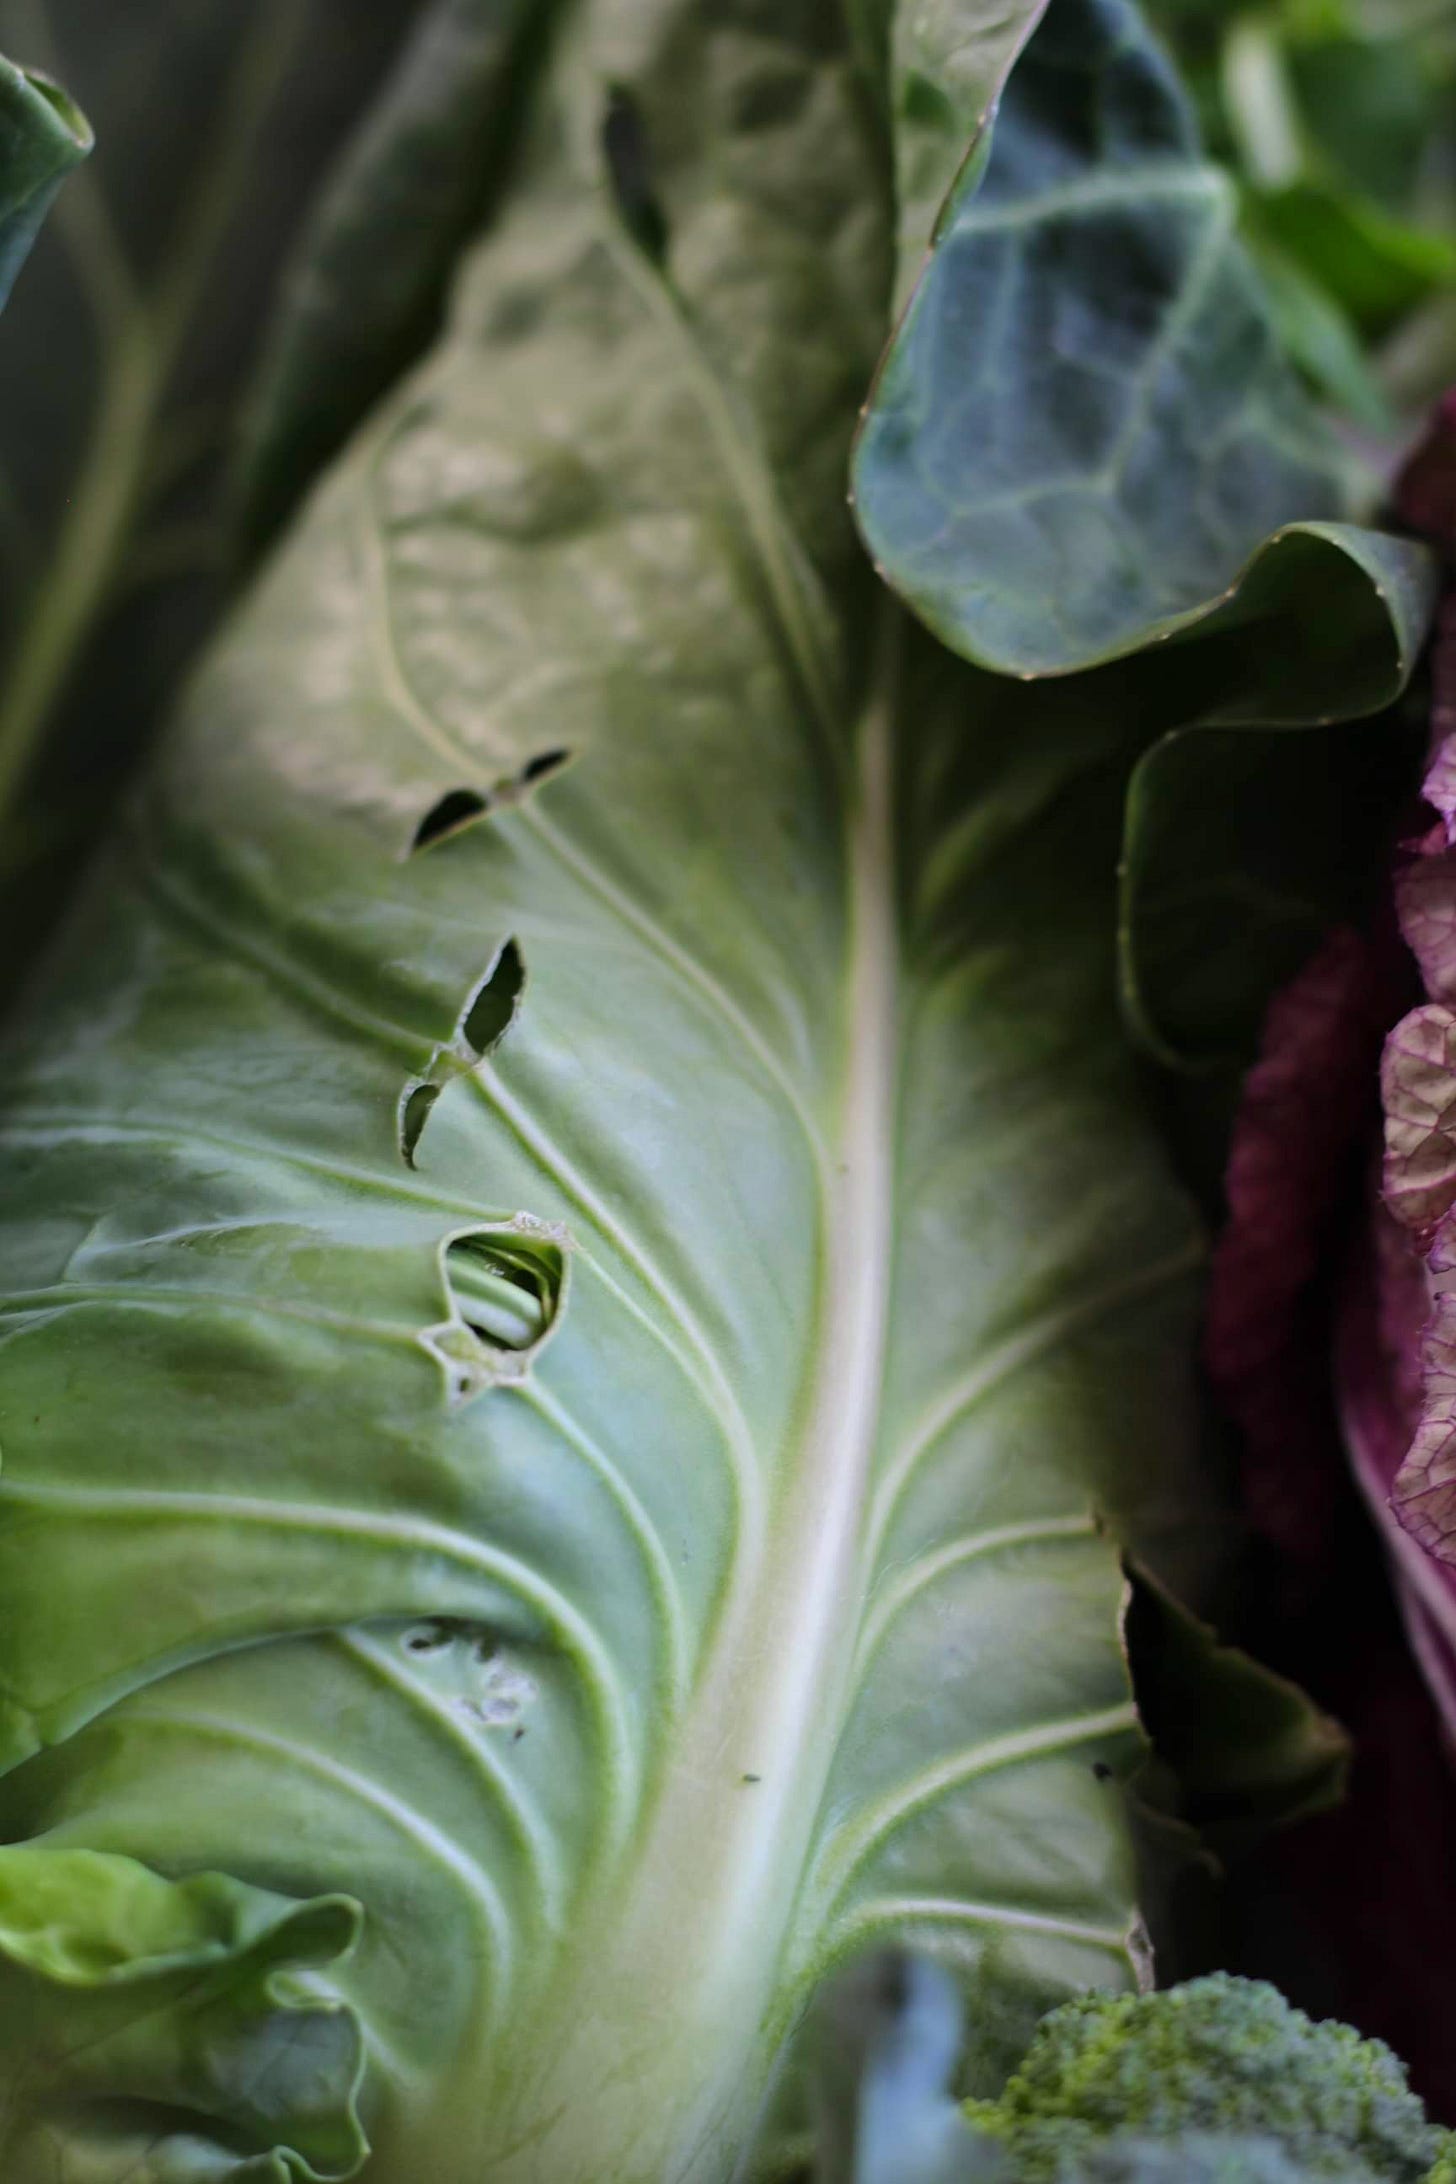
Cabbage! Not the poshest of vegetables, perhaps, but really, that’s part of its charm —those who turn their nose up at it are missing out on something quietly wonderful. Cabbages come in all shapes, sizes, and forms. Interestingly, they belong to the same family as kales, cauliflower, collard greens, and even kohlrabi; vegetables that all stem (pardon the pun) from the same wild mustard plant originally.
Cabbages have of course been in season since mid-summer, but what makes this family of veg so interesting at this time of year is their hardiness; they not only tolerate frost, they thrive on it. Combine this with their ability to keep for months on end, and you’ve got yourself a perfect companion for wholesome fall and winter cooking.
Below, some tips to help you make the most of this versatile vegetable during the coming hearty-food season:
HOW TO SHOP FOR CABBAGE
Cabbages come in many varieties, but no matter the type, freshness is key. There’s no way of knowing how long a head of cabbage has been sitting on a supermarket shelf, or when a grocery store cabbage last saw its farm, so your best bet is to shop local and as directly from farmers as you can, either at farmers’ markets, farm shops, or greengrocers who stock their shelves with locally-grown and newly harvested produce.
Look for heads that feel heavy for their size, with sturdy leaves that seem well-hydrated — avoid limp, yellowing, dried out, or damaged cabbage if you can (though some limpness and damage on the outermost leaves only should be fine). Summer cabbage varieties, selected for their capacity to grow quickly and tolerate heat, will usually have looser leaves and are best eaten soon after harvest, while winter cabbages, with their tightly-packed leaves and long-growing season, will store for much longer.
HOW TO STORE CABBAGE
If stored correctly, cabbage can keep for weeks, even months, after harvest. To store a head for the long-term, keep it whole and unwashed (or patted dry, if wet at harvest or purchase), making sure to keep the tougher outer leaves attached, even you plan on discarding them once you’re ready to eat the cabbage, as these will help keep the more tender leaves inside well-hydrated.
Cabbages like to be kept cold and humid (but not moist), but don’t necessarily need to be refrigerated. The refrigerator’s crisper drawer or a root cellar are the ideal places to store it, though keeping a head or two in a dark unheated room, loosely wrapped in plastic to keep its moisture levels up, should also do the trick if you’re low on fridge space. Once the outer leaves start yellowing, that’s your sign to eat the cabbage ASAP. Spot any sliminess or mould? Time to plop that cabbage into the compost.
HOW TO USE CABBAGE
Cabbage is delightful raw, barely tender, slow-cooked, and fermented, too. Great in soups, stews, salads, and more, there are a few rules of thumb for making the most out the vegetable in all its forms. First, looser-leafed summer varieties are usually best enjoyed fresh and barely cooked (if cooked at all) as their higher water content and thinner leaves seem to benefit from minimal heat. Tighter-leafed winter varieties, on the other hand, are generally better suited to longer cook times and long-term fermenting; these tend to be sweeter and hardier, after all, thanks to their exposure to frost.
Second, you can make a cabbage last longer by peeling off only the outer leaves as needed, rather than cutting into the whole head. This way, you can store the rest in a cold, humid place for future use.
And lastly, while the core isn’t much fun to eat, it does serve a purpose in the kitchen. If you’re cooking cabbage wedges, leave the core intact to keep the leaves together. Otherwise, simply make sure to carve it out before prepping the leaves from which they grew.
WHAT TO DO WITH: SAVOY CABBAGE
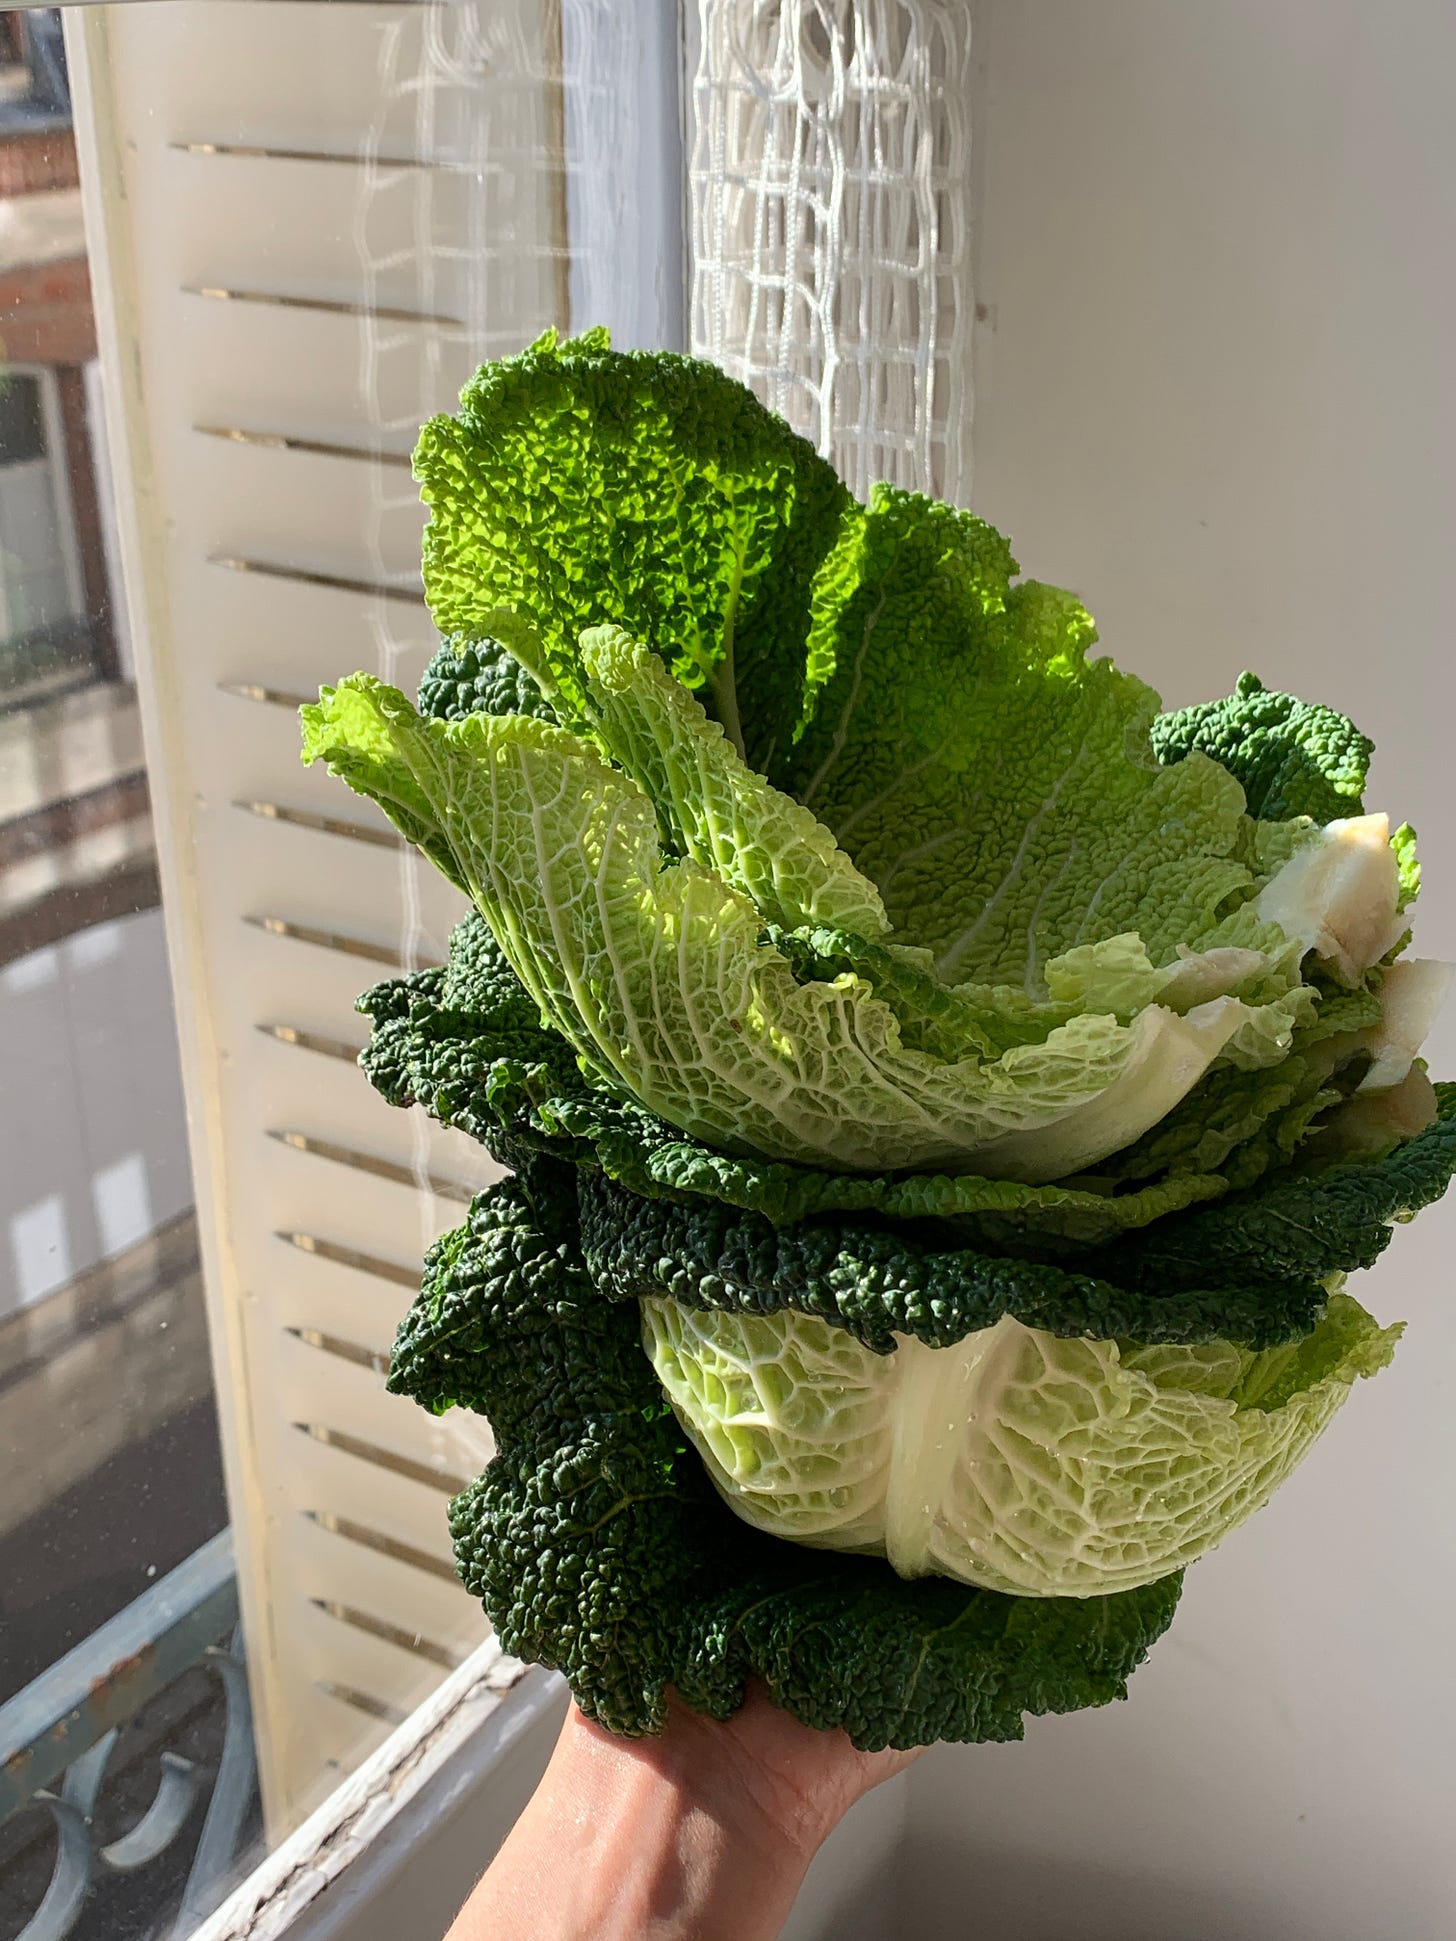
Savoy cabbage, with its beautifully textured, thin-yet-sturdy leaves, is a perfect choice for stuffed cabbage rolls — elegant yet hearty. It also shines when steamed, slowly braised, or patiently basted in butter as it roasts.

WHAT TO DO WITH: NAPA CABBAGE
Napa cabbage, a type of Chinese cabbage, is quite lovely raw, and is right at home sliced into thin strips and tossed through a slaw. It is perhaps though best known as the variety of cabbage used for making kimchi. Once fermented, it does an excellent job of both keeping crisp and also carrying a delicious amount of complex flavour.
WHAT TO DO WITH: POINTED CABBAGE
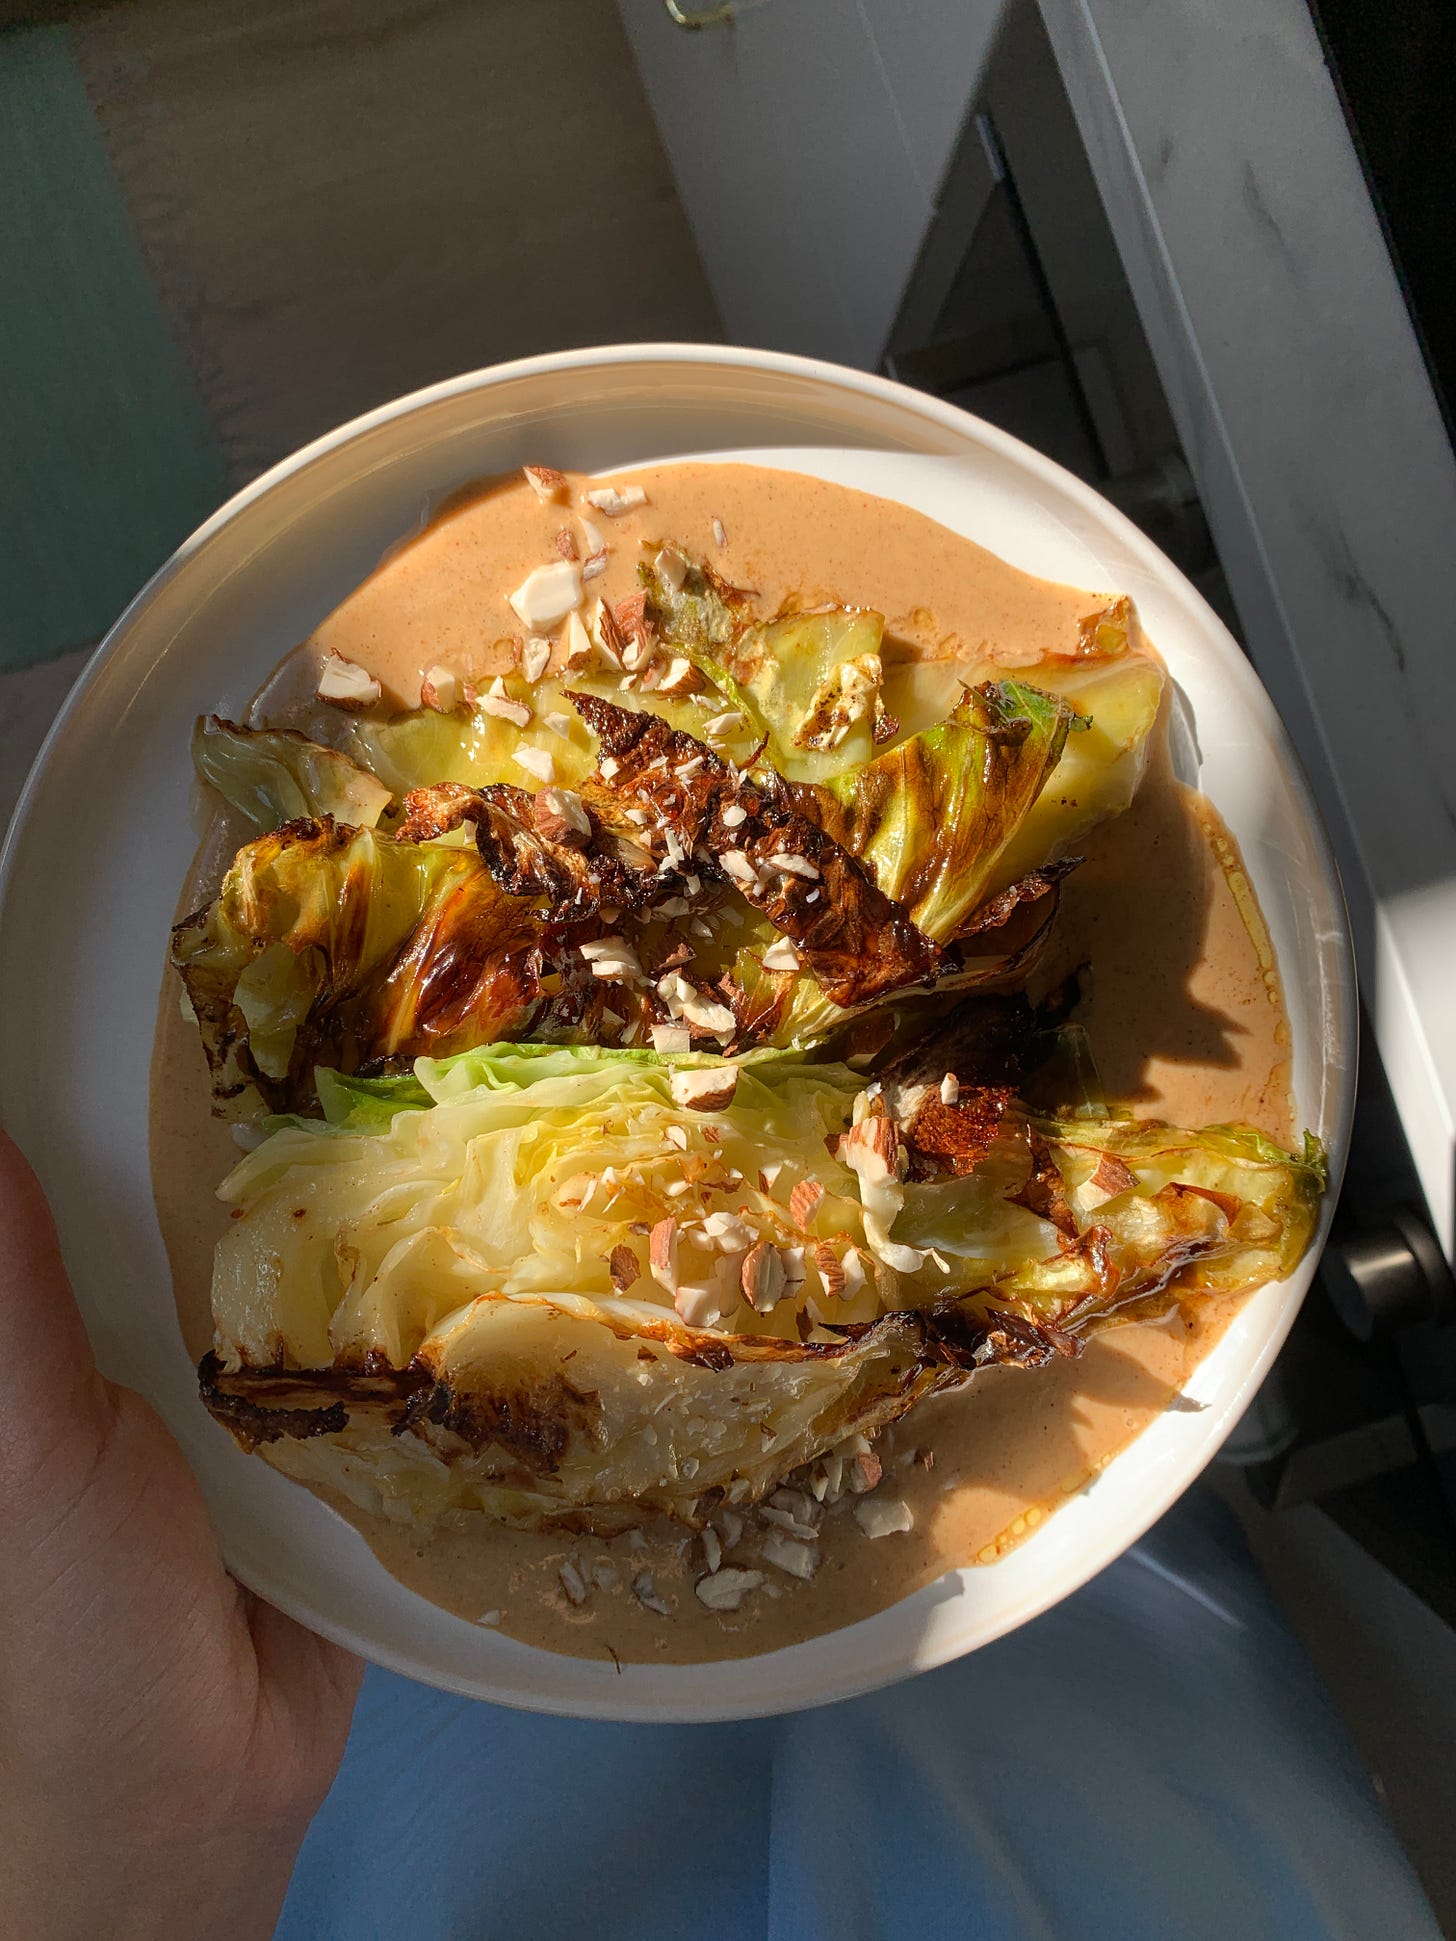
Pointed cabbages are lovely in all sorts of applications, but they are by far my favourite to char. Cook hard and fast over high heat until the outsides are well-browned and the insides are sweet and tender, then serve with a rich savoury sauce (butter and marmite, tahini and almonds, miso and gochujang — whatever combo strikes your fancy).
WHAT TO DO WITH: ROUND CABBAGE
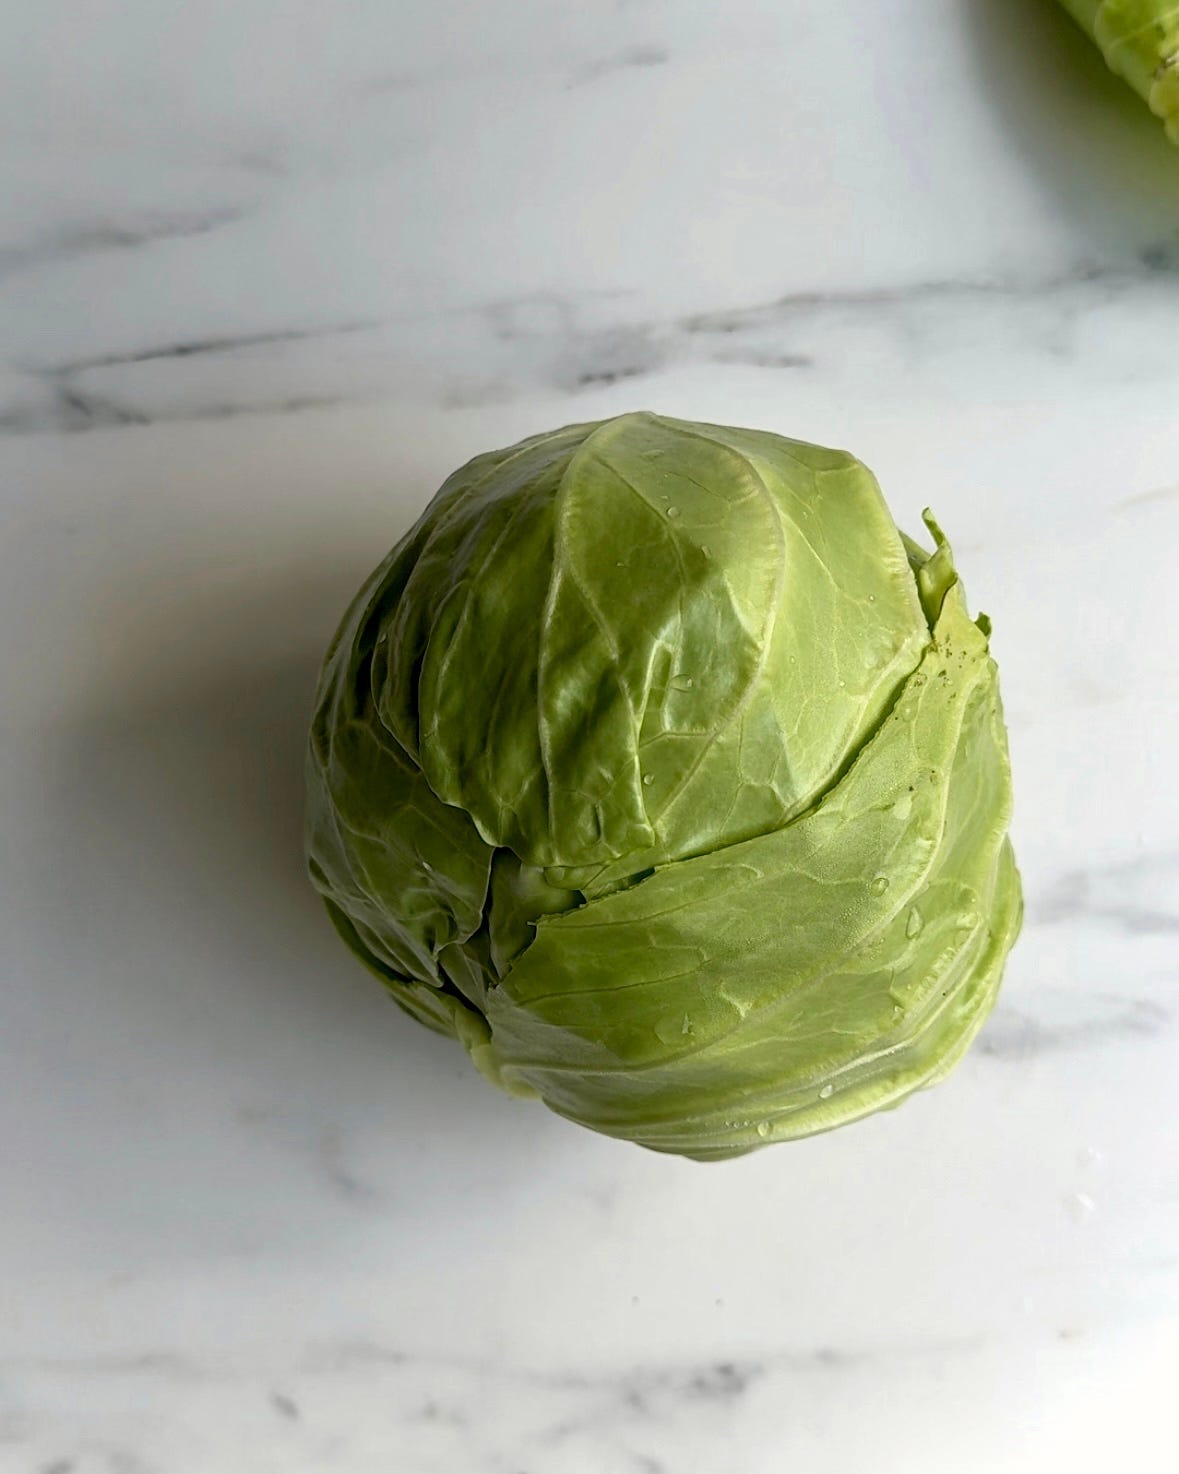
Round cabbage is the perhaps the prototypical cabbage we all think of when someone utters the word “cabbage”. It’s familiar, friendly, and fuss-free. You can use it in any way you like, but why complicate things when the classics are so good: tossed with carrots, red onion, and a creamy, tangy dressing, round cabbage makes one heck of a slaw.
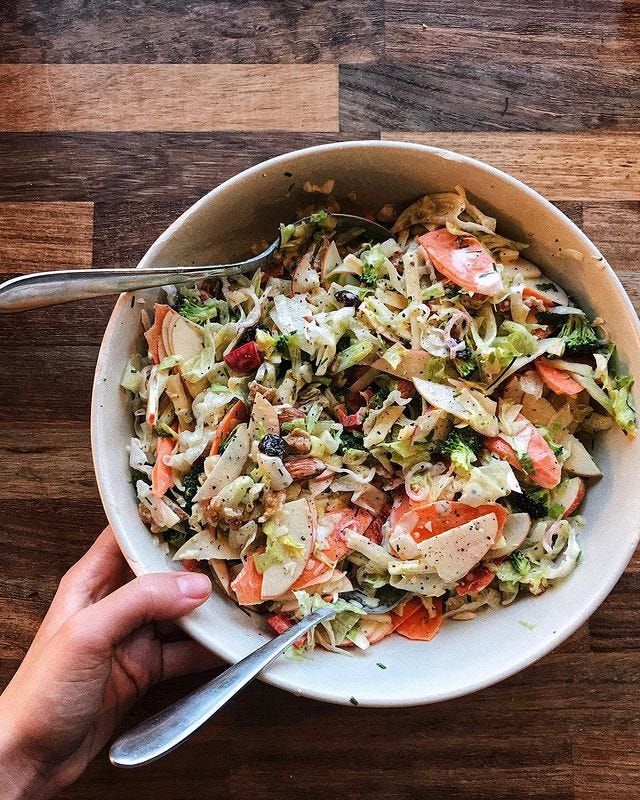
As the leaves turn from golden to brown and eventually fall to the ground, these darkening days have me hankering for something heartier, something that feels like it might (if only via placebo effect) wield the power to keep the season’s colds and flus at bay. Cabbage, filled with fibre and brimming with vitamin C, always seems to scratch that itch for me. I love it cool and crisp in sauerkraut, or warm and comforting in a soup — and sometimes I even like a mix of the two.
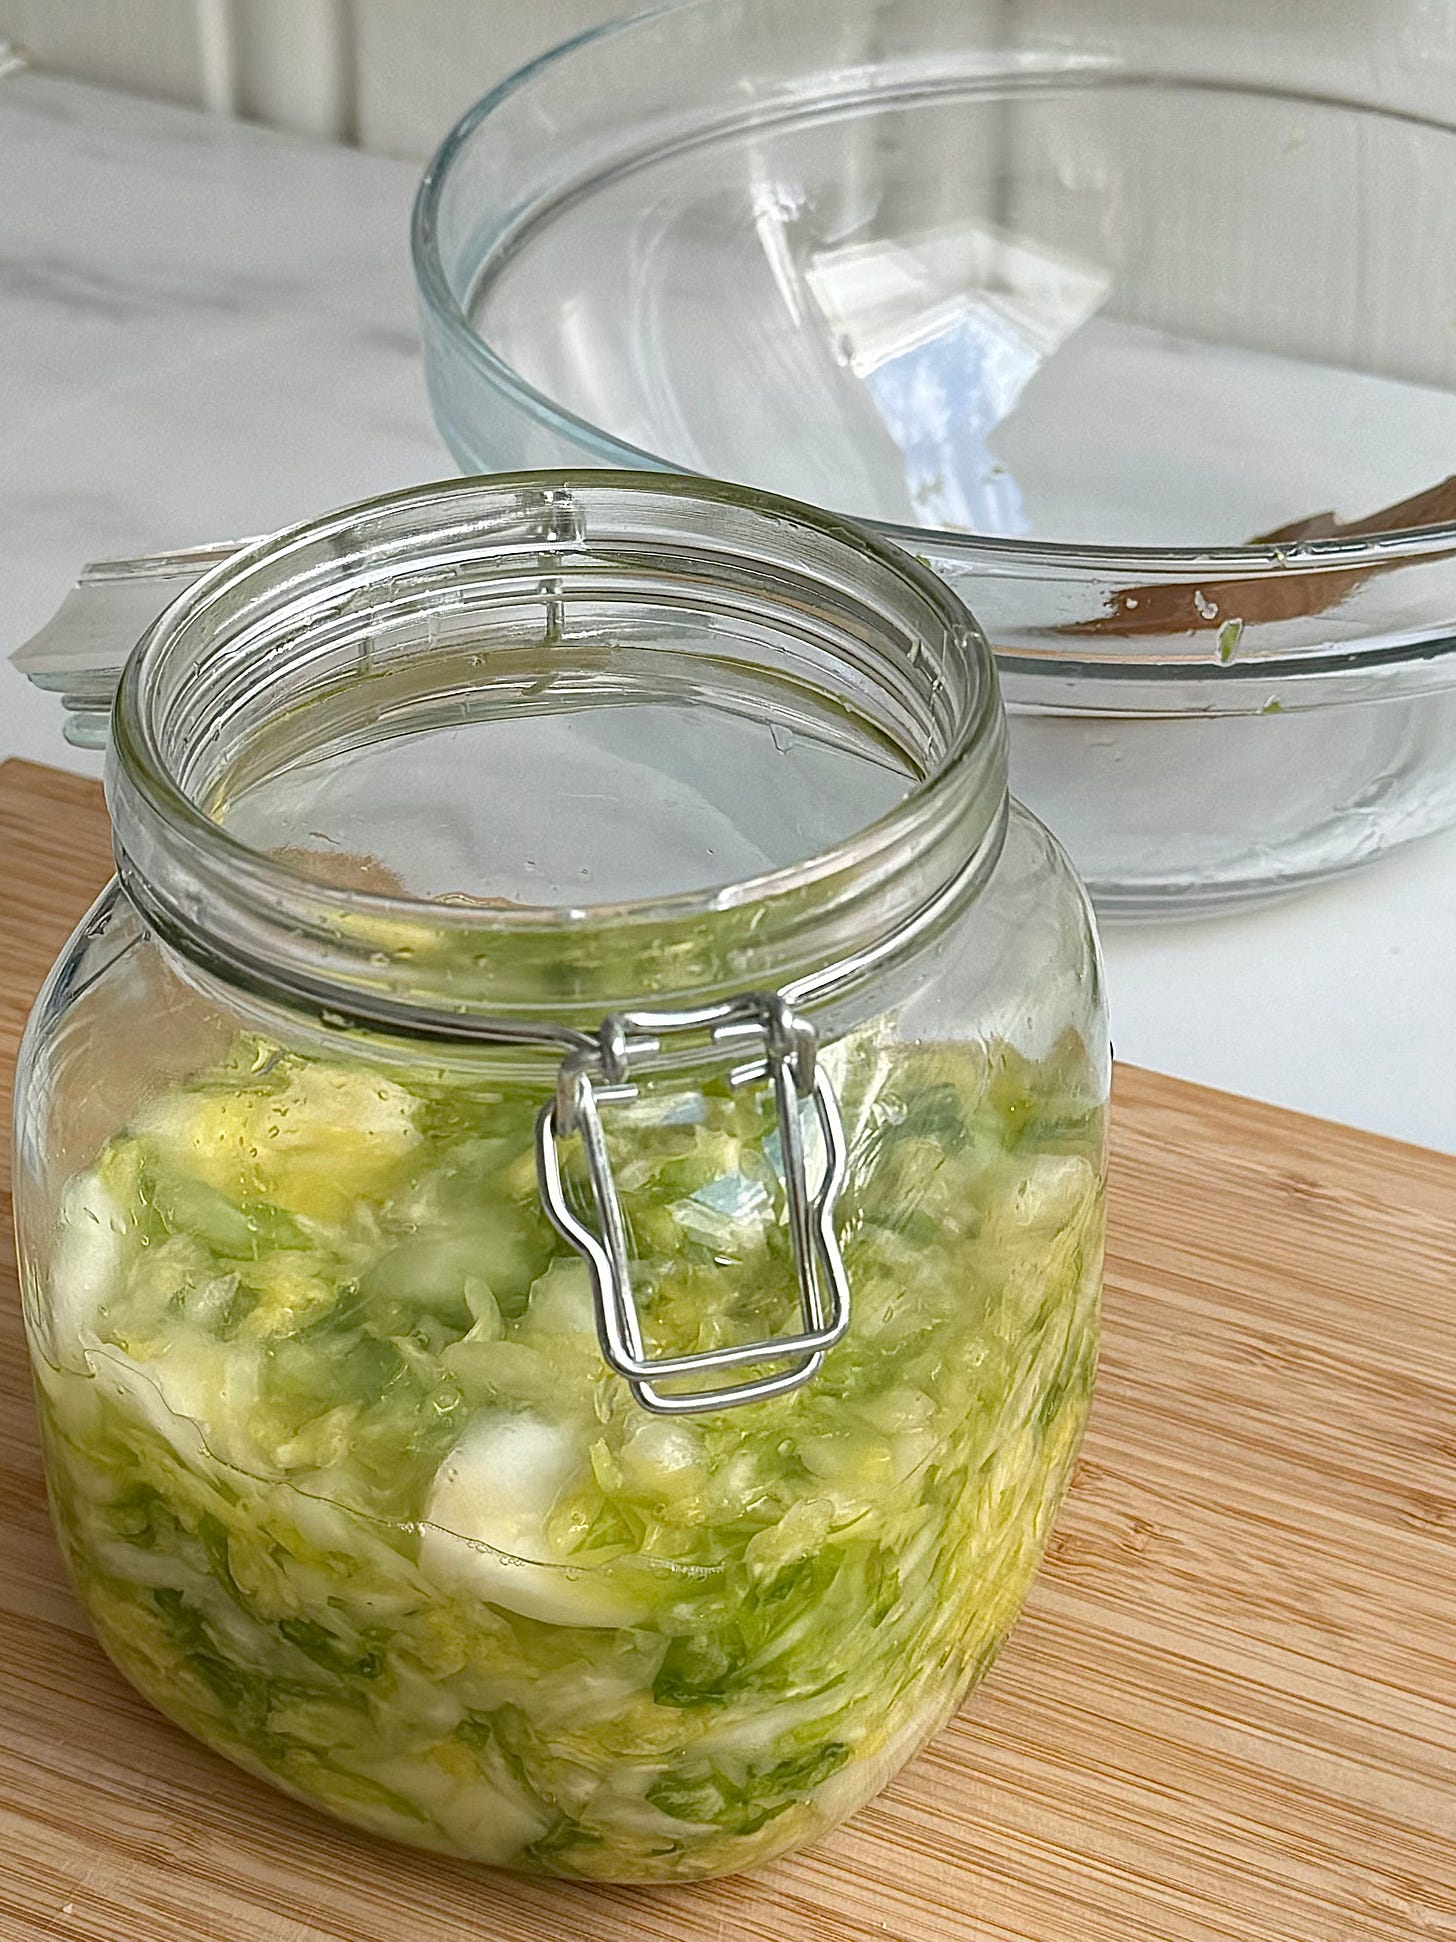
Below is an easy peasy recipe for homemade, lacto-fermented sauerkraut. All you need to make it are two ingredients: cabbage and salt.
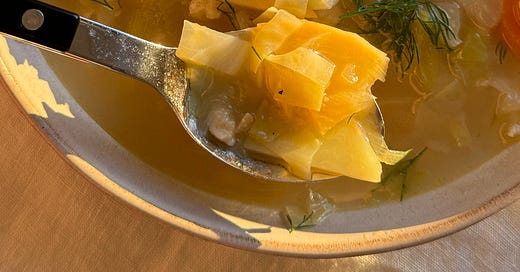
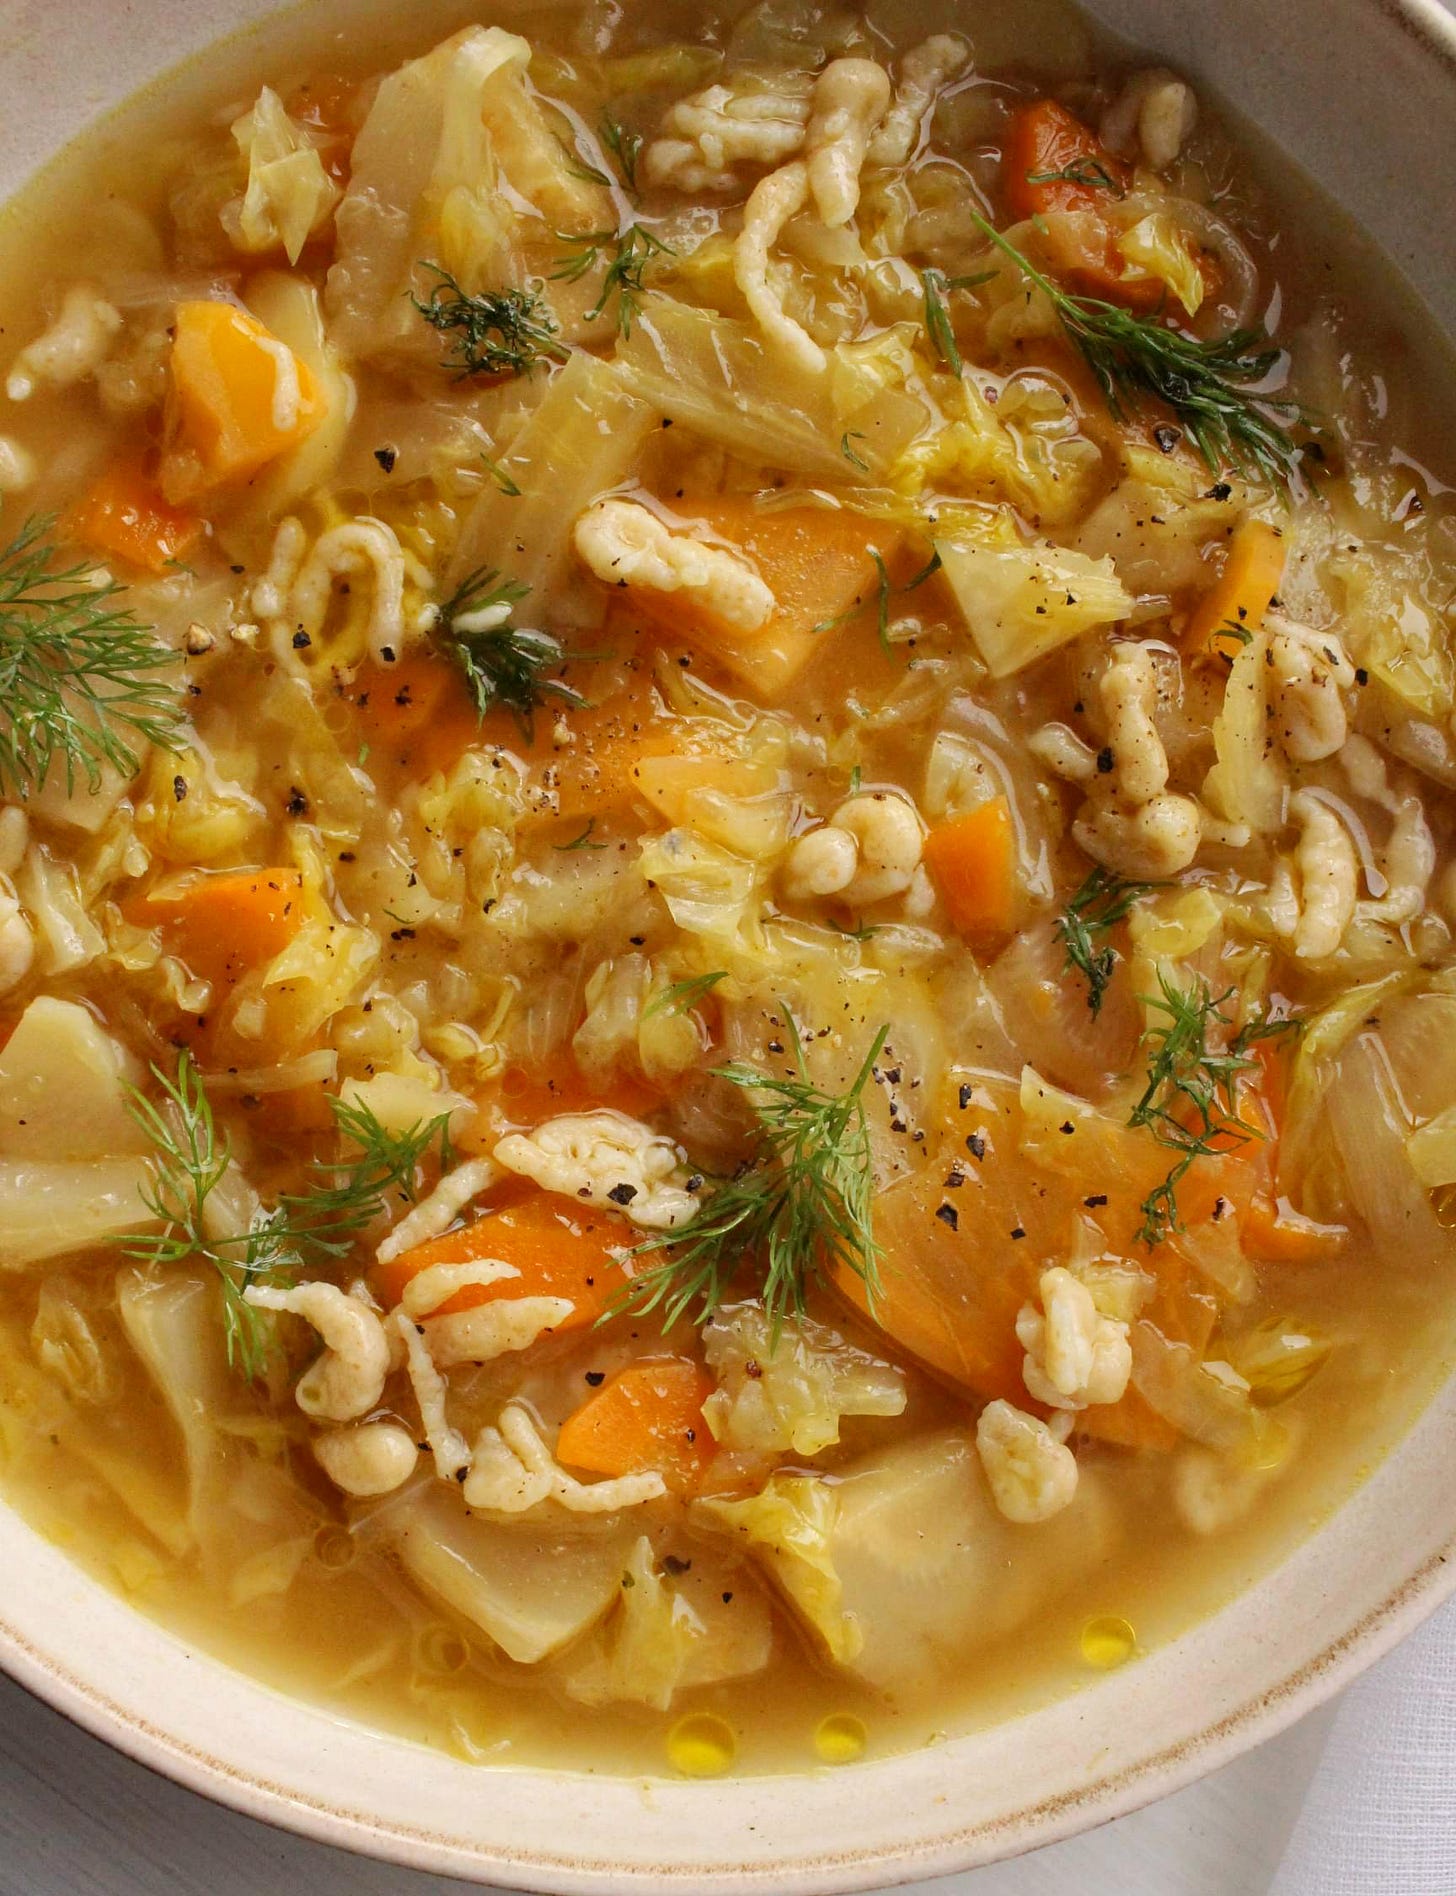
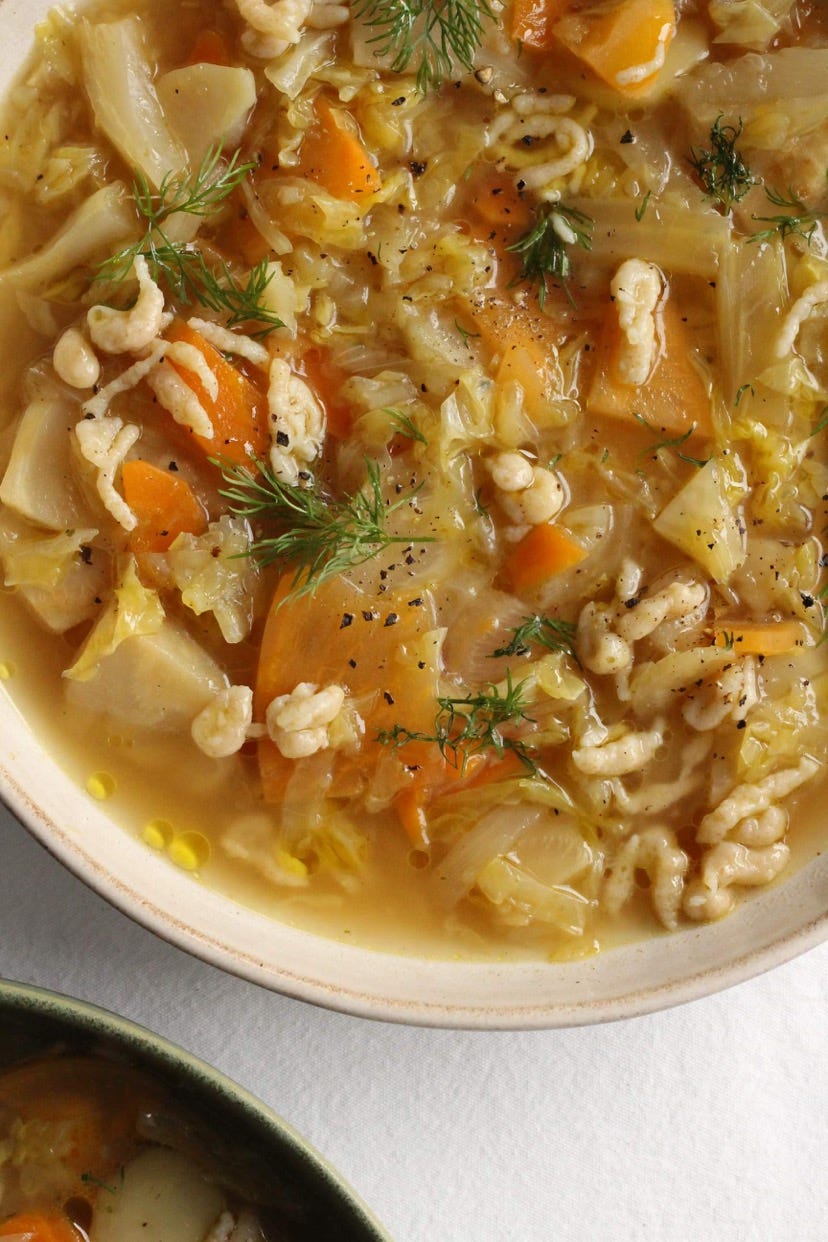
And if you’re looking to cook with cabbage (or perhaps sauerkraut) and you’re not quite sure where to begin, I hope today’s recipe for spätzle soup will be just the thing.
[Scroll down for an easy-to-save-or-print PDF of the recipes below.]
how to make sauerkraut ✨
This method won’t ask much of you for it to come together, however it does require a modicum of patience: once you’ve massaged your cabbage strips into their salty brine, you’ll need to let them ferment for at least a week — ideally two or three, and up to six* — before moving them to the refrigerator, where they’ll reward you with tangy goodness for up to six months.
*this all depends on your room temperature: below 16°C/61°F is too cold, while at 18°C/64°F fermentation will take around four to six weeks (and will supposedly yield the best results in terms of colour, texture, flavour and nutrition); 21-24°C (70-75°F) is around the highest room temp you’ll want, though your 'kraut should be ready within one to three weeks, depending on how you like it (start tasting it at the shortest time period in the range given for your room temperature). Room temperatures above 24°C/75°F may be too hot for safe fermentation.
Note: Use the recipe below as a base, and feel free to add your own touches — caraway seeds are a common favourite. Just be sure to keep your salt-to-cabbage ratio within the safe range indicated below.
A SIMPLE SAUERKRAUT
makes one 1-1.5L jar of sauerkraut
INGREDIENTS
• 1 small — or half a large — head of cabbage (Savoy, Napa, pointed, or round), ∼ 600g
• sea salt fine, around 15g
• (optional) fresh water, just boiled + more salt
METHOD
Synopsis: Halve, core, then thinly slice a small head of cabbage. Massage it with salt to produce a brine. Pack the cabbage into a jar, submerge it with brine, then leave it to lacto-ferment at room temperature for one to six weeks. Refrigerate then enjoy for up to six months.
1. Prep the cabbage: remove any wilted or damaged outer leaves from your (clean) cabbage. Slice it in half from top to stalk, then carve out the tough fibrous core that holds the leaves together. Halve each cabbage half lengthwise so that you get four cabbage quarters, then very thinly slice each quarter across its width into slim strips.
2. Do some quick math. Place a large bowl on a scale and tare the weight to zero. Add your cabbage strips to the bowl, then note down or memorise the weight. Calculate 2.25% of the cabbage’s weight and use that number to determine how much salt you will need.
Example:
The shredded cabbage weighs 548 grams.
548 x 0.0225 = 12.33
Therefore, the amount of salt needed is roughly 12 grams.
note: 2% salt is the lowest you can go for safe lacto-fermentation, while 2.5% is probably the highest you can go without your cabbage and brine tasting too salty; I like to calculate 2.25% to get the best of both worlds, but you could instead calculate for 2% and 2.5% separately then make sure to stay somewhere within that range when adding the salt; i.e. in the example above, that would mean somewhere between 10.96 and 13.7 grams.
3. Make some brine (x2): add the calculated amount of salt to the bowl, then massage and squeeze the salt and cabbage together with your hands for a few minutes until the cabbage looks completely bruised and is releasing lots of moisture. Keep going until the salt is dissolved and you can visibly squelch some brine out of a handful of cabbage; then place a small plate over the bowl of cabbage, and pop something heavy onto the plate to press the cabbage down. You’ll want to leave the cabbage alone like this for an hour or two.
Meanwhile, boil up to 500ml of water and place a large glass measuring cup (or other heat-proof container with a pouring lip) onto a scale and tare it to zero. Pour the just-boiled water out into the container and weigh the amount. Add 2.25% of salt to the hot water (approximately 11.25 grams for 500ml of water), swirl it around a little to help it dissolve, then leave the solution to cool.
If the jar you are planning to store the sauerkraut in is not clean yet, please wash and dry it now! You want it large enough to hold all of your cabbage, plus some extra headspace at the top.
4. Transfer to a clean jar and weight/wait. Remove the weight and plate from the cabbage, and give everything a last good pummelling with a wooden spoon, masher, or the end of a French-style rolling pin (the wooden type with no handles). If adding any seasonings, now would be a good time to pop some in!
Transfer the cabbage and its brine into the clean jar in three separate additions, mashing the cabbage into the bottom of the jar as much as you can each time using clean hands or whichever tool you previously used to smash the cabbage. You want to make sure that any air pockets are removed, as well as doing your best to keep the cabbage underneath its own brine. If the cabbage hasn’t produced enough liquid to submerge itself, top it up with the cooled brine you made earlier, just enough to submerge the cabbage completely, all while leaving a little bit of space for expansion at the top.
As the cabbage has a tendency to float up to the surface and the brine is what keeps it from being exposed to oxygen (thus creating a happy environment for the growth of potentially harmful mould and bacteria), you’ll want to place a small weight in your jar to ensure that the cabbage stays submerged — what I like to do is pour the extra brine I made into a small glass container or resealable food storage bag and then pop that over top of the cabbage; that way I can reuse the container at a later date and, if there’s ever a leak in my weighted container, it’ll just be brine going into brine. (Fermentation weights do exist for this specific purpose, but unless I’ll be using them a lot, I personally hate accumulating single-purpose tools in my kitchen.)
Place the closed jar in a dark place where the temperature stays between 18-24 °C/64-75°F. Unscrew or pop the lid daily to avoid any explosions (fermentation produces CO2!), and feel free to start tasting your sauerkraut after the one-week mark (the warmer the space in which you keep the jar, the sooner you’ll have sauerkraut — though do note that a slower, cooler, fermentation tends to yield better results).
5. Refrigerate and enjoy! Once the sauerkraut is to your liking, keep it in the back of your refrigerator to slow the fermentation down almost to a halt. Enjoy as you please and aim to consume the ‘kraut within six months of refrigerating.
Your sauerkraut should be pleasantly sour, have a bit of a crunch to it, and be fairly even in colour and texture. Note that white sediment or residue at the bottom of your jar is nothing to worry about — it’s a completely normal byproduct of fermentation and won’t negatively affect the shelf life or taste of your ‘kraut.
a soothing spätzle soup 🥣
The first time I heard of spätzle was when I was working in a restaurant and we were making them in ginormous batches. One evening, there were more containers prepped than could fit into the fridge for the next day’s service, so one of the cooks gave me a one-litre container loosely filled with them and told me to knock myself out.
I asked what they were. “They’re noodles,” he said, “just put them in soup.” And so I did.
It was only later that I discovered that spätzle are far more versatile than I’d been led to believe. These delightfully soft and slightly chewy morsels go by many names depending on where you are. “Spätzle” is most common in Germany, Austria, and Alsace, referring to “little sparrows”, though they’re also known as Knöpfle, “little buttons.” In Hungary, you have Nokedli or Csipetke, in Slovenia, Vaseršpacli or vodni žličniki, while in the North-East of Italy, you’ll find them as Fierfuli. In Switzerland, they’re Spätzli or Chnöpfli.
For me, though, they’ll forever be “schpetz” — the way my colleague casually referred to them — and I think they’ll always feel most at home in soup.
Note: I believe the proper pronunciation is closer to “SCHPET-sle”, but, to be honest, you probably shouldn’t be taking this tip from me
A SOOTHING SPÄTZLE & CABBAGE SOUP
INGREDIENTS
serves 6-8 (makes great leftovers)
Keep reading with a 7-day free trial
Subscribe to good food at home to keep reading this post and get 7 days of free access to the full post archives.


